K ukládání a/nebo přístupu k informacím o zařízení používáme technologie, jako jsou soubory cookie. Děláme to, abychom zlepšili zážitek z prohlížení a zobrazovali personalizované reklamy. Souhlas s těmito technologiemi nám umožní zpracovávat údaje, jako je chování při procházení nebo jedinečná ID na tomto webu. Nesouhlas nebo odvolání souhlasu může nepříznivě ovlivnit určité vlastnosti a funkce.
Technické uložení nebo přístup je nezbytně nutný pro legitimní účel umožnění použití konkrétní služby, kterou si odběratel nebo uživatel výslovně vyžádal, nebo pouze za účelem provedení přenosu sdělení prostřednictvím sítě elektronických komunikací.
Technické uložení nebo přístup je nezbytný pro legitimní účel ukládání preferencí, které nejsou požadovány odběratelem nebo uživatelem.
Technické uložení nebo přístup, který se používá výhradně pro statistické účely.
Technické uložení nebo přístup, který se používá výhradně pro anonymní statistické účely. Bez předvolání, dobrovolného plnění ze strany vašeho Poskytovatele internetových služeb nebo dalších záznamů od třetí strany nelze informace, uložené nebo získané pouze pro tento účel, obvykle použít k vaší identifikaci.
Technické uložení nebo přístup je nutný k vytvoření uživatelských profilů za účelem zasílání reklamy nebo sledování uživatele na webových stránkách nebo několika webových stránkách pro podobné marketingové účely.


Dobrý den,
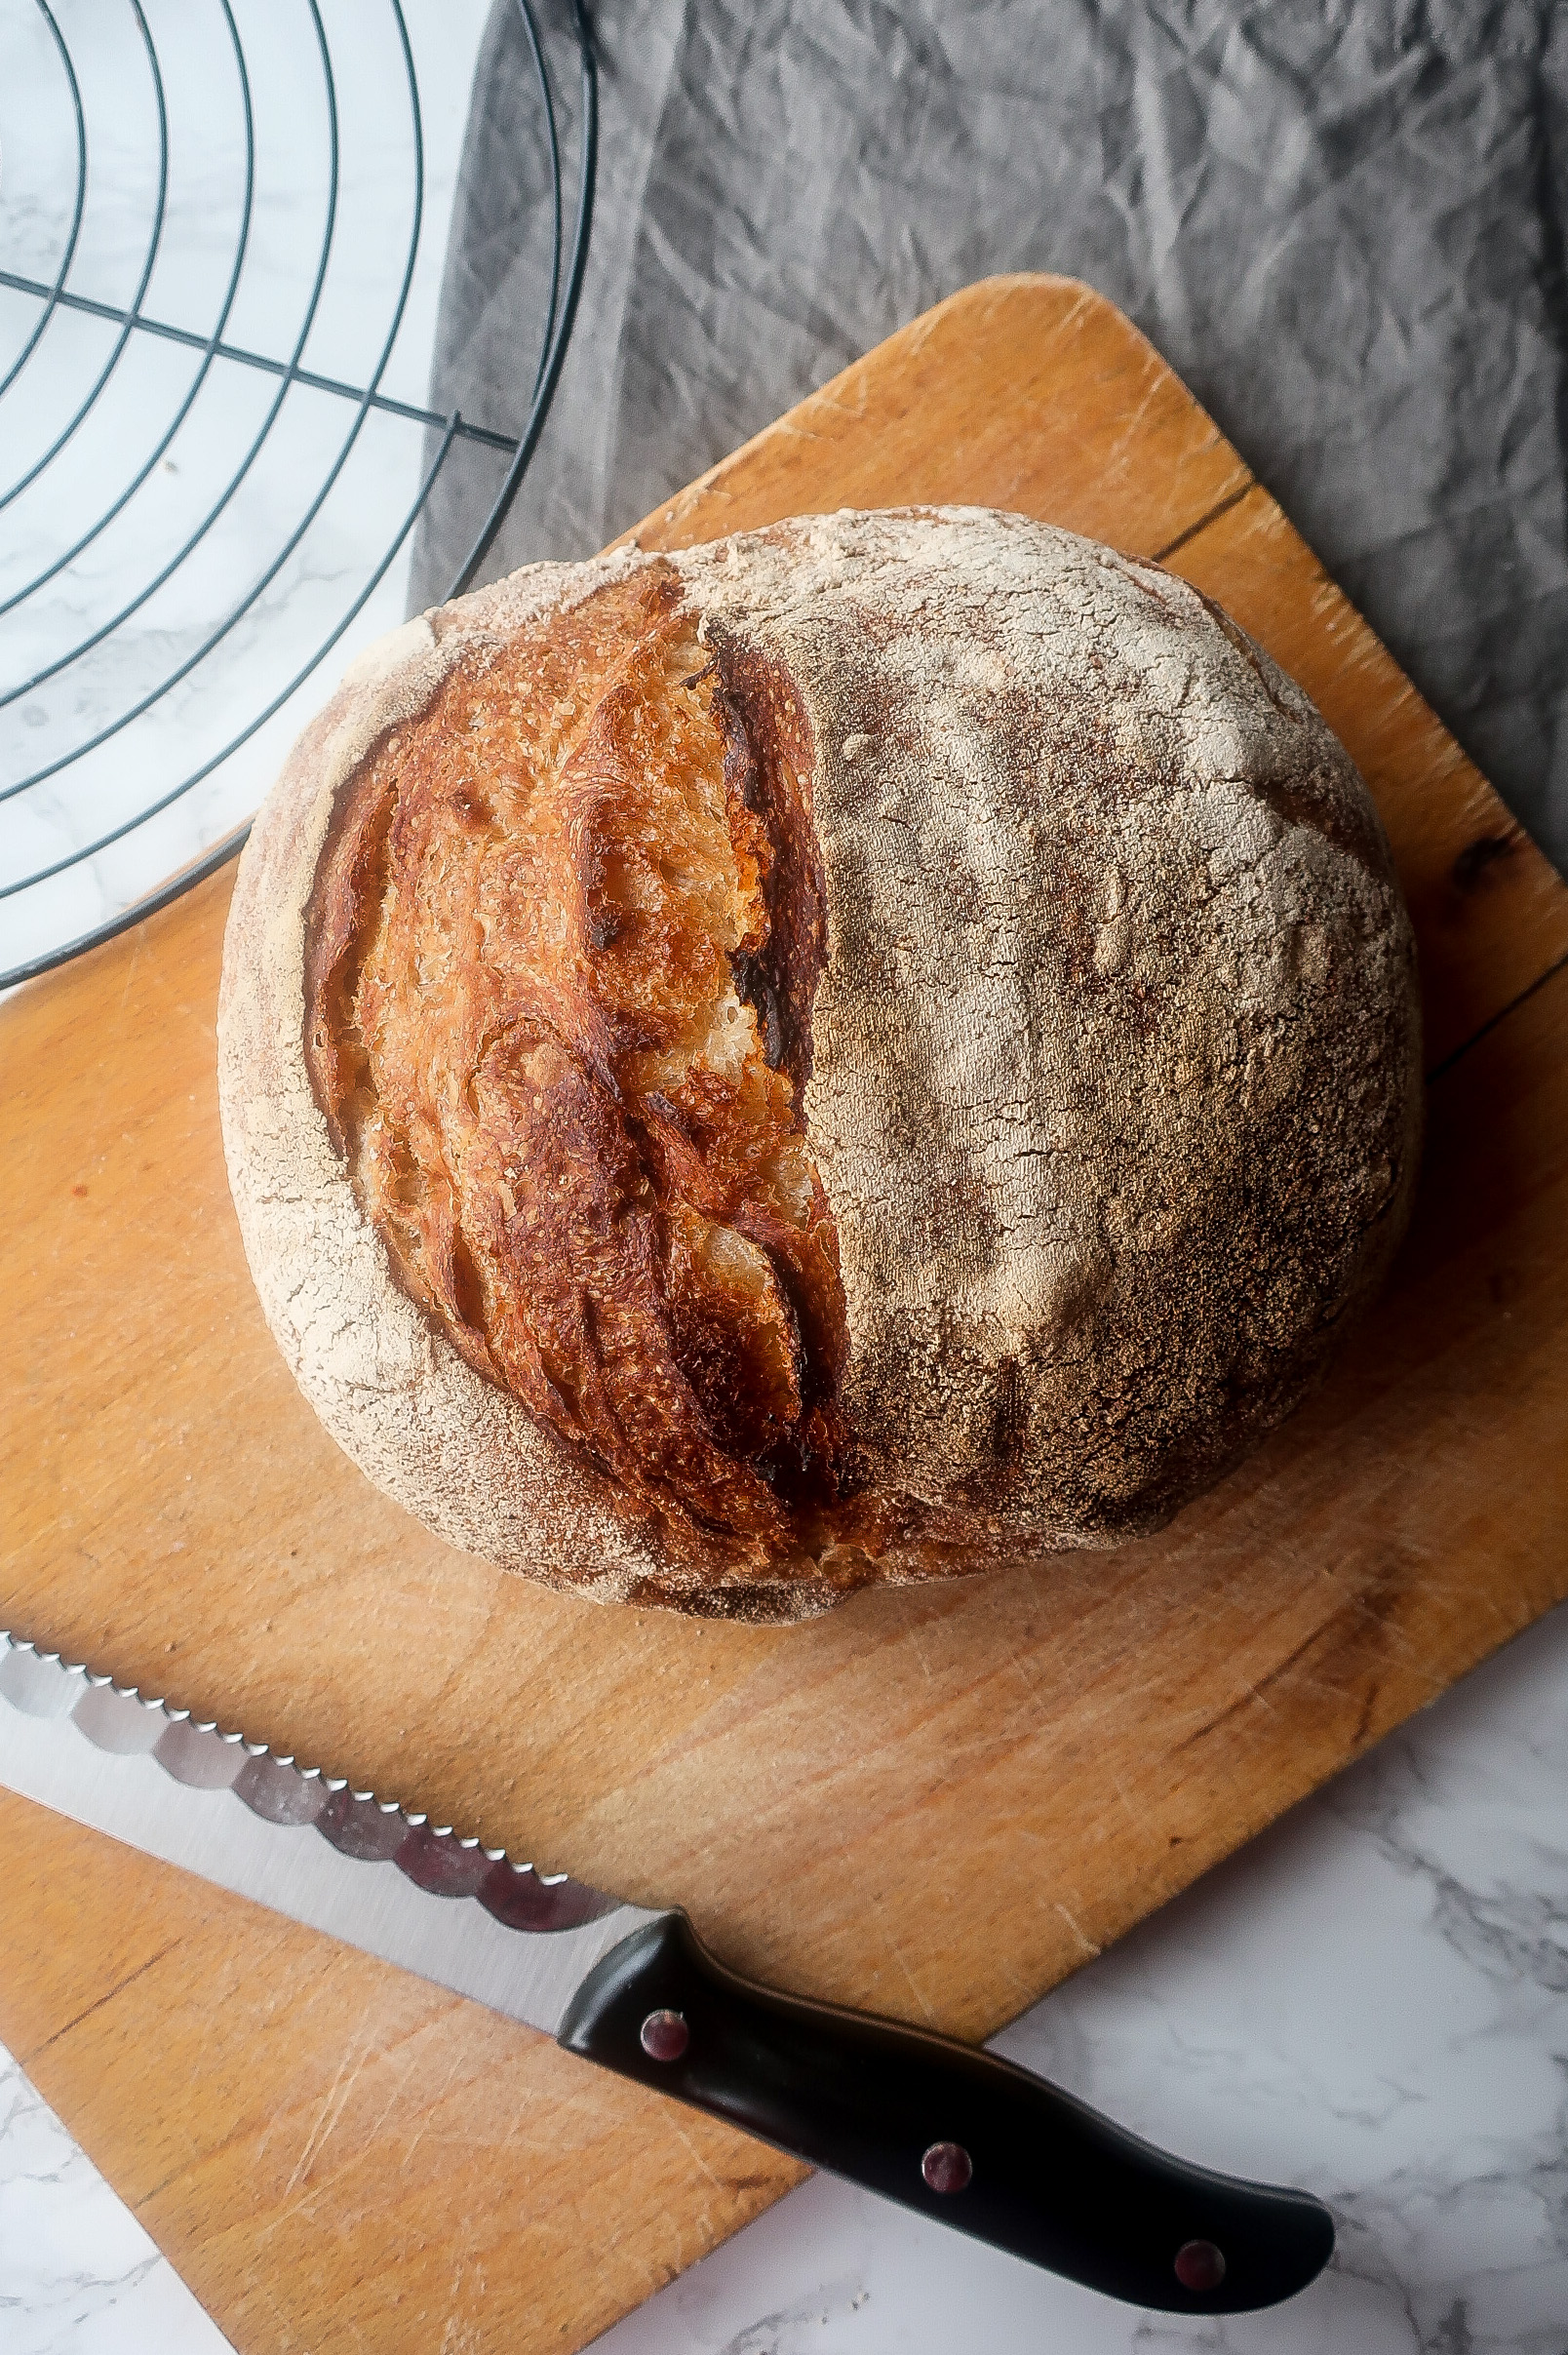
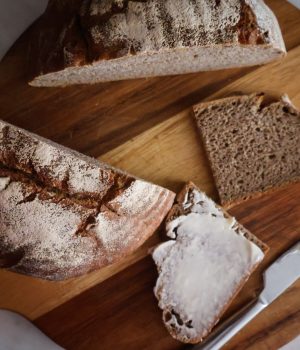
děkuji moc za inspiraci a samotný recept. Chleba jsem pekla v sobotu podle Vašeho návodu a musím říct , že se povedl a chuťově byl výborný. S kváskem jsem pekla poprvé. Jen škoda ,že nám vydržel jen do neděle . Chtěla bych upéct chleba o něco větší, ale nevím jaké množství surovin použít mohla byste mi poradit nebo napsat kolik čeho mám přidat? A ještě hledala jsem výrobu kvásku návod, ale nenašla jsem to na vašich stránkách ten můj co jsem dostala se mi zkazil můžete mi napsat návod?
Moc děkuji za odpověď
Přeji hezký den
Jana Škorvánková
Dobrý den,
jsem moc ráda, že se vám chléb daří! 🙂 Na větší chléb si můžete množství ingrediencí vynásobit dle potřeby, můžete zatím zkusit o 1/3. Pozor ale na velikost hrnce, aby vám náhodou nevybublal pod pokličkou! Já většinou, když chci tohoto chleba více, tak si zadělám na dva bochníky. Jeden chleba upeču hned a druhý dám na to druhé kynutí (tedy v ošatce) do lednice. V lednici ho nechám klidně 2-3 dny a poté peču jako obvykle. Takhle nám to vyhovuje nejvíc 🙂 Pokud budete zkoušet, tak dejte vědět, jak se povedlo!
Dobrý den,
to druhé pečení bez pokličky na 210 necháváte také horkovzduch?
Děkuji!
Ano, i dopékáni dělám na horkovzduch. 🙂
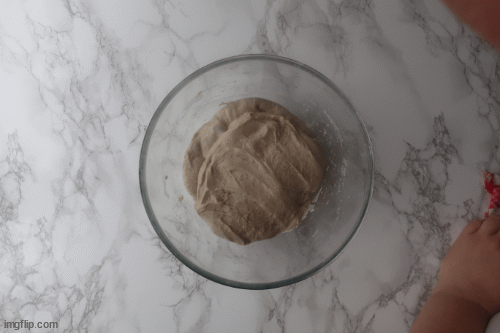
Dobrý den, teď se podle receptu snažím. Vše se mi dařilo až do posledního kynuti- překlady super a u toho posledního mi to nenakynulo nijak. Když to dáte do osatky tak to zase zalryjete folii nebo jen uterkou jako ja? Doma jsme měli 25 a vic stupňů dnes tak nevím co to. Nemohla byste mi prosím poradit?
Dobrý den, mě se teď stalo zrovna to samé 😀 Myslím, že jak se změnilo počasí, tak nám více topí radiátory. V teplejším prostředí je fermentace rychlejší, tak těsto rychle překyne při první fermentaci s překládáním a na závěrečné kynutí už nemá sílu. Zkuste zkrátit čas první fermentace nebo najděte těstu na kynutí chladnější prostředí. Přeji ať se vám další chleby vydaří. 🙂
Zdravím Ráďo, dnes jsem pekla podruhé recept na chleba z Vašich stránek, krásně se povedl…moc děkuji, za skvělé recepty. Tento blok je velmi inspirativní, vždy mám radost, když přidáte i video na youtube. Vaše fanynka Jája
Krásný den, moc děkuji za milou zprávu a jsem moc ráda, že se vám chleby daří! 🙂
Dobrý den, chlebík dle Vašeho receptu dopadl výborně. Jsem začátečník a většinou všude doporučuji dát do trouby plech s vodou, při fázi pečení bez pokličky. Vy se o tom nezmiňujete. Byl by v tom nějaký rozdíl?
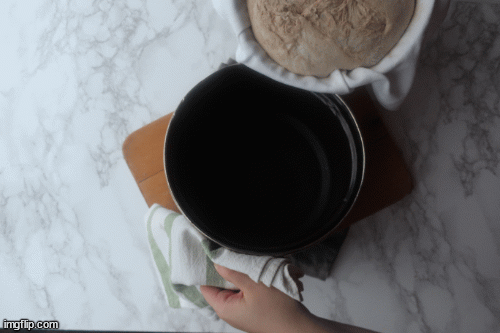
Krásný den Lenko, jsem ráda, že se vám chléb daří! Pokud peču chléb v hrnci, tak plech s vodou nedávám. Stačí mi, když se chléb zapaří v první půlce pečení pod pokličkou a když se poklička odklopí, už se v podstatě dopéká jen kůrka.
Dobrý den,
můžu chleba péct v obyčejném smaltovaném pekáči? Nechce se mi hned kupovat litinový.
Dobrý den, já mám smaltovaný hrnec a funguje to v něm skvěle, takže si dokážu představit, že pokud máte takový ten klasický dvojitý pekáč, tak by to v něm mělo také fungovat 🙂
Dobrý den Radko,chtěl jsem se zeptat,jestli můžu to nakynuté těsto z ošatky ,které kynulo v lednici,hned dat do trouby,nebo se musí nechat venku,ale může hrozit překynutí.
Diky za odpověď.
Dobrý den, jasně určitě můžete. Díky studenému těstu z lednice dosáhnete i větší nadýchanosti chleba. 🙂
Dobrý den, moc děkuji za recepty a návody 🙂 Chtěla jsem se zeptat, když mám hotový kvas po 6 dnech a chtěla bych 6.den zadělat na chleba bez rozkvasu, kolik g kvasu mám do mouky na smíchání použít? Moc děkuji
Použijte 175 g aktivního kvasu
Krásný den přeji,
chtěla bych se optat, ráda bych nahradila chlebovou mouku->celozrnnou moukou. Mám si na něco dát pozor? Nemáte zkušenost, na co si případně dát pozor? Děkuji moc.
Celozrnná mouka může sát vice vody, ale je to různé od značky. Výsledný chléb ale bude určitě méně nadýchaný s menšími oky. 🙂
Krásný den! V první řadě bych ráda poděkovala za recept.🤍 Dnes zkouším poprvé a moc si přeju, aby se mi chlebík vydařil. Chtěla bych se jen zeptat, jestli si myslíte, že je vhodné tento chléb péct ve skleněné nádobě na pečení. Děkuji, krásný den!
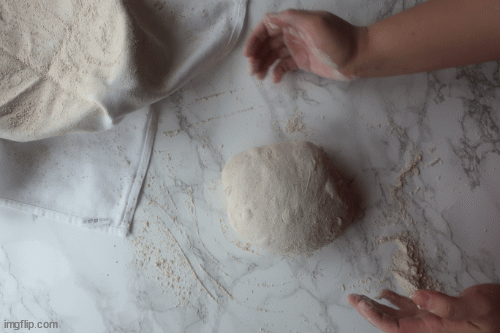
Dobrý den, ať dělám co dělám, nikdy mi pri překládání nevychází stejná konzistence, jakou máte vy. Uz jsem chleba pekla 4x, pevně se držím instrukcí, ale těsto nikdy neni pěkně pružné, pri překládání se trhá, kdyz ho z ošatky vyklápím do formy, tak hodně splaskne a po upečení je takový hutný, má jen pár bublinek. Zkoušela jsem prodlouží/zkratit dobu kynutí, ale vzdycky vyjde stejně. Nevím, co dělám špatně. Můžete mi poradit? Děkuji.
Dobrý den, hodně záleží na typu mouky, kterou používáte. Já používám mouku Probio. 🙂
Krásný den! V první řadě bych ráda poděkovala za recept.🤍 Dnes zkouším poprvé a moc si přeju, aby se mi chlebík vydařil. Chtěla bych se jen zeptat, jestli si myslíte, že je vhodné tento chléb péct ve skleněné nádobě na pečení. Děkuji, krásný den!
Dobrý den, nikdy jsem chléb ve skleněné nádobě nepekla ale nejsem si jistá, zda zvládne tak vysokou teplotu. Raději bych jej pekla na 210, maximálně 220°C. 🙂 Dejte vědět, jestli to budete zkoušet. :))
Vím, že moje reakce je téměř po roce – každopádně třeba pomůže někomu jinému ;-). Peču chléb ve skleněné nádobě s víkem a bez problému zvládne teplotu 250 stupnů ;-).
Hezký den Radko,
prolezla jsem spoustu stránek týkajících se pečení z kvásku a ty Vaše jsou jedny z nej, díky a jen tak dál. 🙂
<3
Dobrý den,
cca před rokem jsem objevila Vaše stránky a už jiné nehledala. 👍👍👍 Zkouším různé chleby a mouky a už máme doma oblíbené recepty (bohužel tak moc, že syn “kulaté chleby” zakrojuje ještě teplé a nemají šanci vystydnout. Peču téměř každý týden. Kvásek jsem dostala od kolegy a po cca 3 měsících ho úspěšně upekla 🙈. Poté jsem dostala “puberťáka”, který jedna babička udržuje prý už 17 let a chleba se z něho v podstatě dělá sám.
Proč Vám ale píšu – přijde mi, že se mouky nějak pokazily – u nás v Albertu mají jen 2 druhy – bio a Babiččinu (tu jsem už vyškrtla – i žitný chleba byl hrozně světlý). Poradíte mi prosím nějakou vyzkoušenou? Nemám šanci si umlýt vlastní, ale mám možnost objednat (přes internet nebo Rohlík).
A druhý dotaz je na napařování. Mám parní program v troubě a používám ho i na chleba v hrnci. Jen nevím, zda to není zbytečné. Pečete i v páře? A případně co pečete?
Předem moc děkuji za odpověď.
Vaše fanynka Jindřiška
Hezký den, předně jsem ráda, že se vám pečení s mými recepty daří 🙂 S moukama je to takové, že člověk v obchodě nikdy moc neví, co vlastně kupuje. 🙂 Já mám ozkoušenou značku Probio a těch se držím! Bohužel o napařování já vůbec nic nevím, moje trouby byly vždycky takové staré babičky bez podobných funkcí 😀
Dobrý den,
podle mě je napařování zbytečné, pokud pečete chléb v hrnci. Zapaření proběhne právě pod pokličkou, po odkrytí a dopékání už pára není potřeba – jen během prvních 10-15 minut. Tuhle funkci bych využila pouze u pečení volně vloženého chleba na plechu ;-).
Dobry den,
Testo stale lepi i po 3.prekladu, co s tim mam, prosim delat? Nemam zkusit testo prohnetat v robotu?
Dekuji za radu.
Hezky den,
Adela Z.
Dobrý den, nejspíše jen vaše mouka saje méně tekutiny. Stačí přidat více mouky kdykoliv během překládání. I lepivé těsto lze ale stále zpracovat a vytvarovat
Krasný den, jak na pečení bez hrnce jen v troubě, děkuji ☺️
Dobry den, můžete dat na cca 230 stupňů na rozpáleny plech. Hned po vložení je potřeba rychle nastříkat vodu nějakým sprejem přímo do trouby aby se tam vytvořila vysoká vlhkost a pece se cca 40 minut. Často při této metodě může chléb popraskat, neni to na závadu.
Dobrý den,
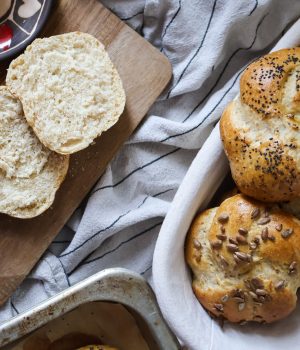
Ráda bych si upekla dalamánky, ale nemohu jíst klasickou pšeničnou mouku. Můžu ji v tomto receptu nahradit špaldovou?
Jinak moc děkuji za vaše recepty jsou bezva, už jsem jich několik zkusila.
Ano, lze použít i špaldová mouka hladká 🙂