Handmade greeting cards III: Paper envelopes
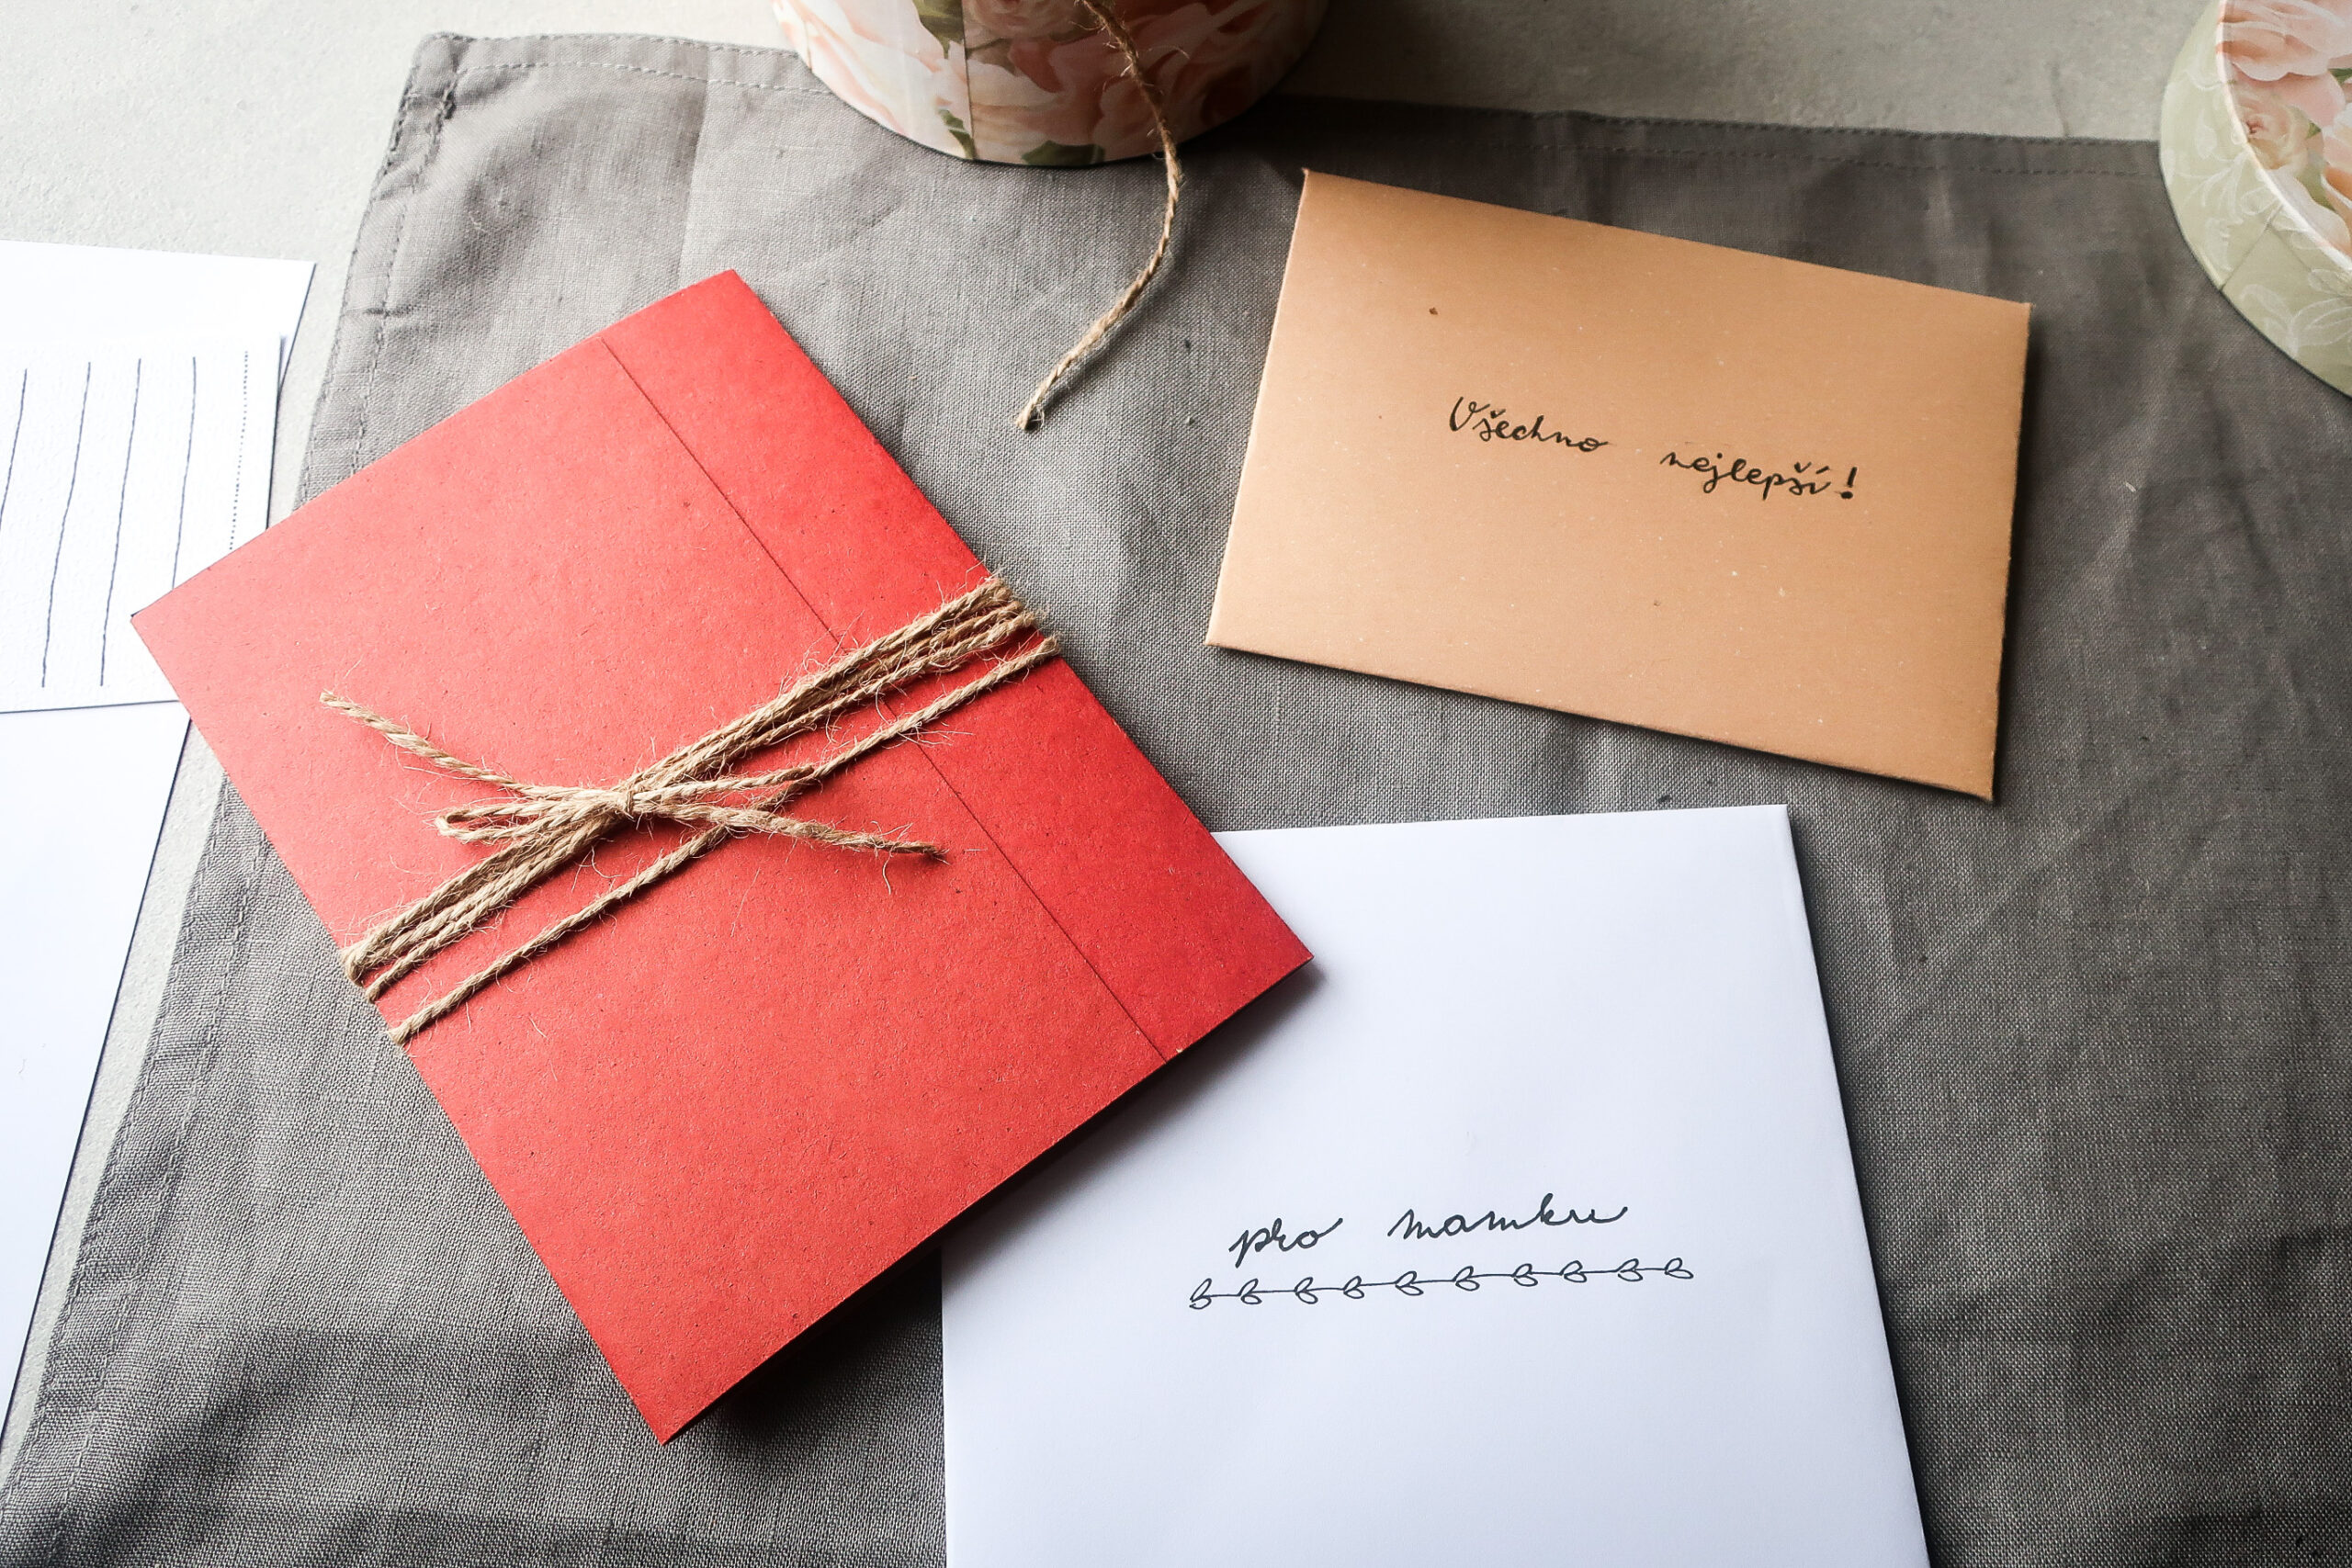
Learn how to make simple decorative envelopes for your handmade greeting cards. It's so easy to make and looks so pretty!
And here is the final article of my mini series: How to make a card! I've already shown you how to draw a picture on watercolor paper with the beautiful design of African violets and how to make a greeting cards from those pictures. And today we will finish the series by making some fancy paper envelopes.
Making handmade paper envelopes is not nearly as complicated as you might think. Basically, all you need is a nice thick heavy paper and some glue or string and you have a beautiful envelope ready in under five minutes.
Supplies:
- nice thick (heavy) paper
- handmade greeting cards
- pencil
- ruler
- glue in a tube
- linen string
- scissors
1) Ready-made cards and envelopes
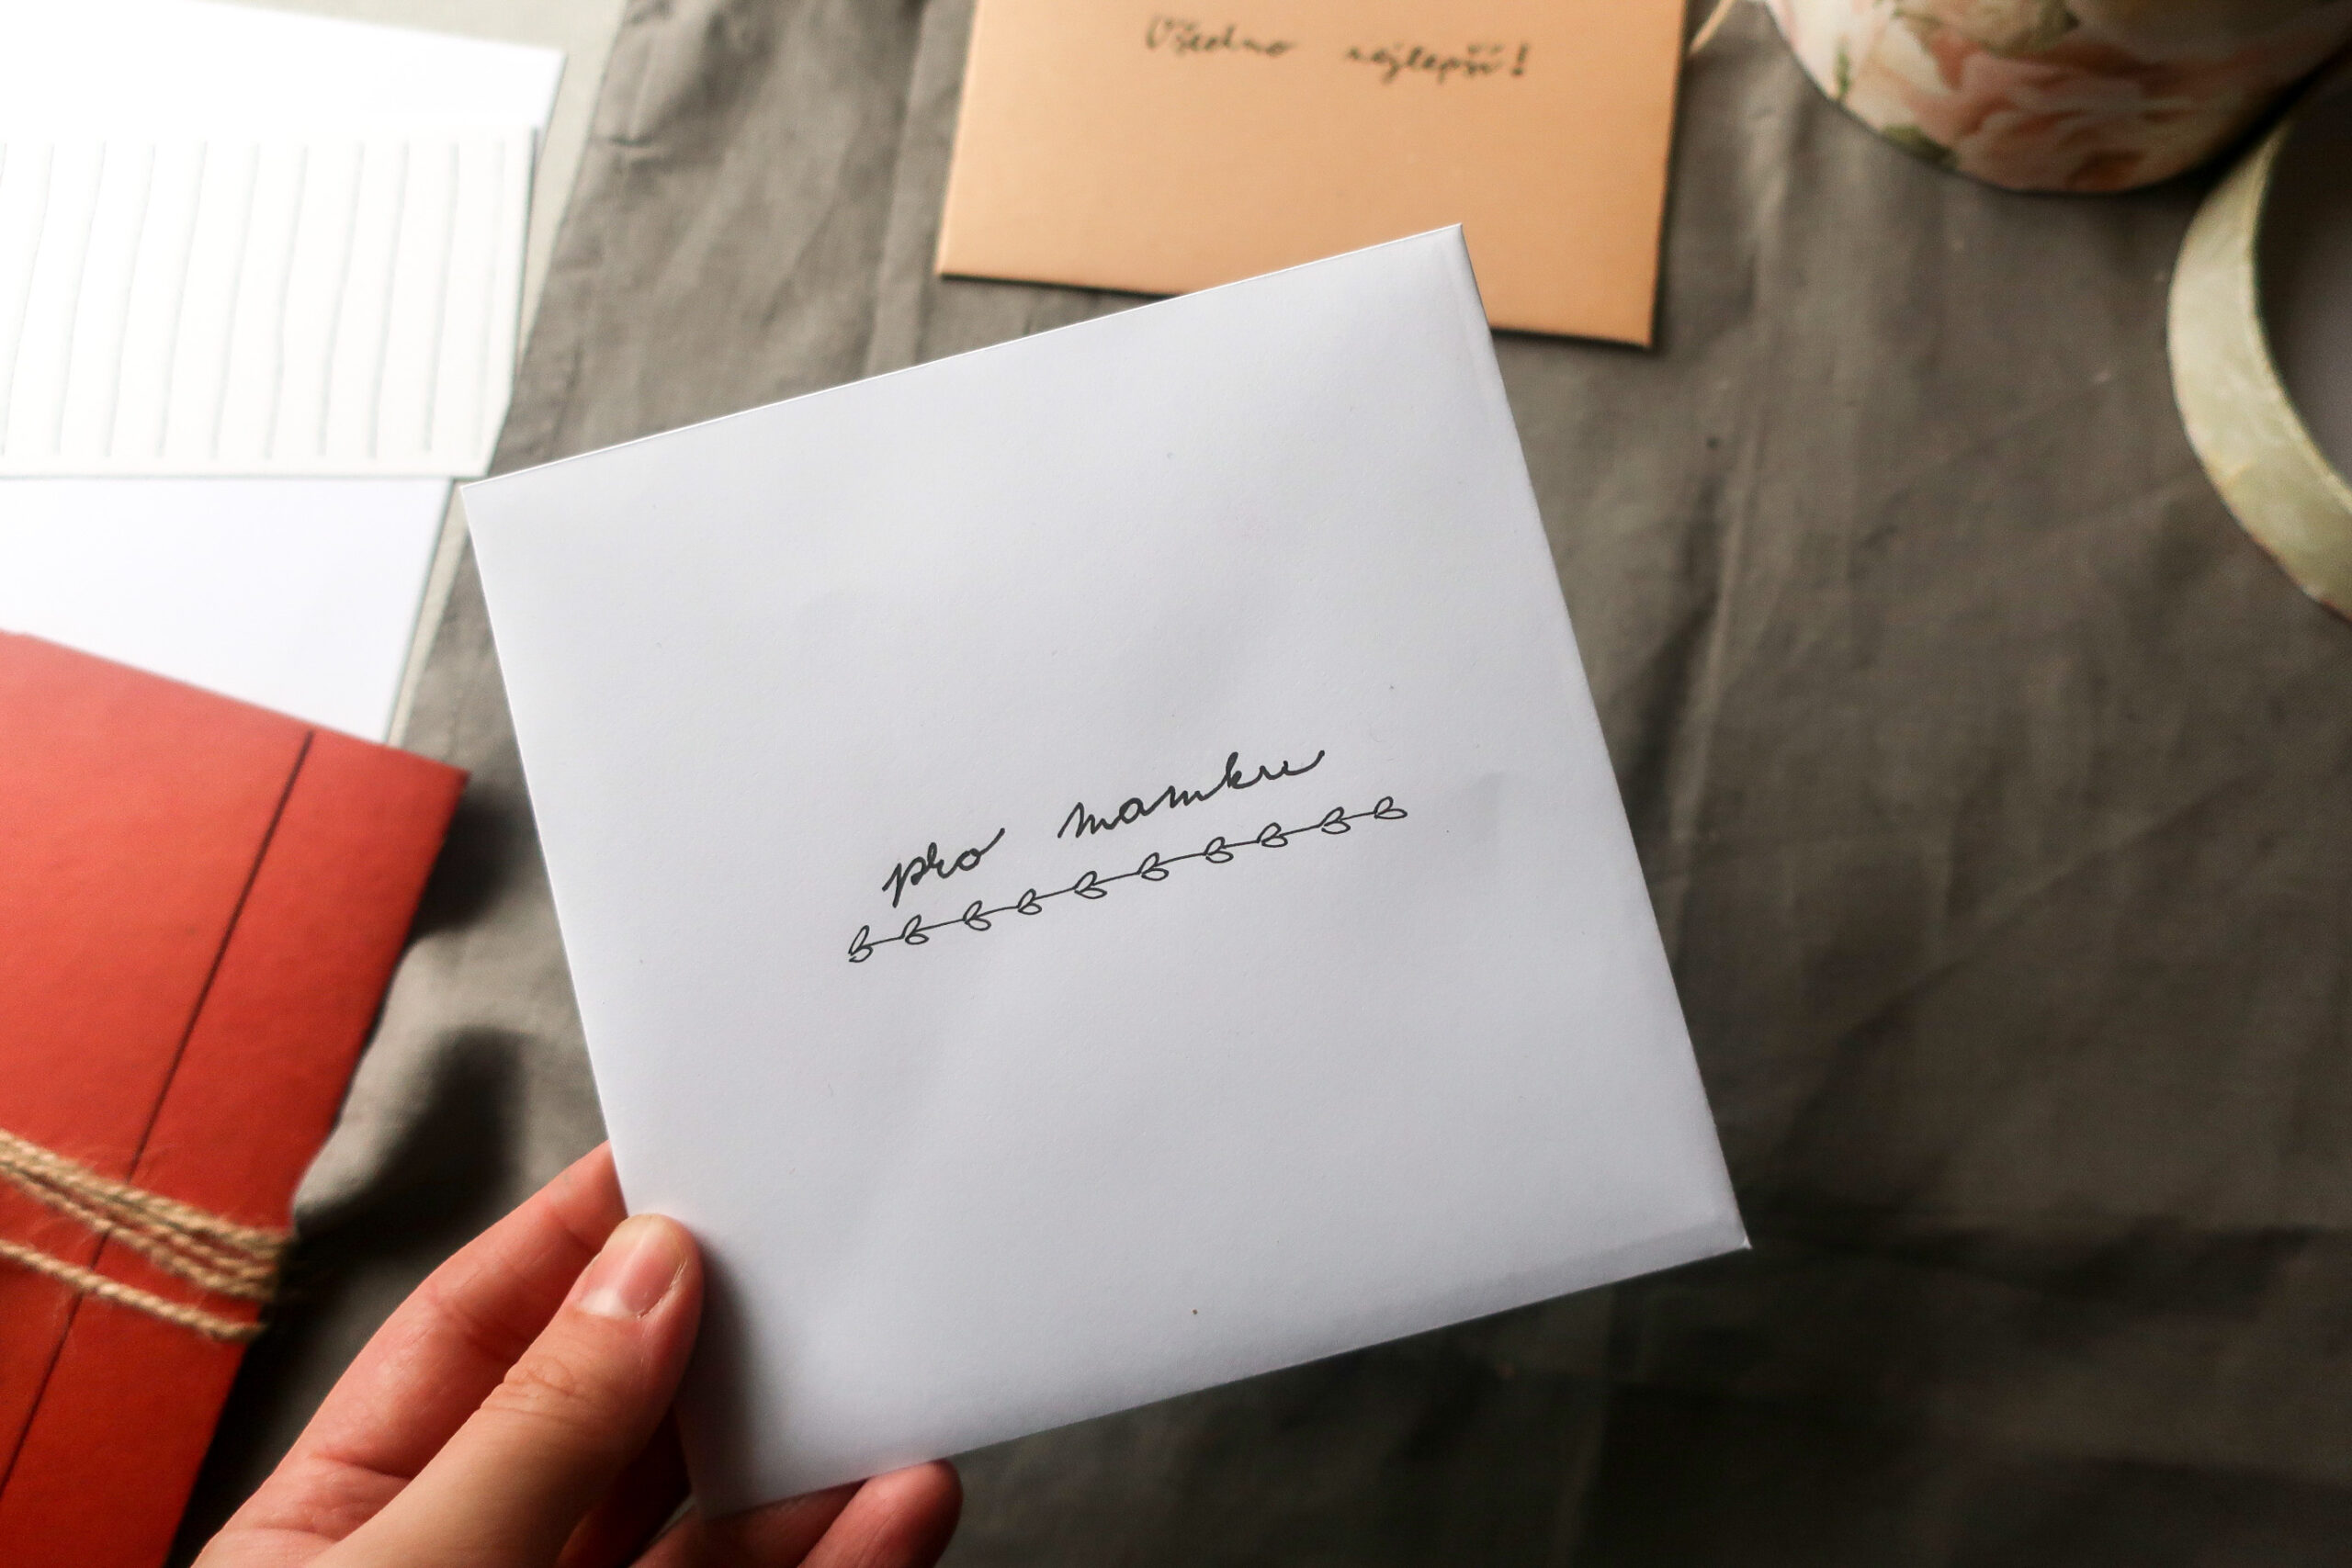
In my previous article: Handmade greeting cards II: How to make a greeting card from a picture, we used ready-made greeting card bases. These sets usually consist of greeting cards and paper envelopes. The picture is then just glued onto the card and after it dried can be inserted into the finished envelope.
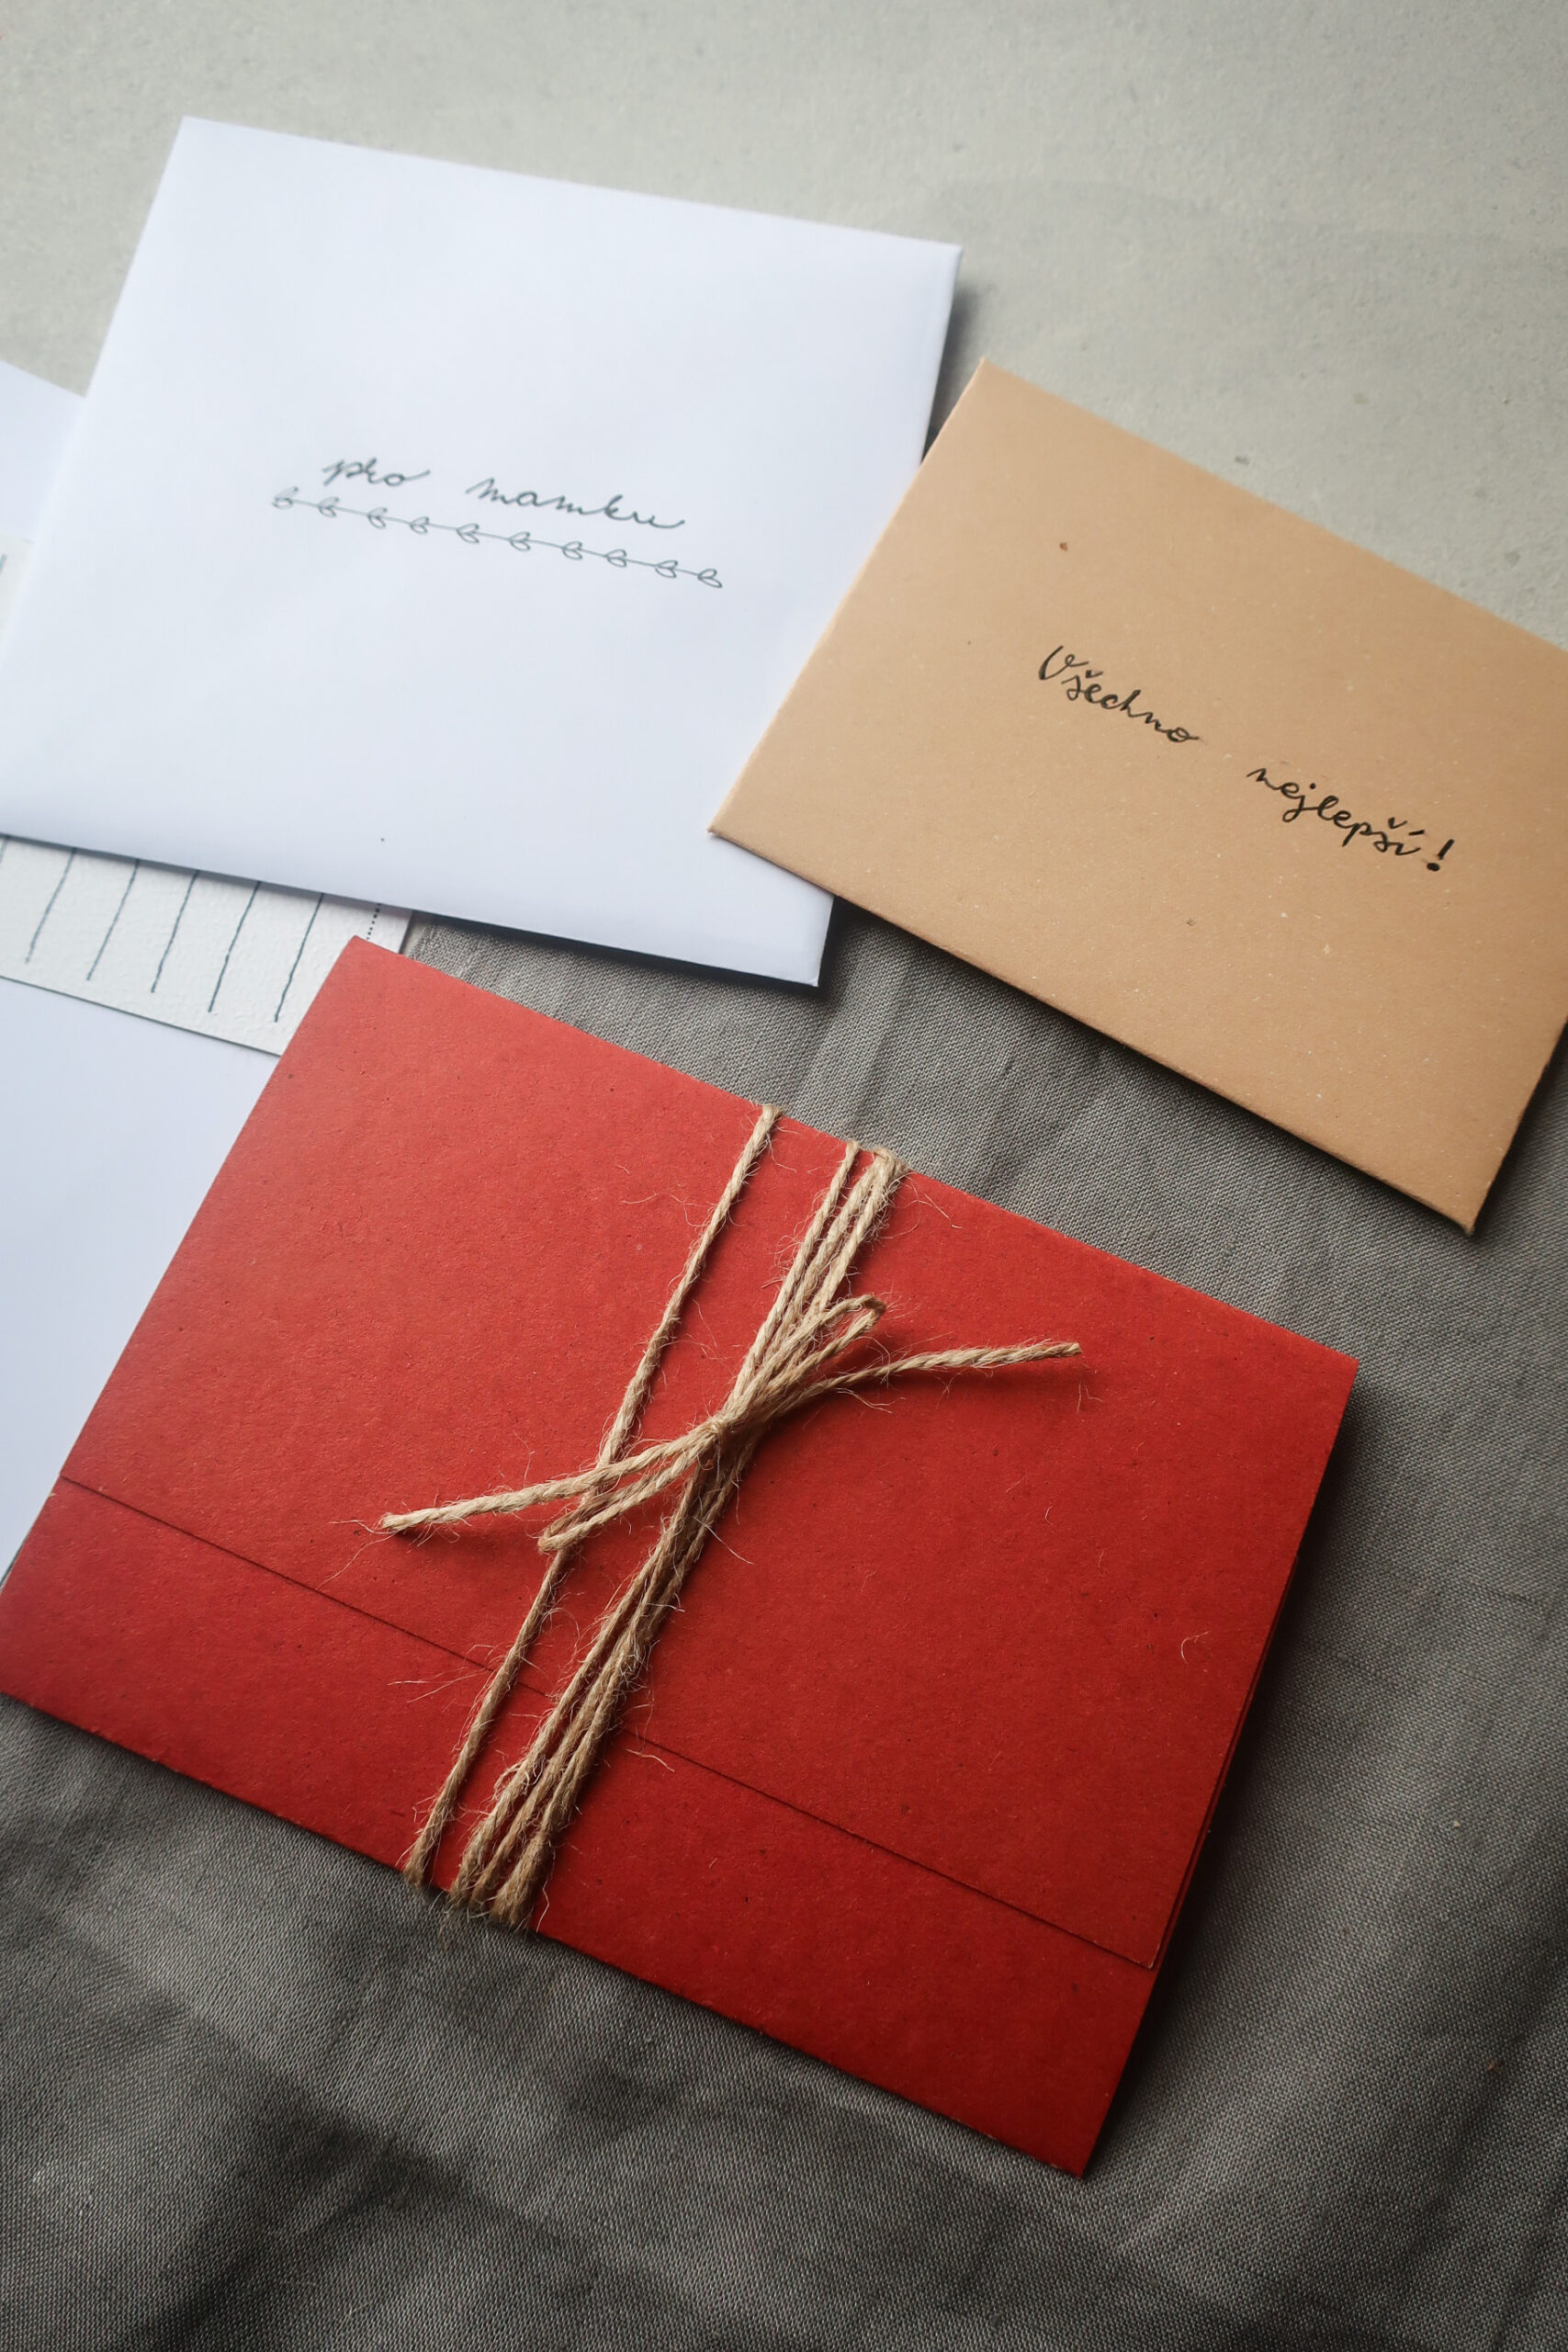
The envelopes are usually white and slightly translucent due to the low weight of the paper they are made of. It's a very quick solution if you don't have a nice thick paper on hand or don't feel like making the envelope yourself. You can decorate the finished envelopes to your liking, write a message to make the envelope more interesting and decorated, otherwise they are quite boring.
2) Simple envelope from a thick paper
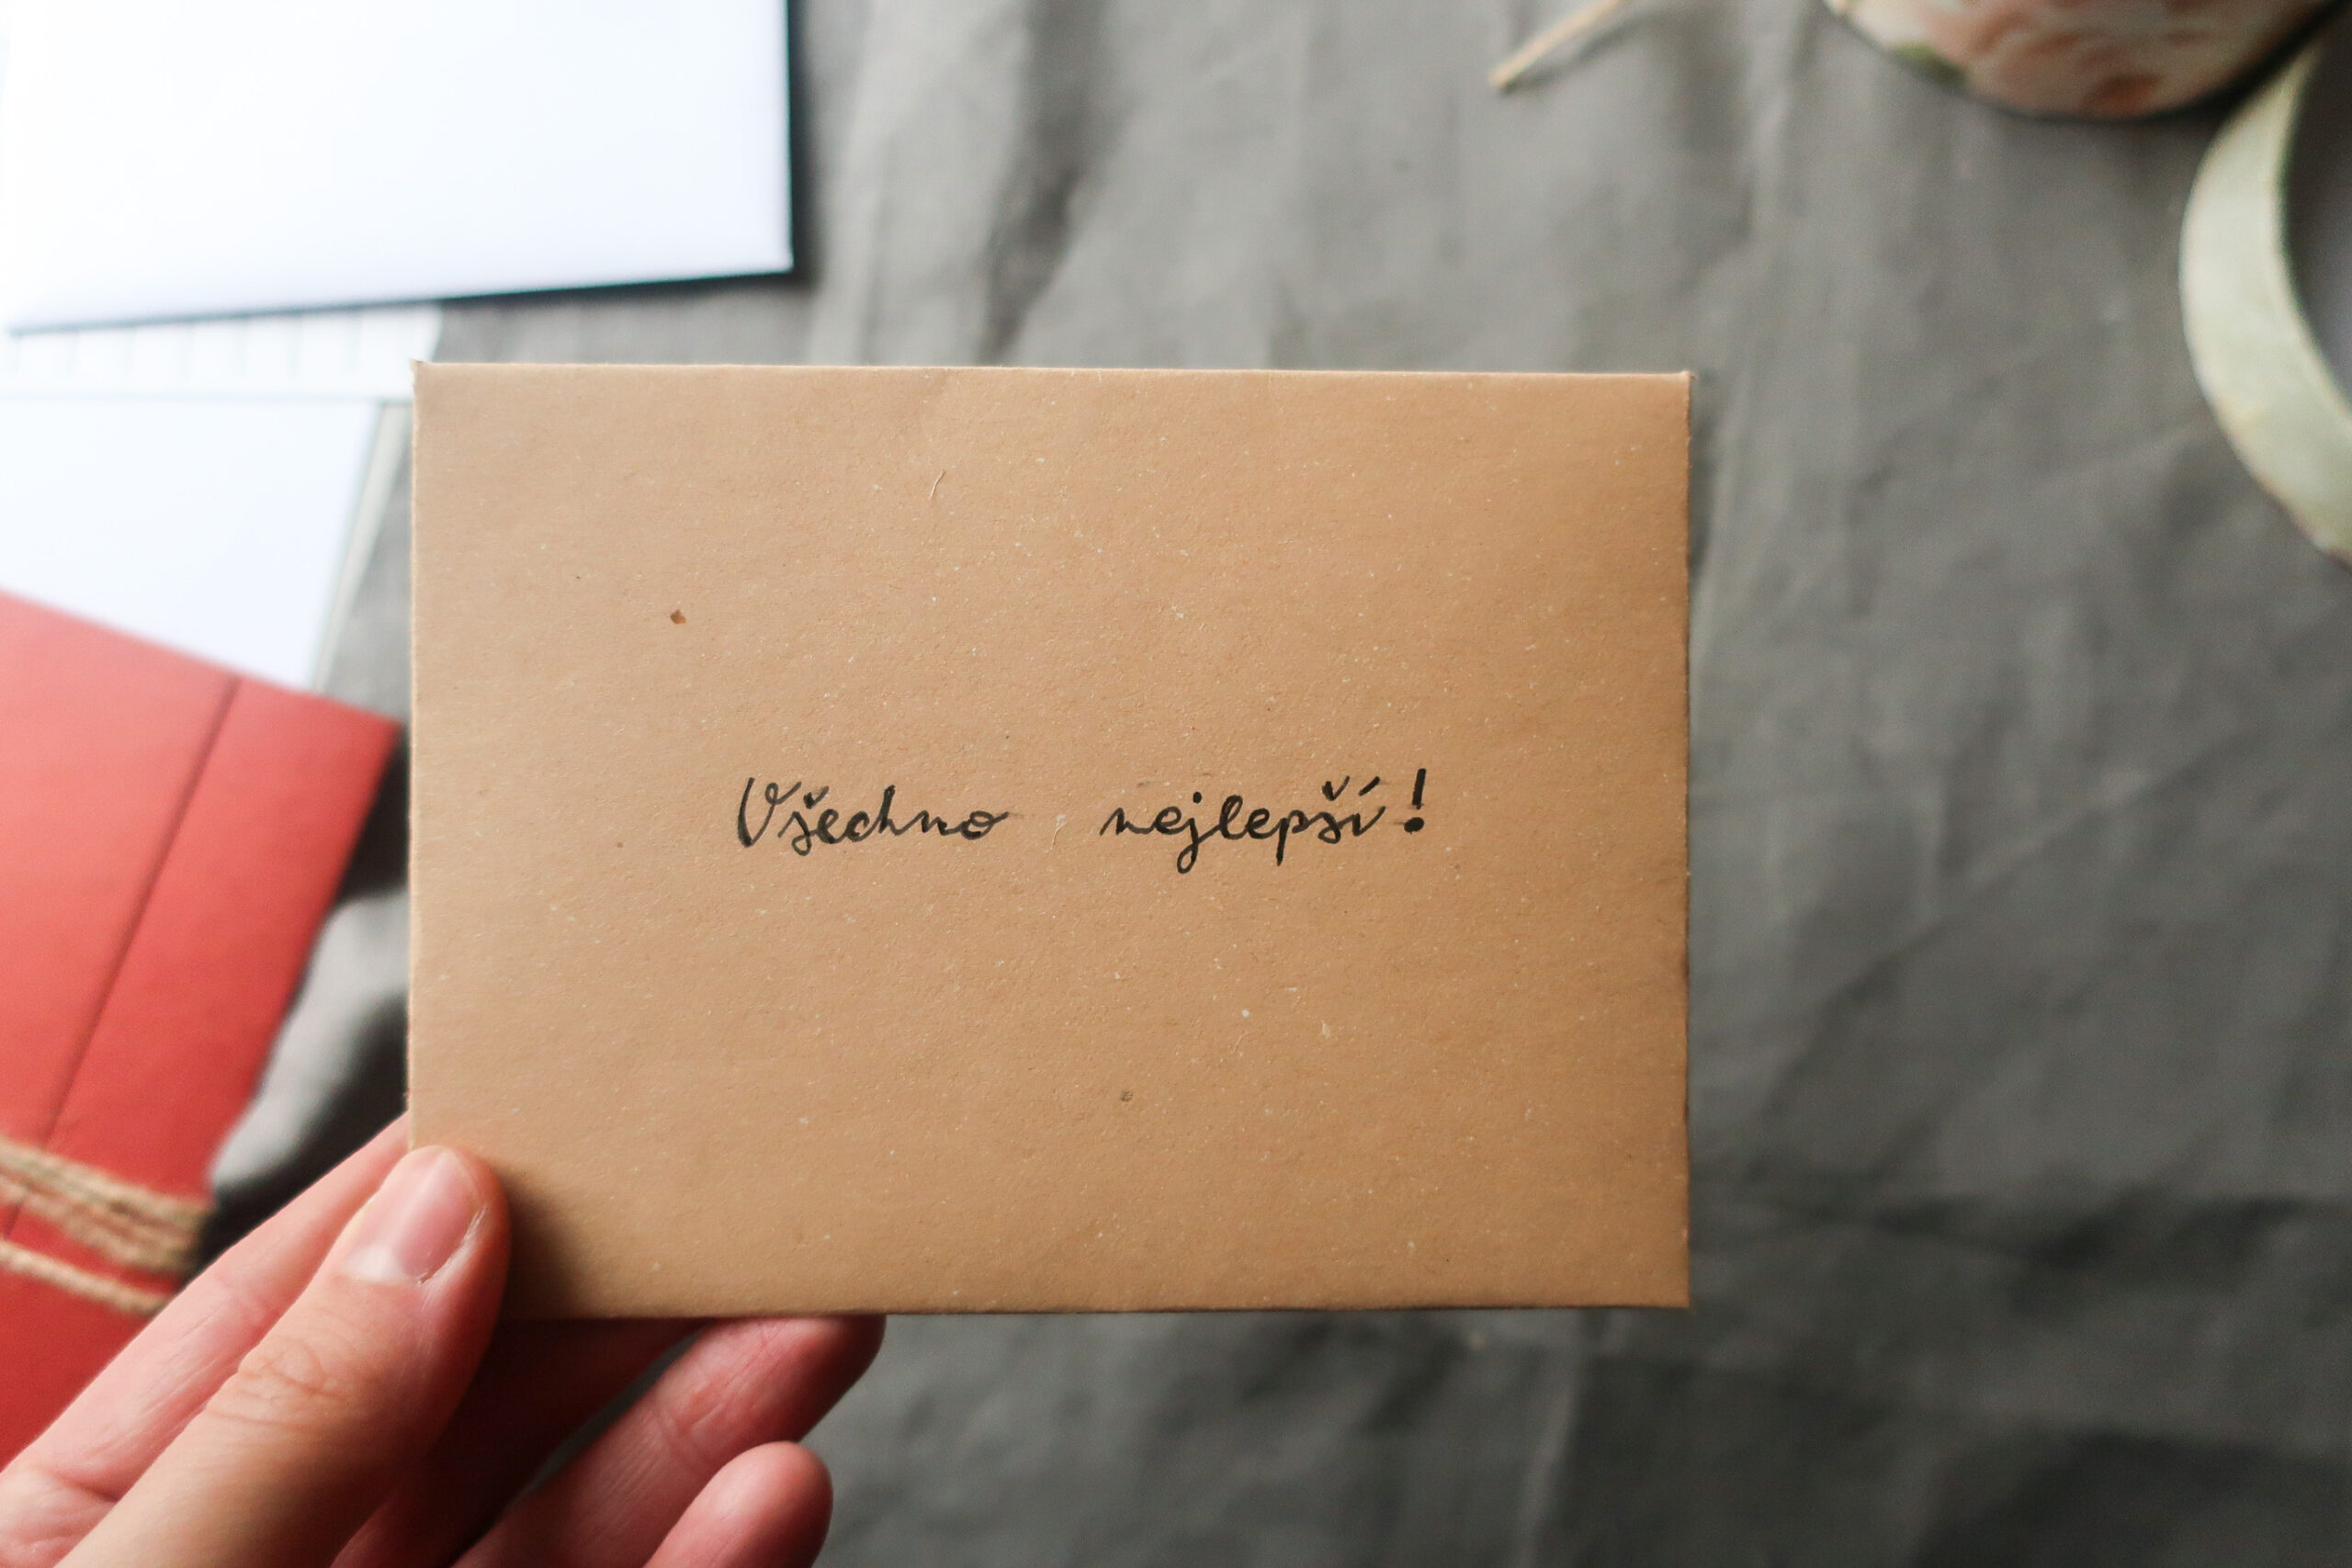
Making an envelope in this way has a lot of steps but they are all very simple. No detailed measuring is needed and the result is just so impressive! It is a versatile envelope that is really great if you want to send an envelope by post.
First choose the greeting card you want to give and a large enough colored thick paper. My card is 13x9 cm and the paper is A4 size.
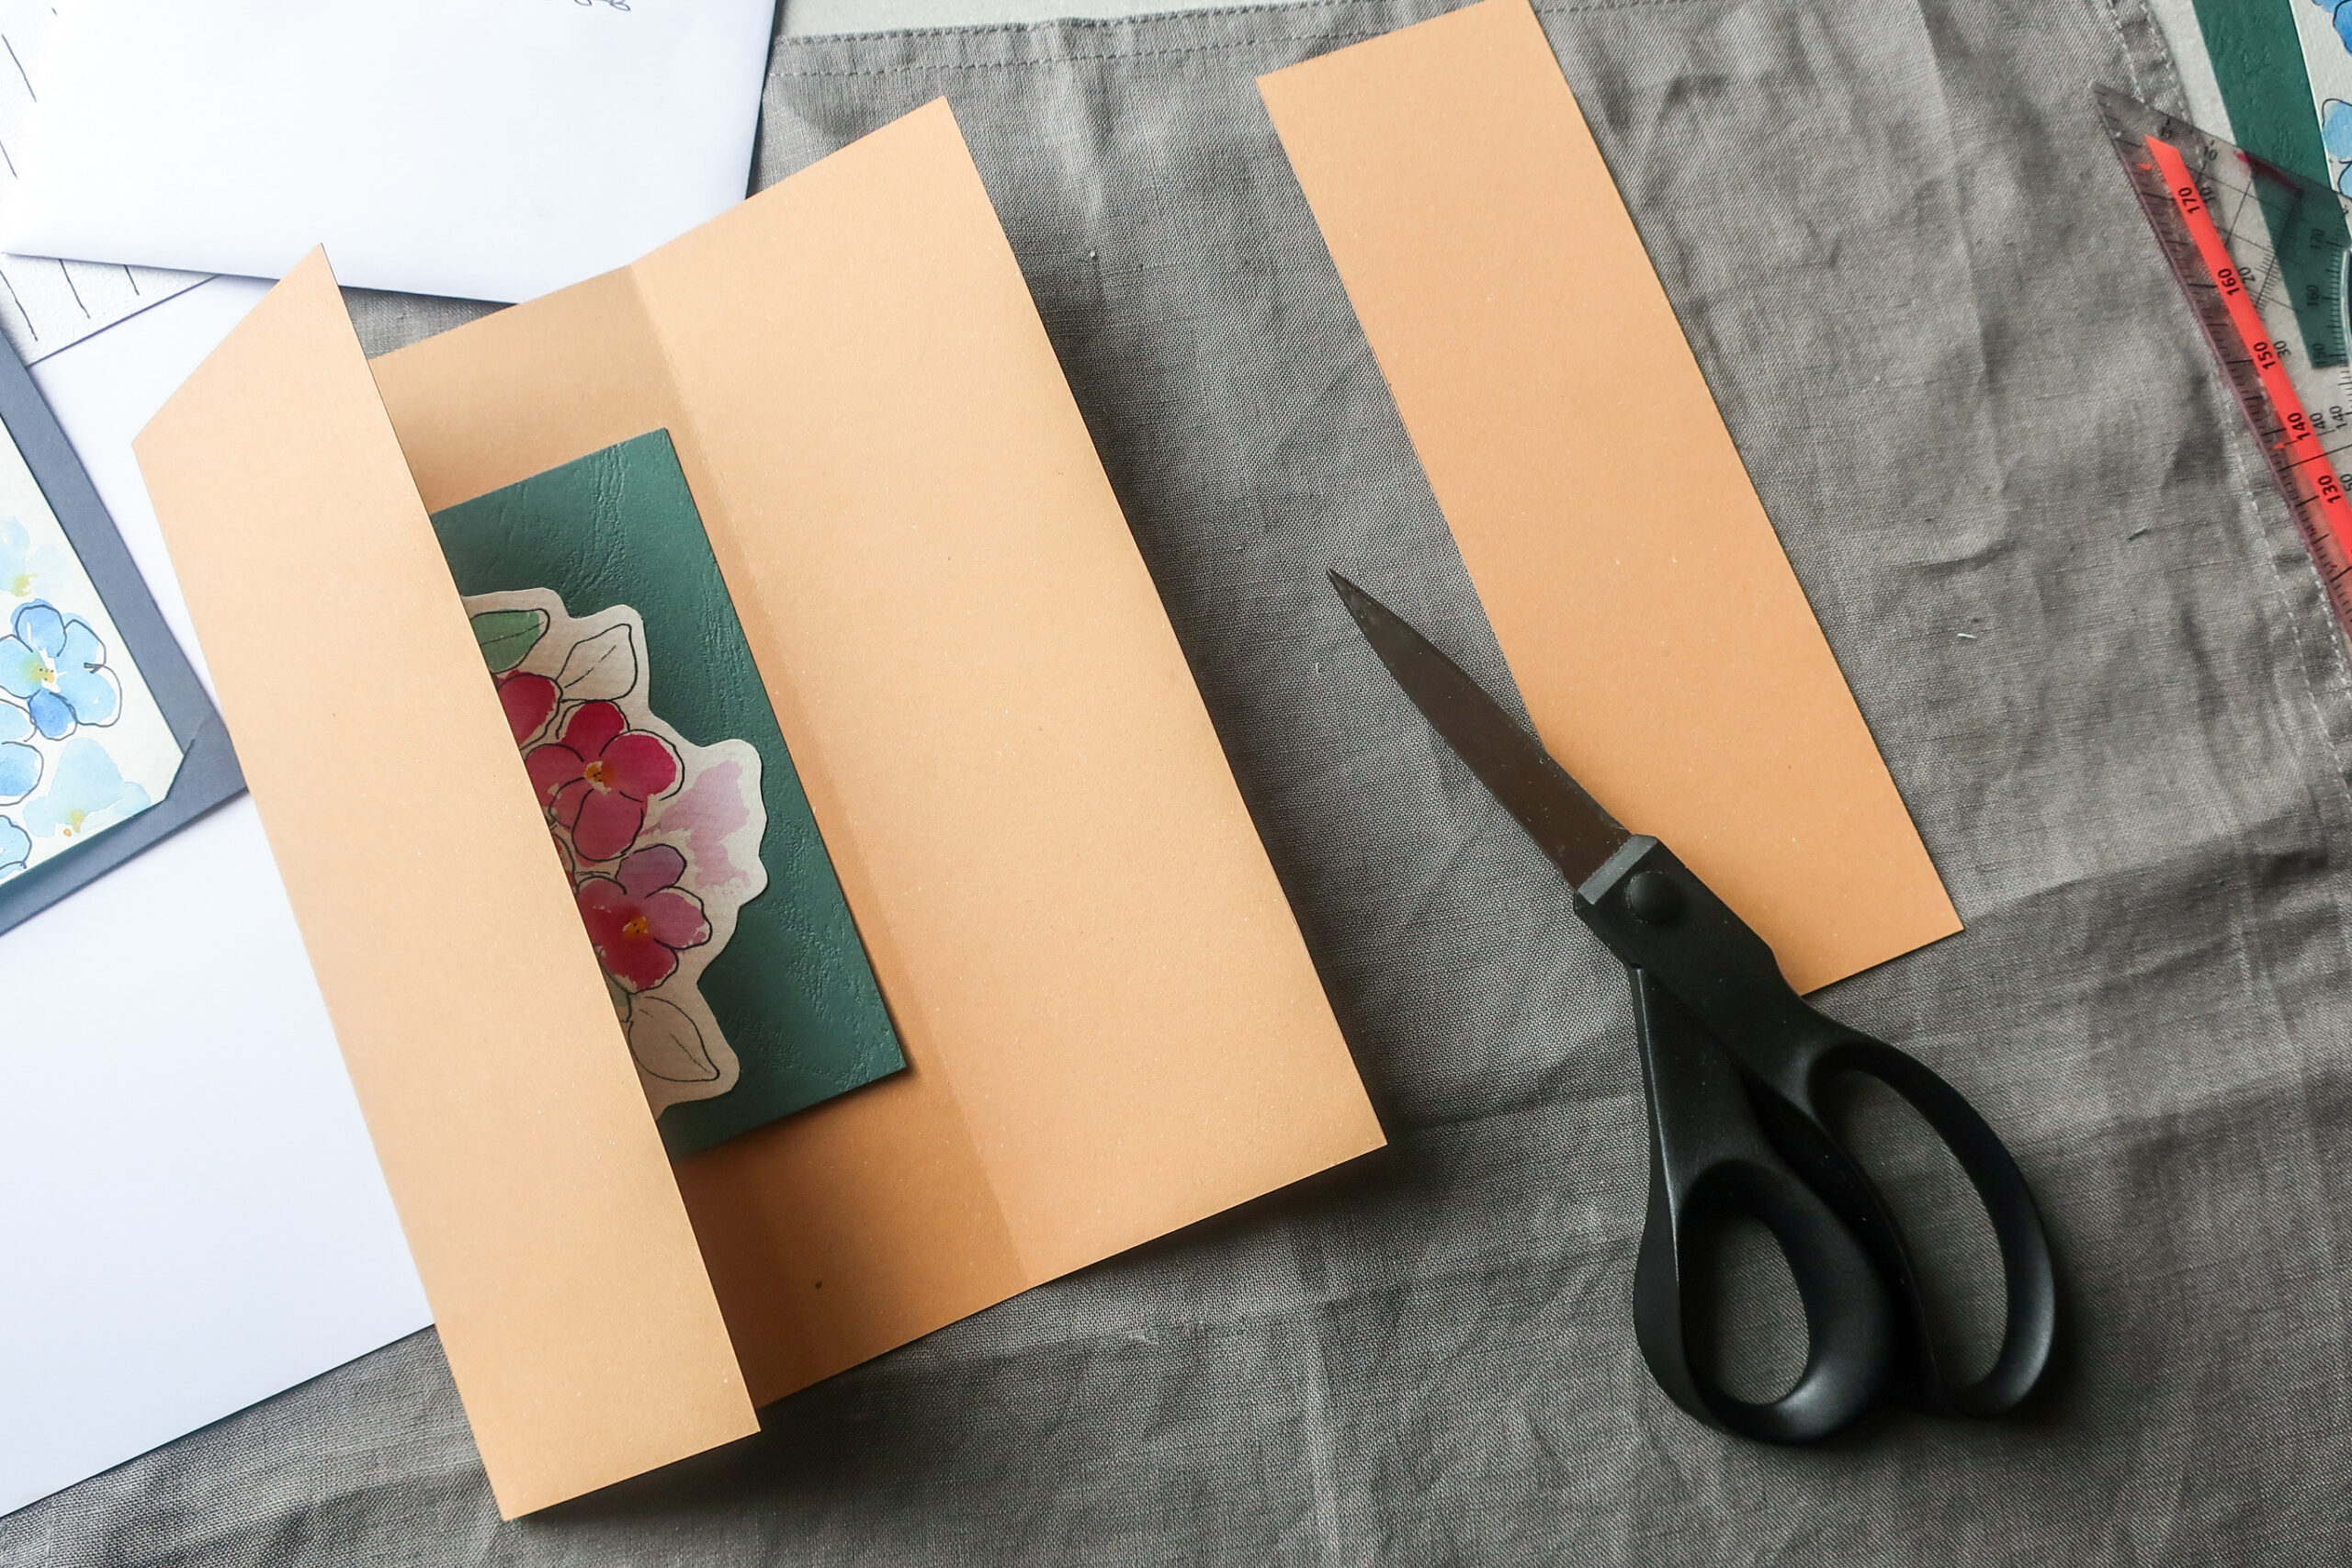
Then shorten the folds so that they reach approximately ⅔ of the height of the card on both sides. Straighten the folds, turn the longer side towards you and carefully fold the edges on the other two sides to make them approximately the same length. Shorten again if necessary.
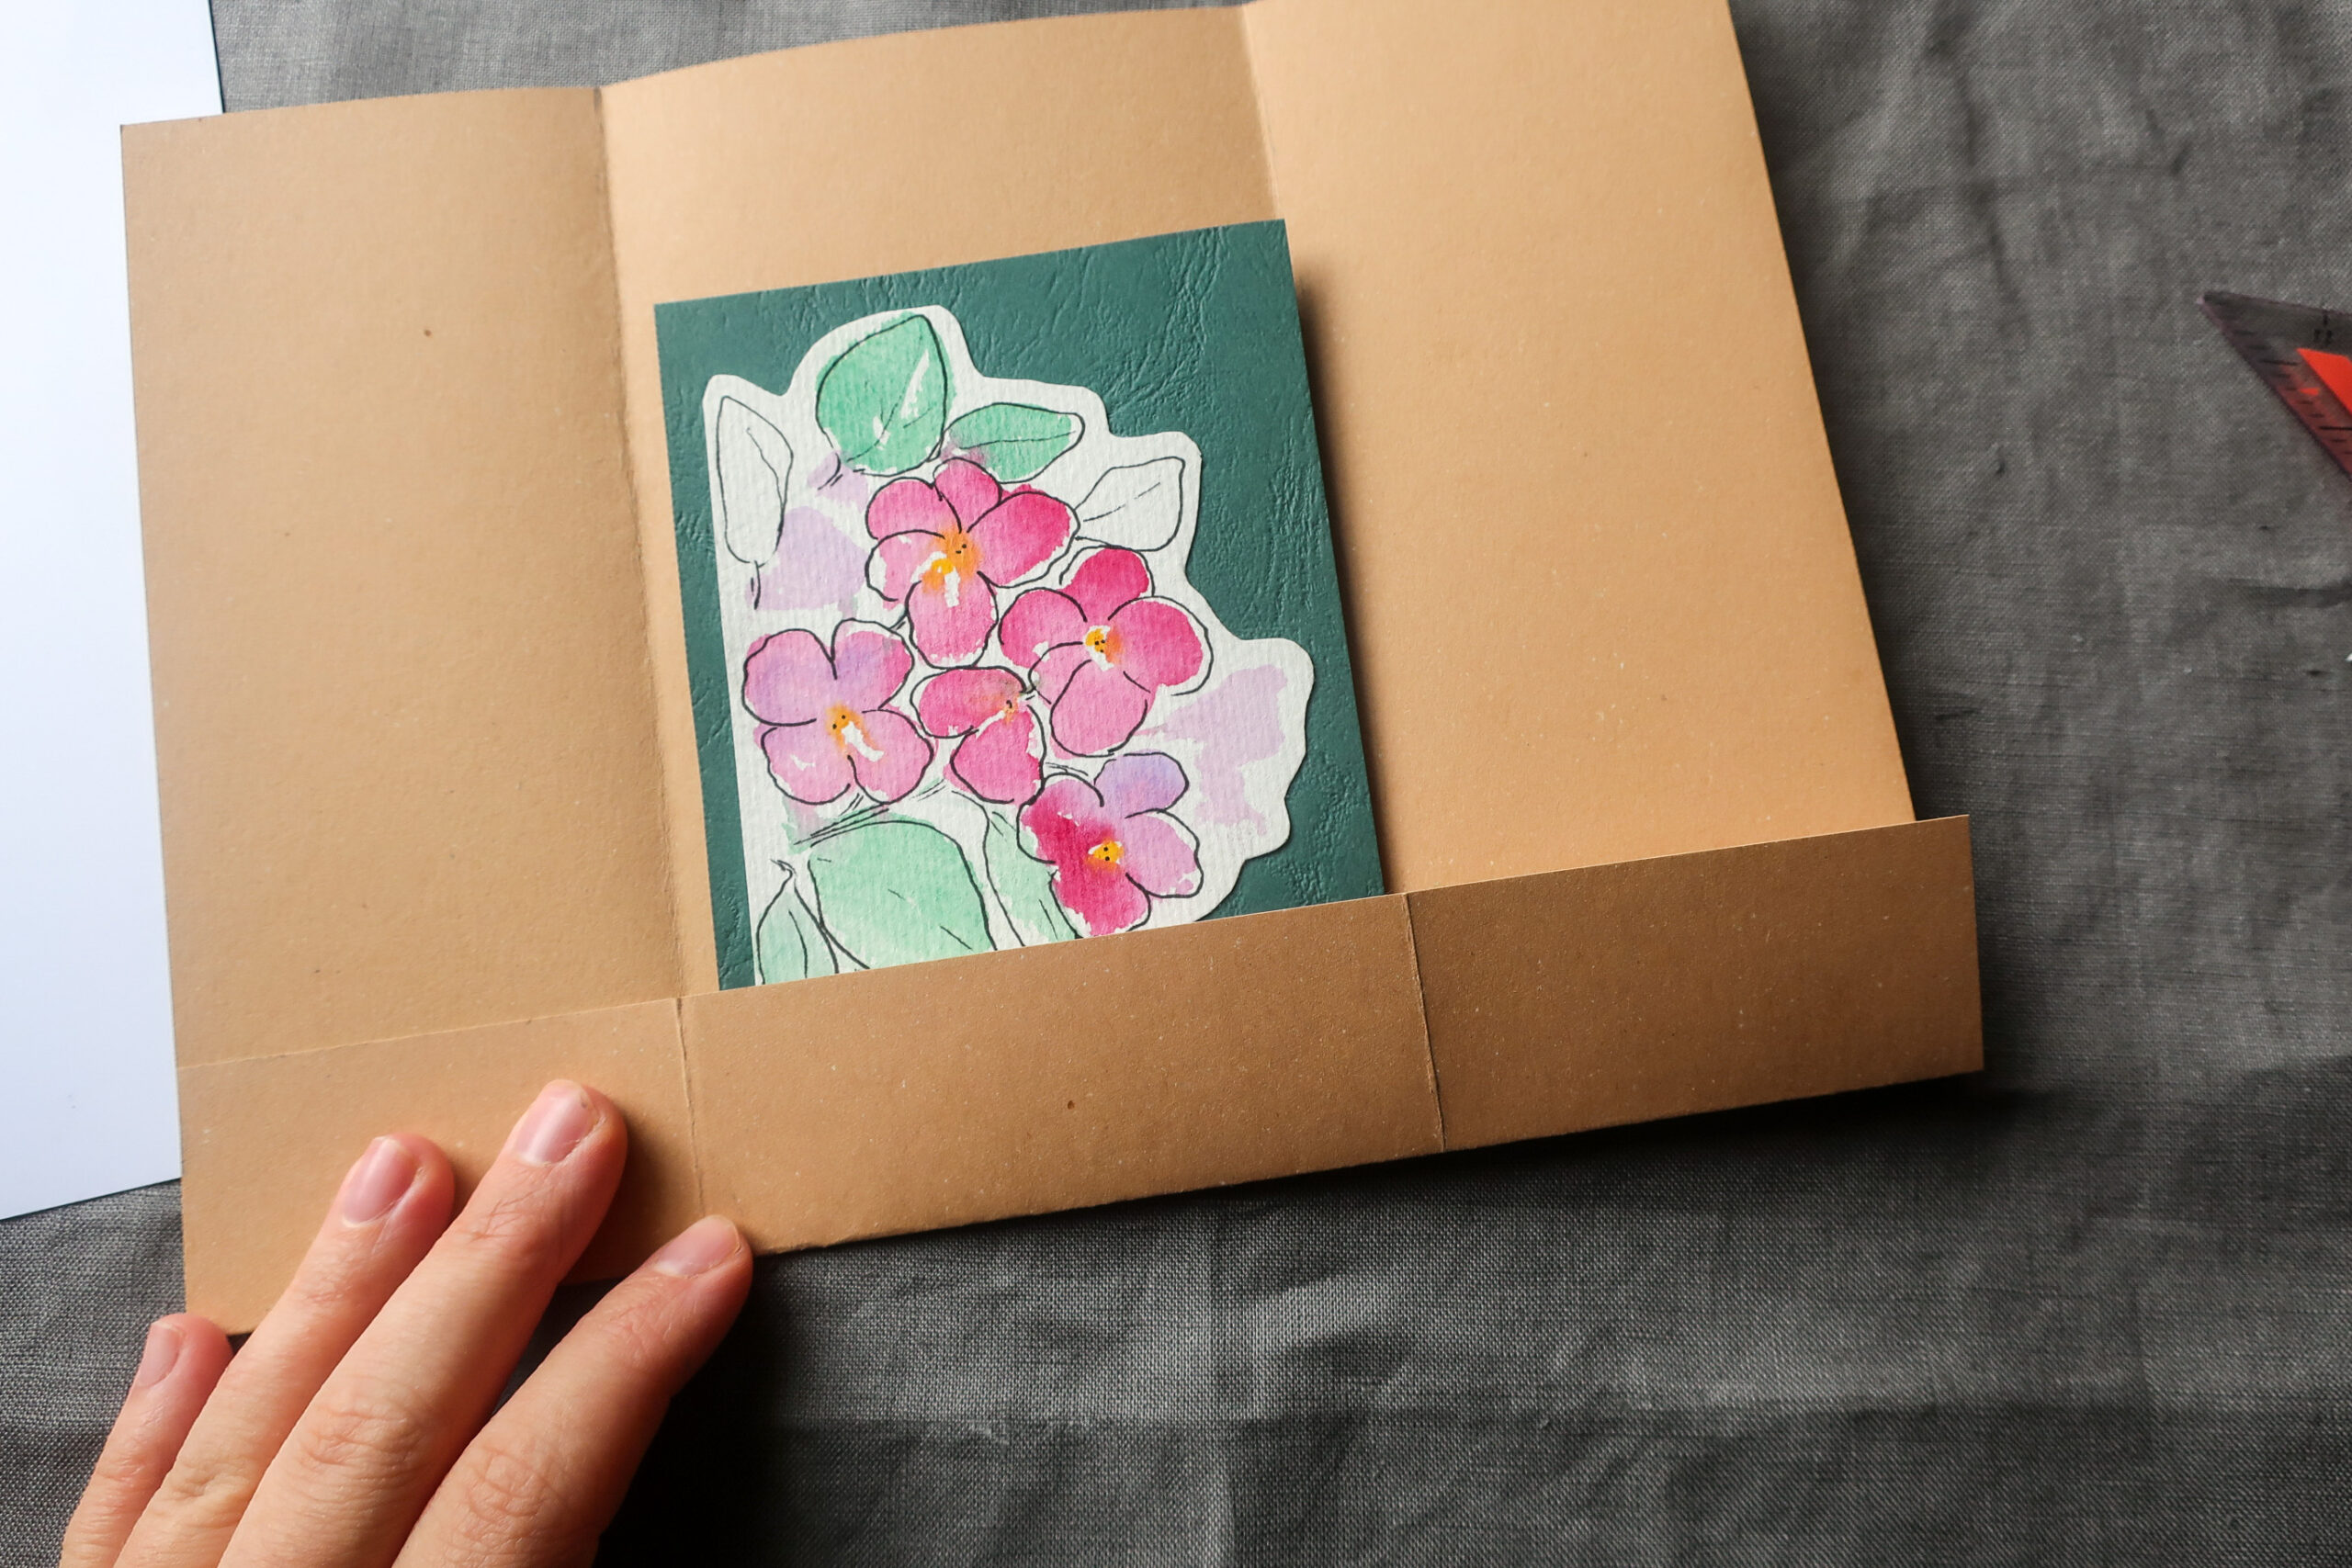
Straighten the paper again and cut off the edges of the paper - the 4 rectangles that you have created by folding at the corners. After that the paper will look like a cross.
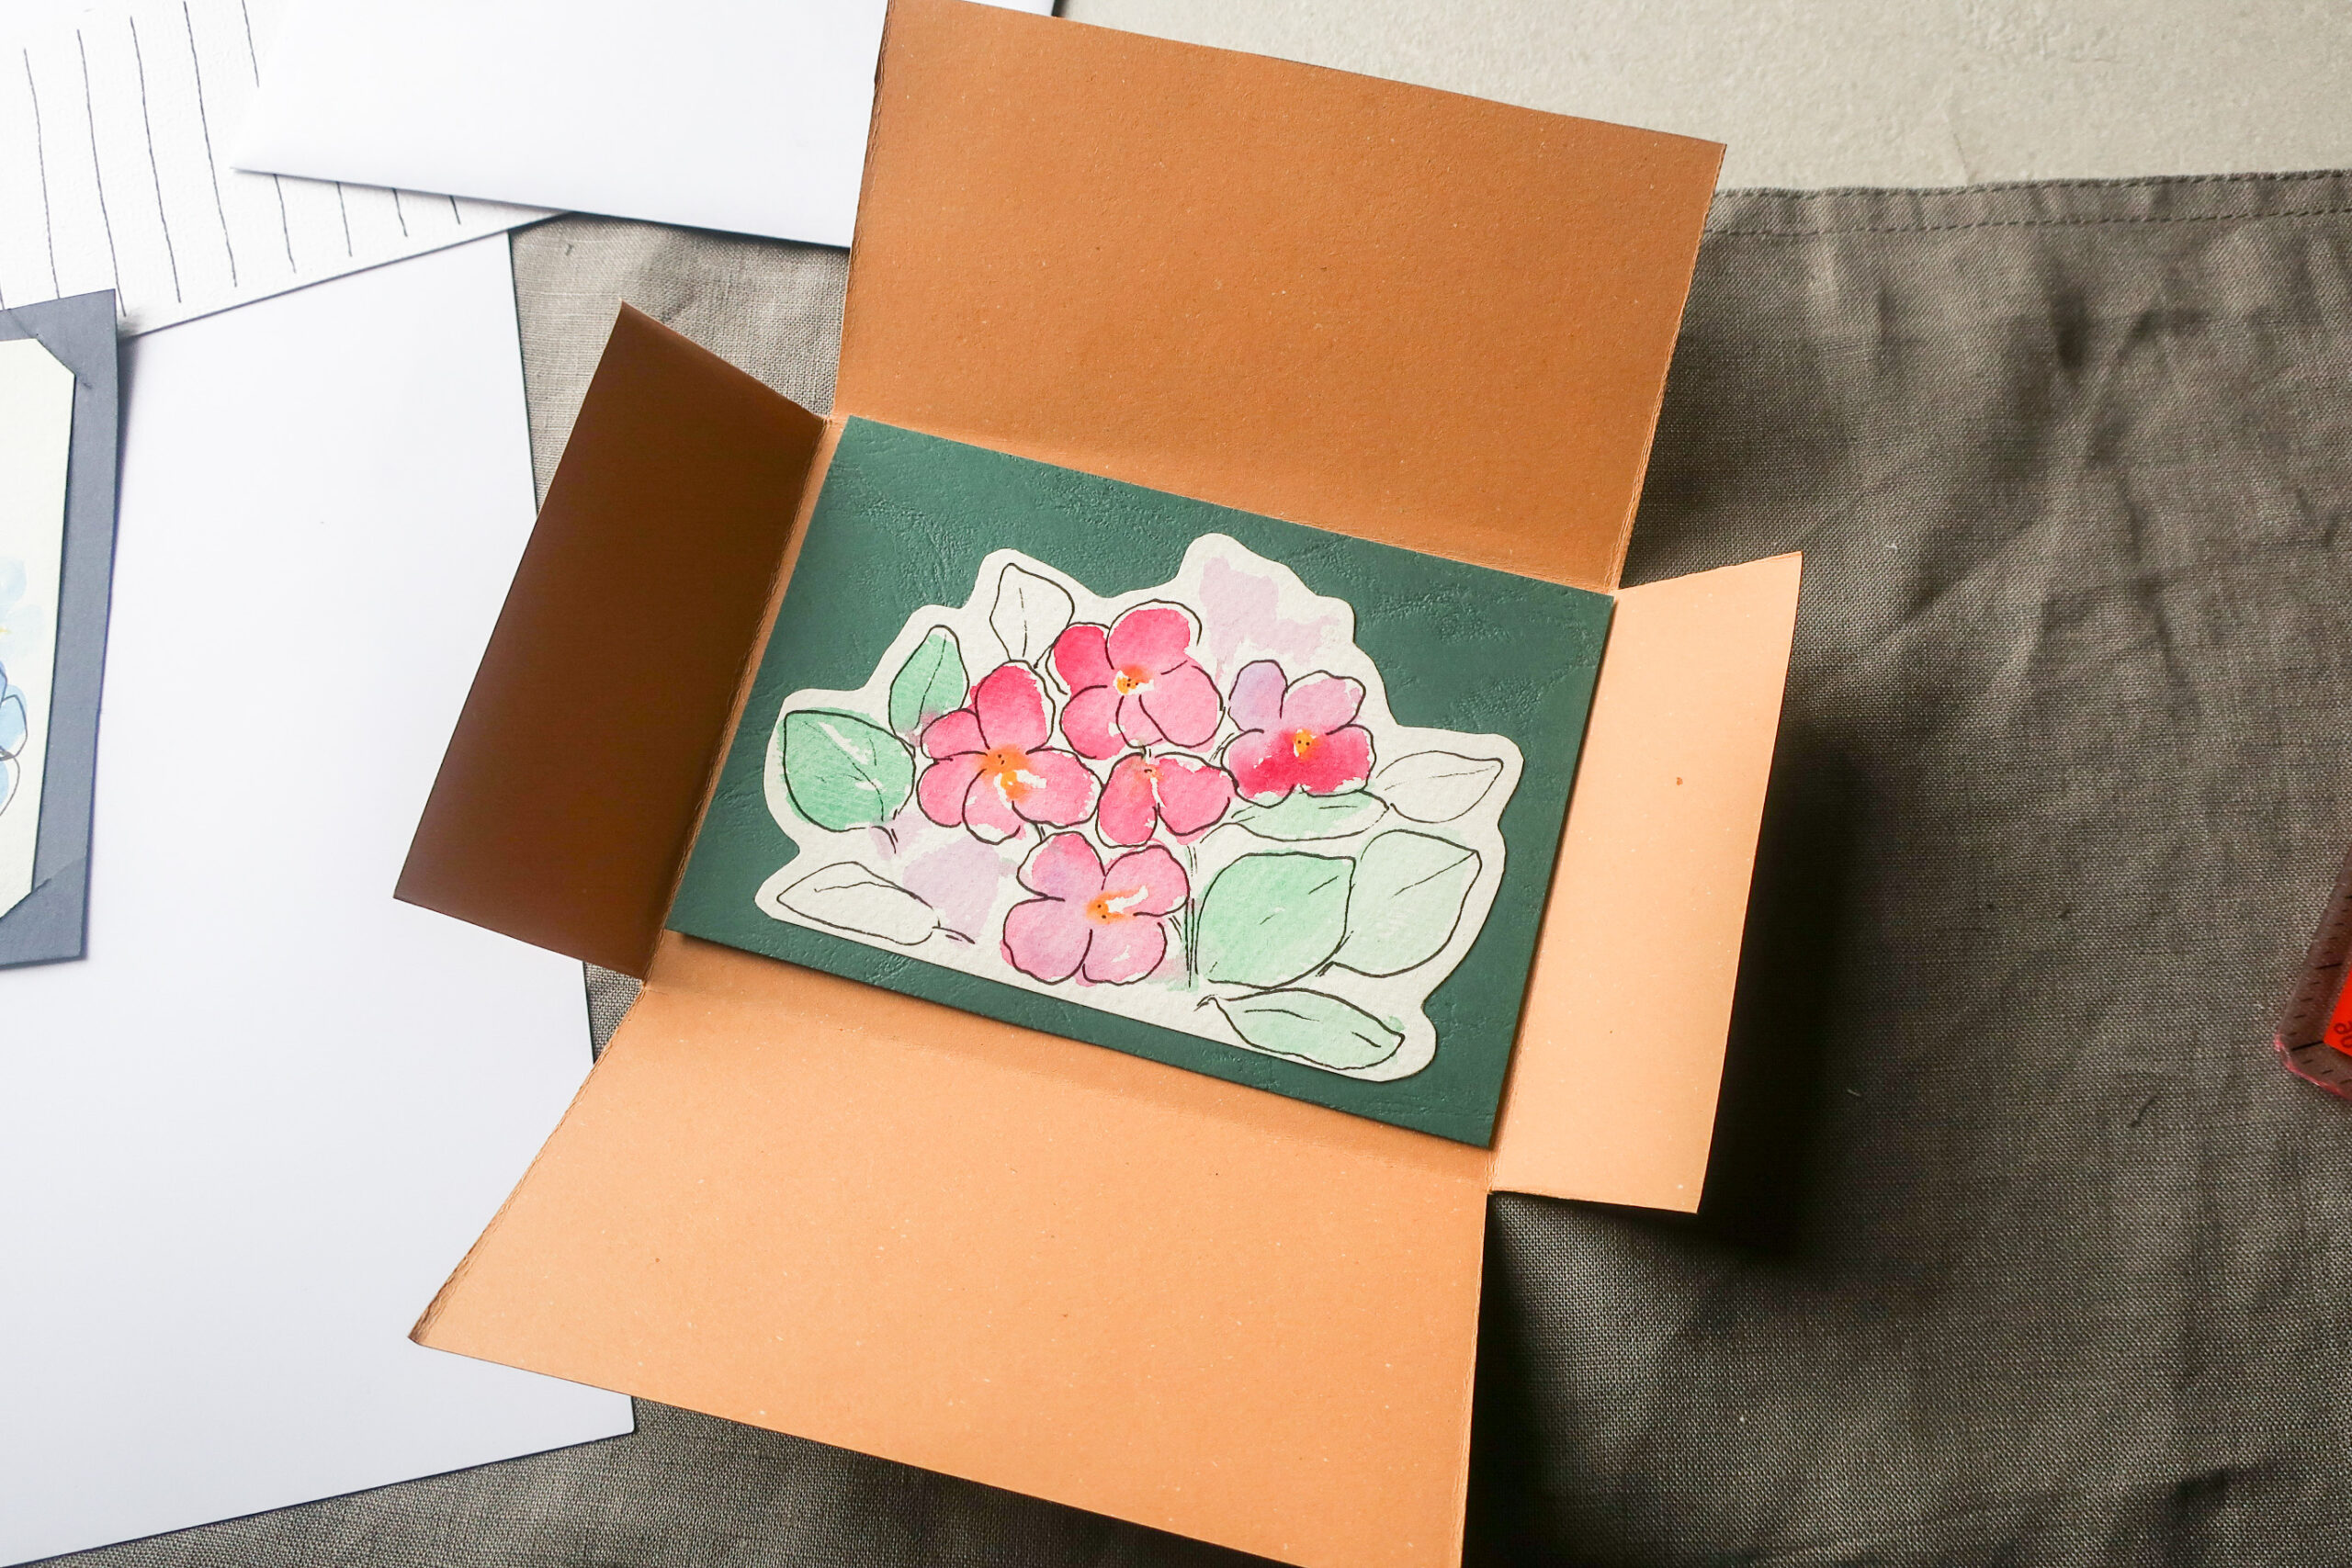
Fold the envelope again and you can even cut off the top of the side parts of the envelope at an angle (see picture). It will make it easier to insert the greeting card into the envelope.
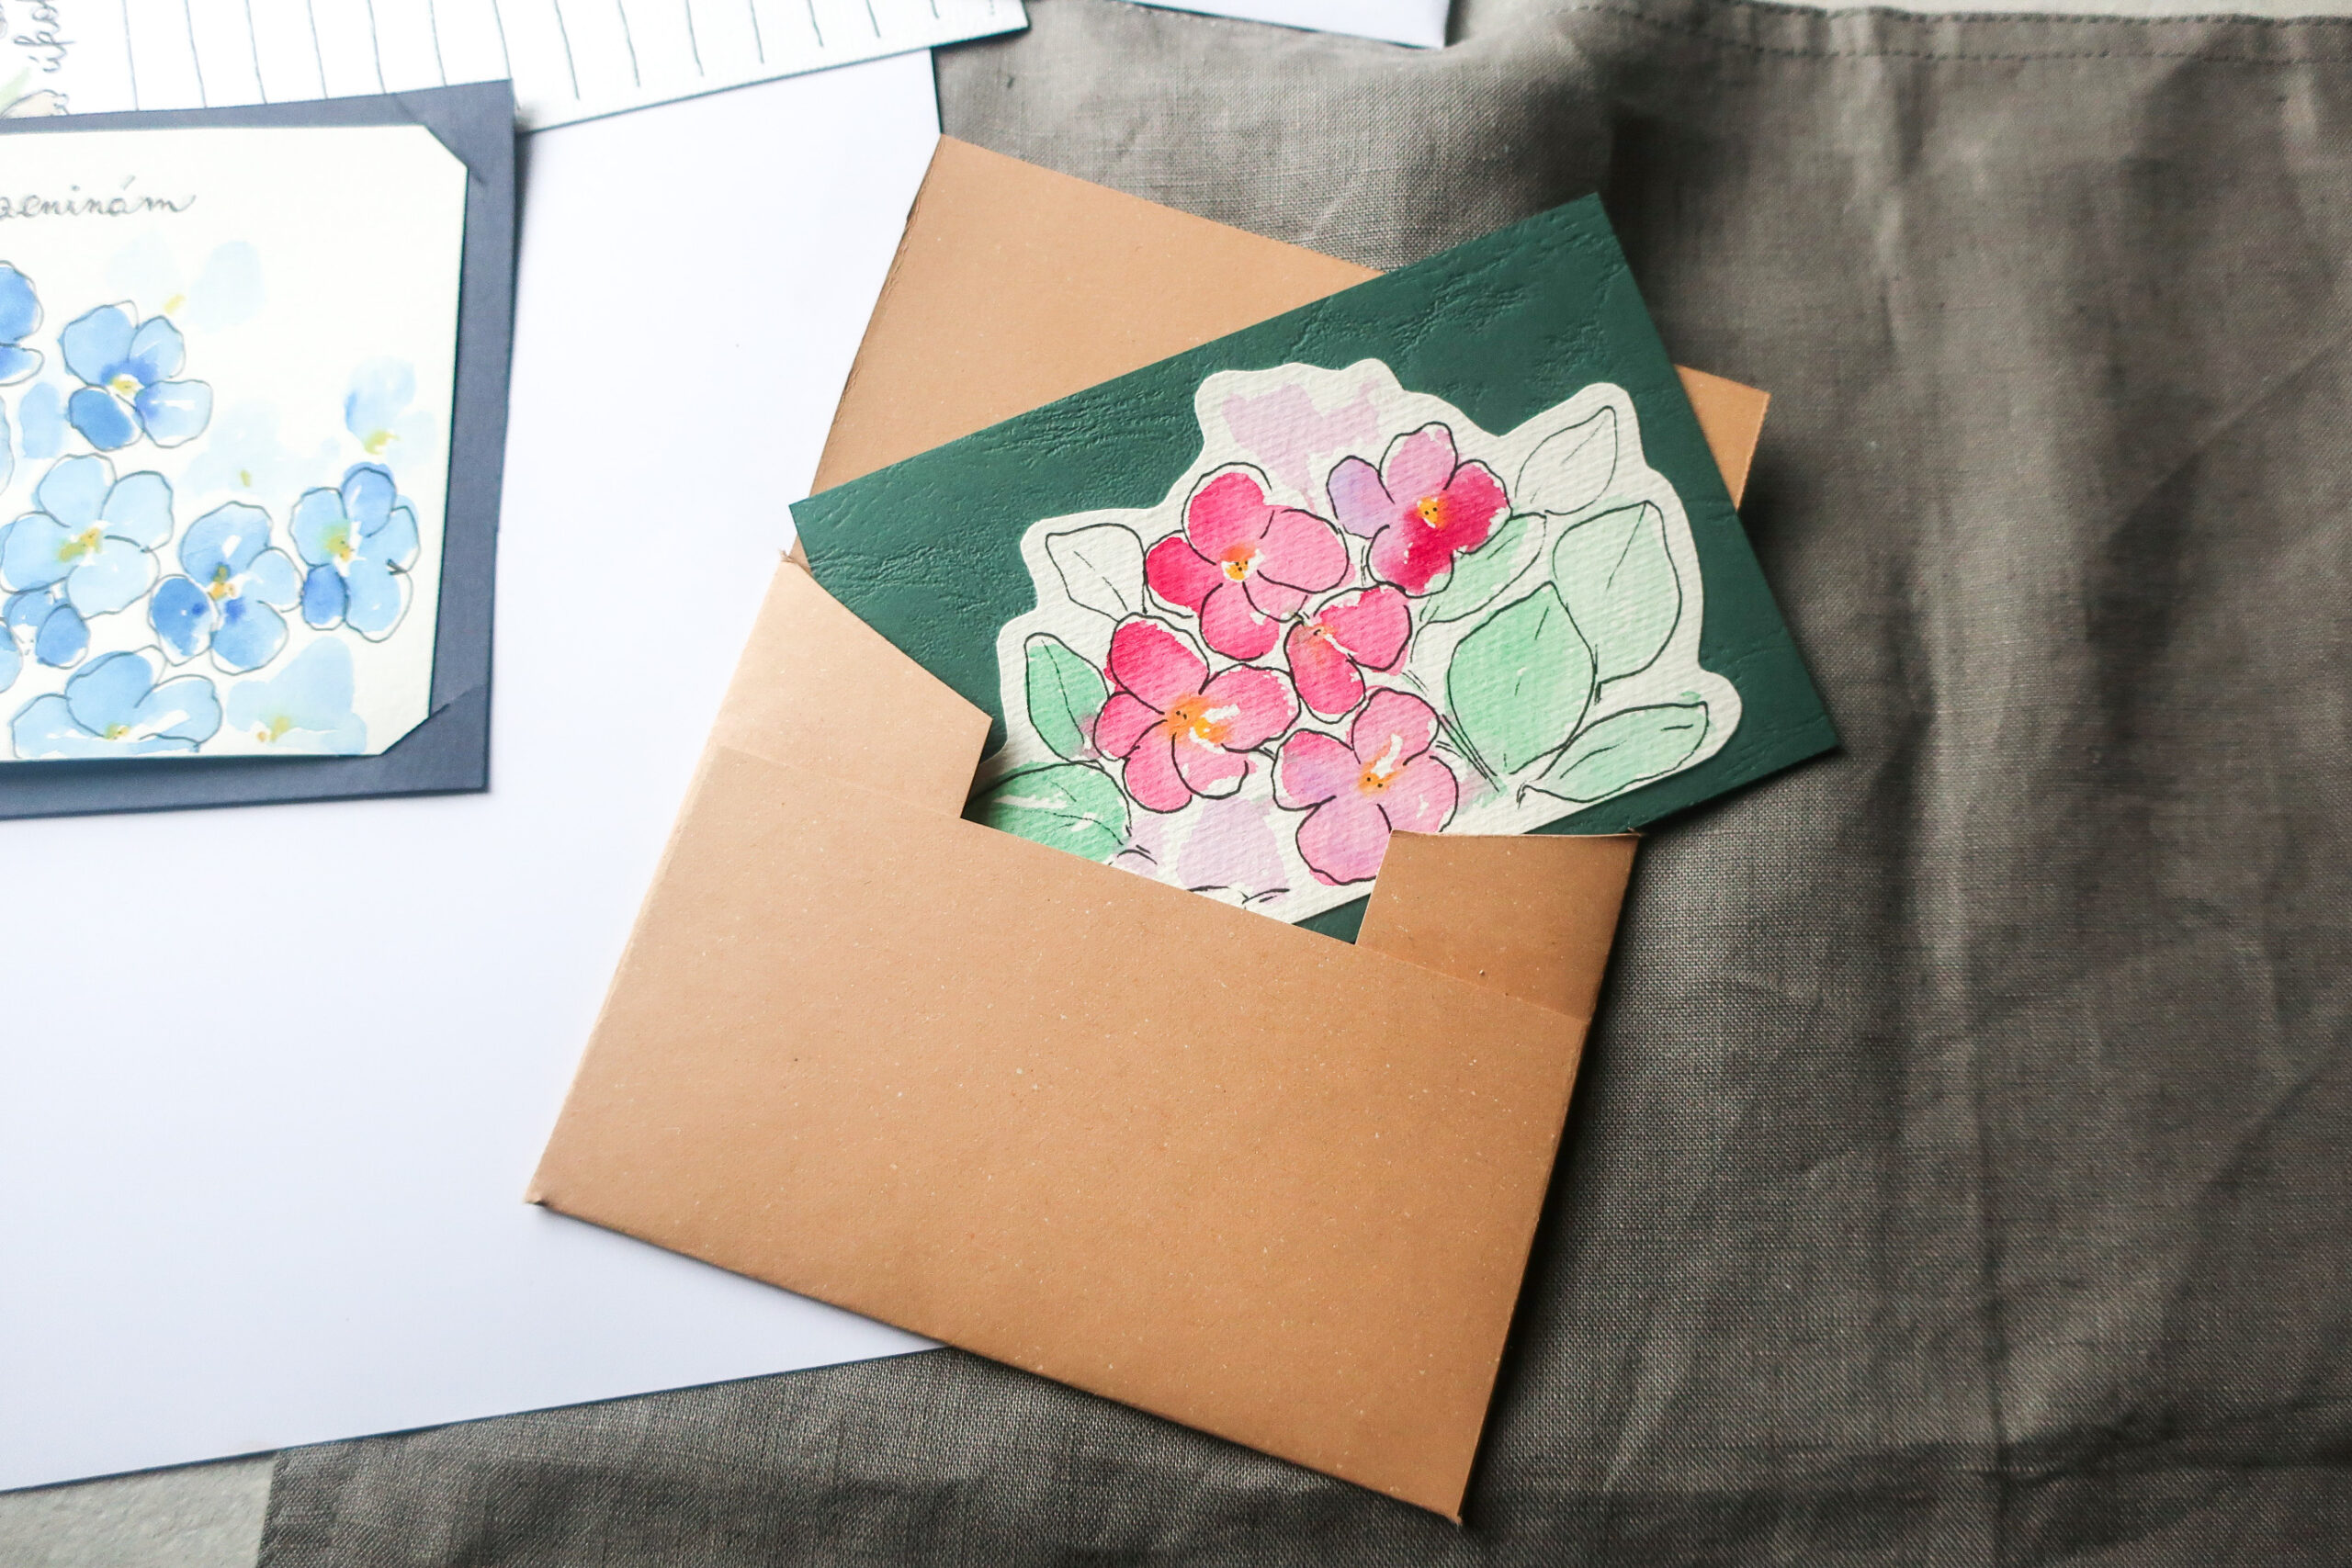
Now just glue the bottom part of the envelope to the sides and let it dry very well.
You can draw small illustrations on the front of the envelope or write a message and make the envelope even more personal and interesting.
3) Envelope slider
Very quick and my favorite way to make paper envelopes. It is perfect if you want to give the card in the hand or in a gift box.
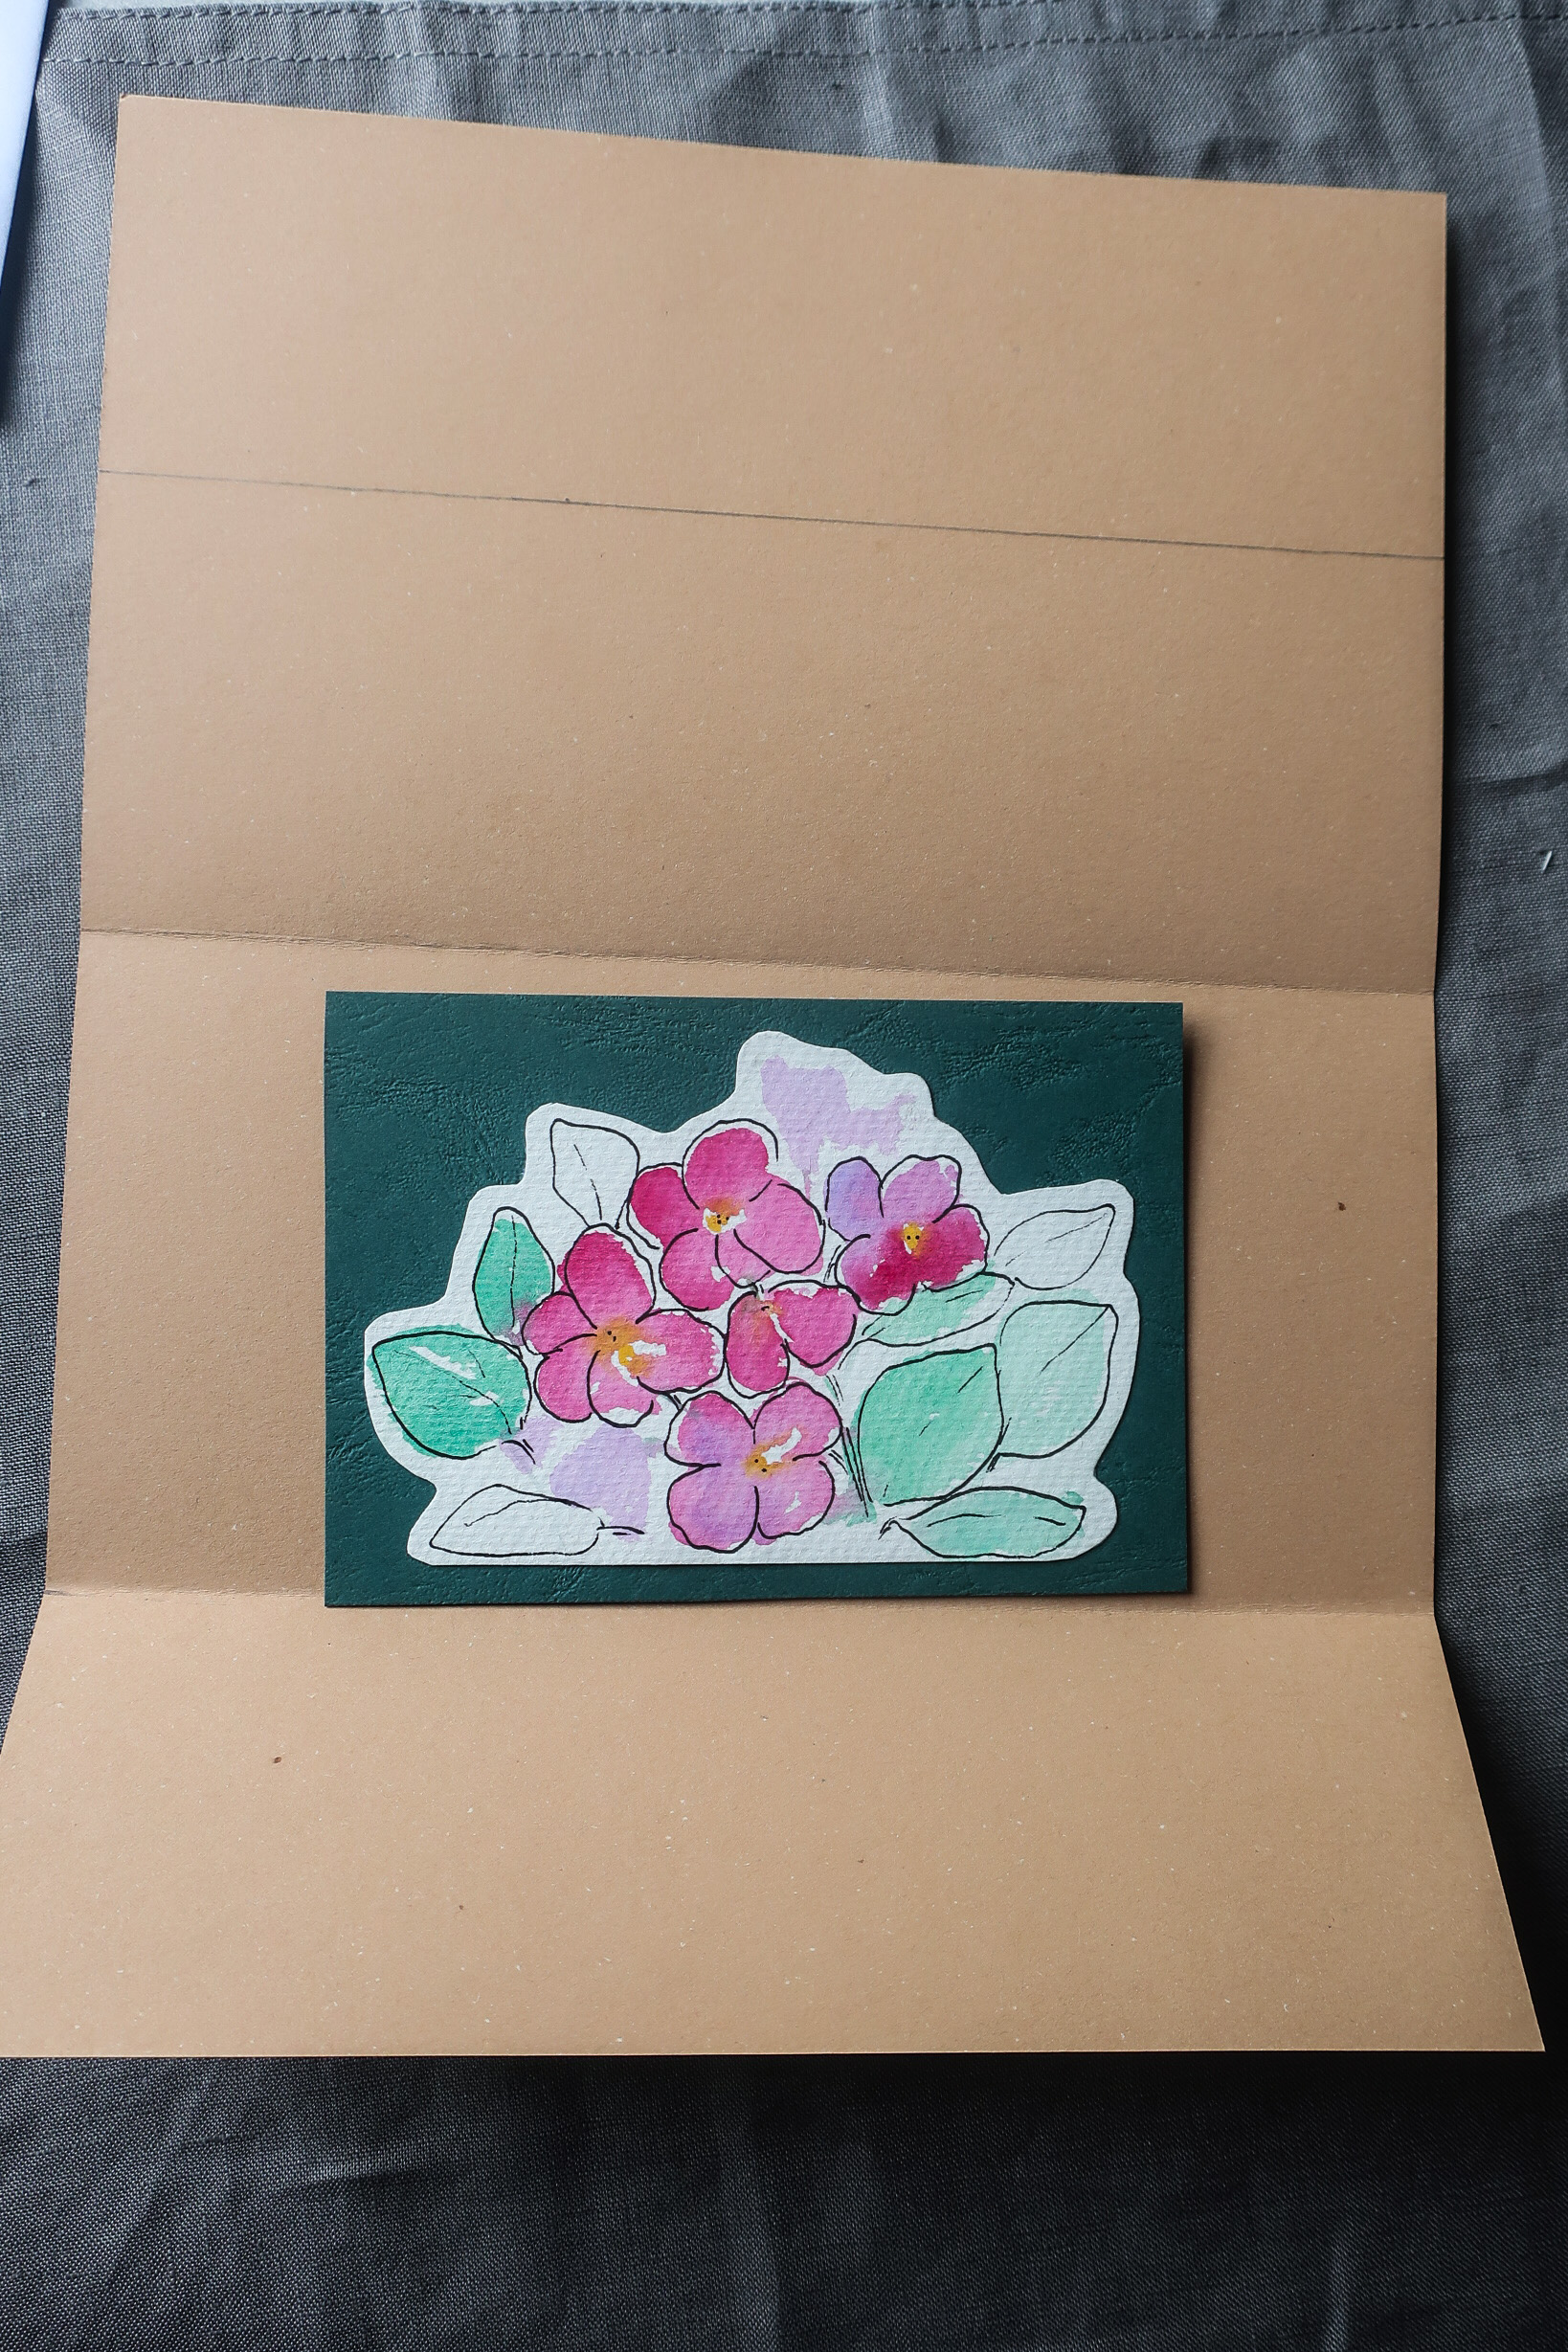
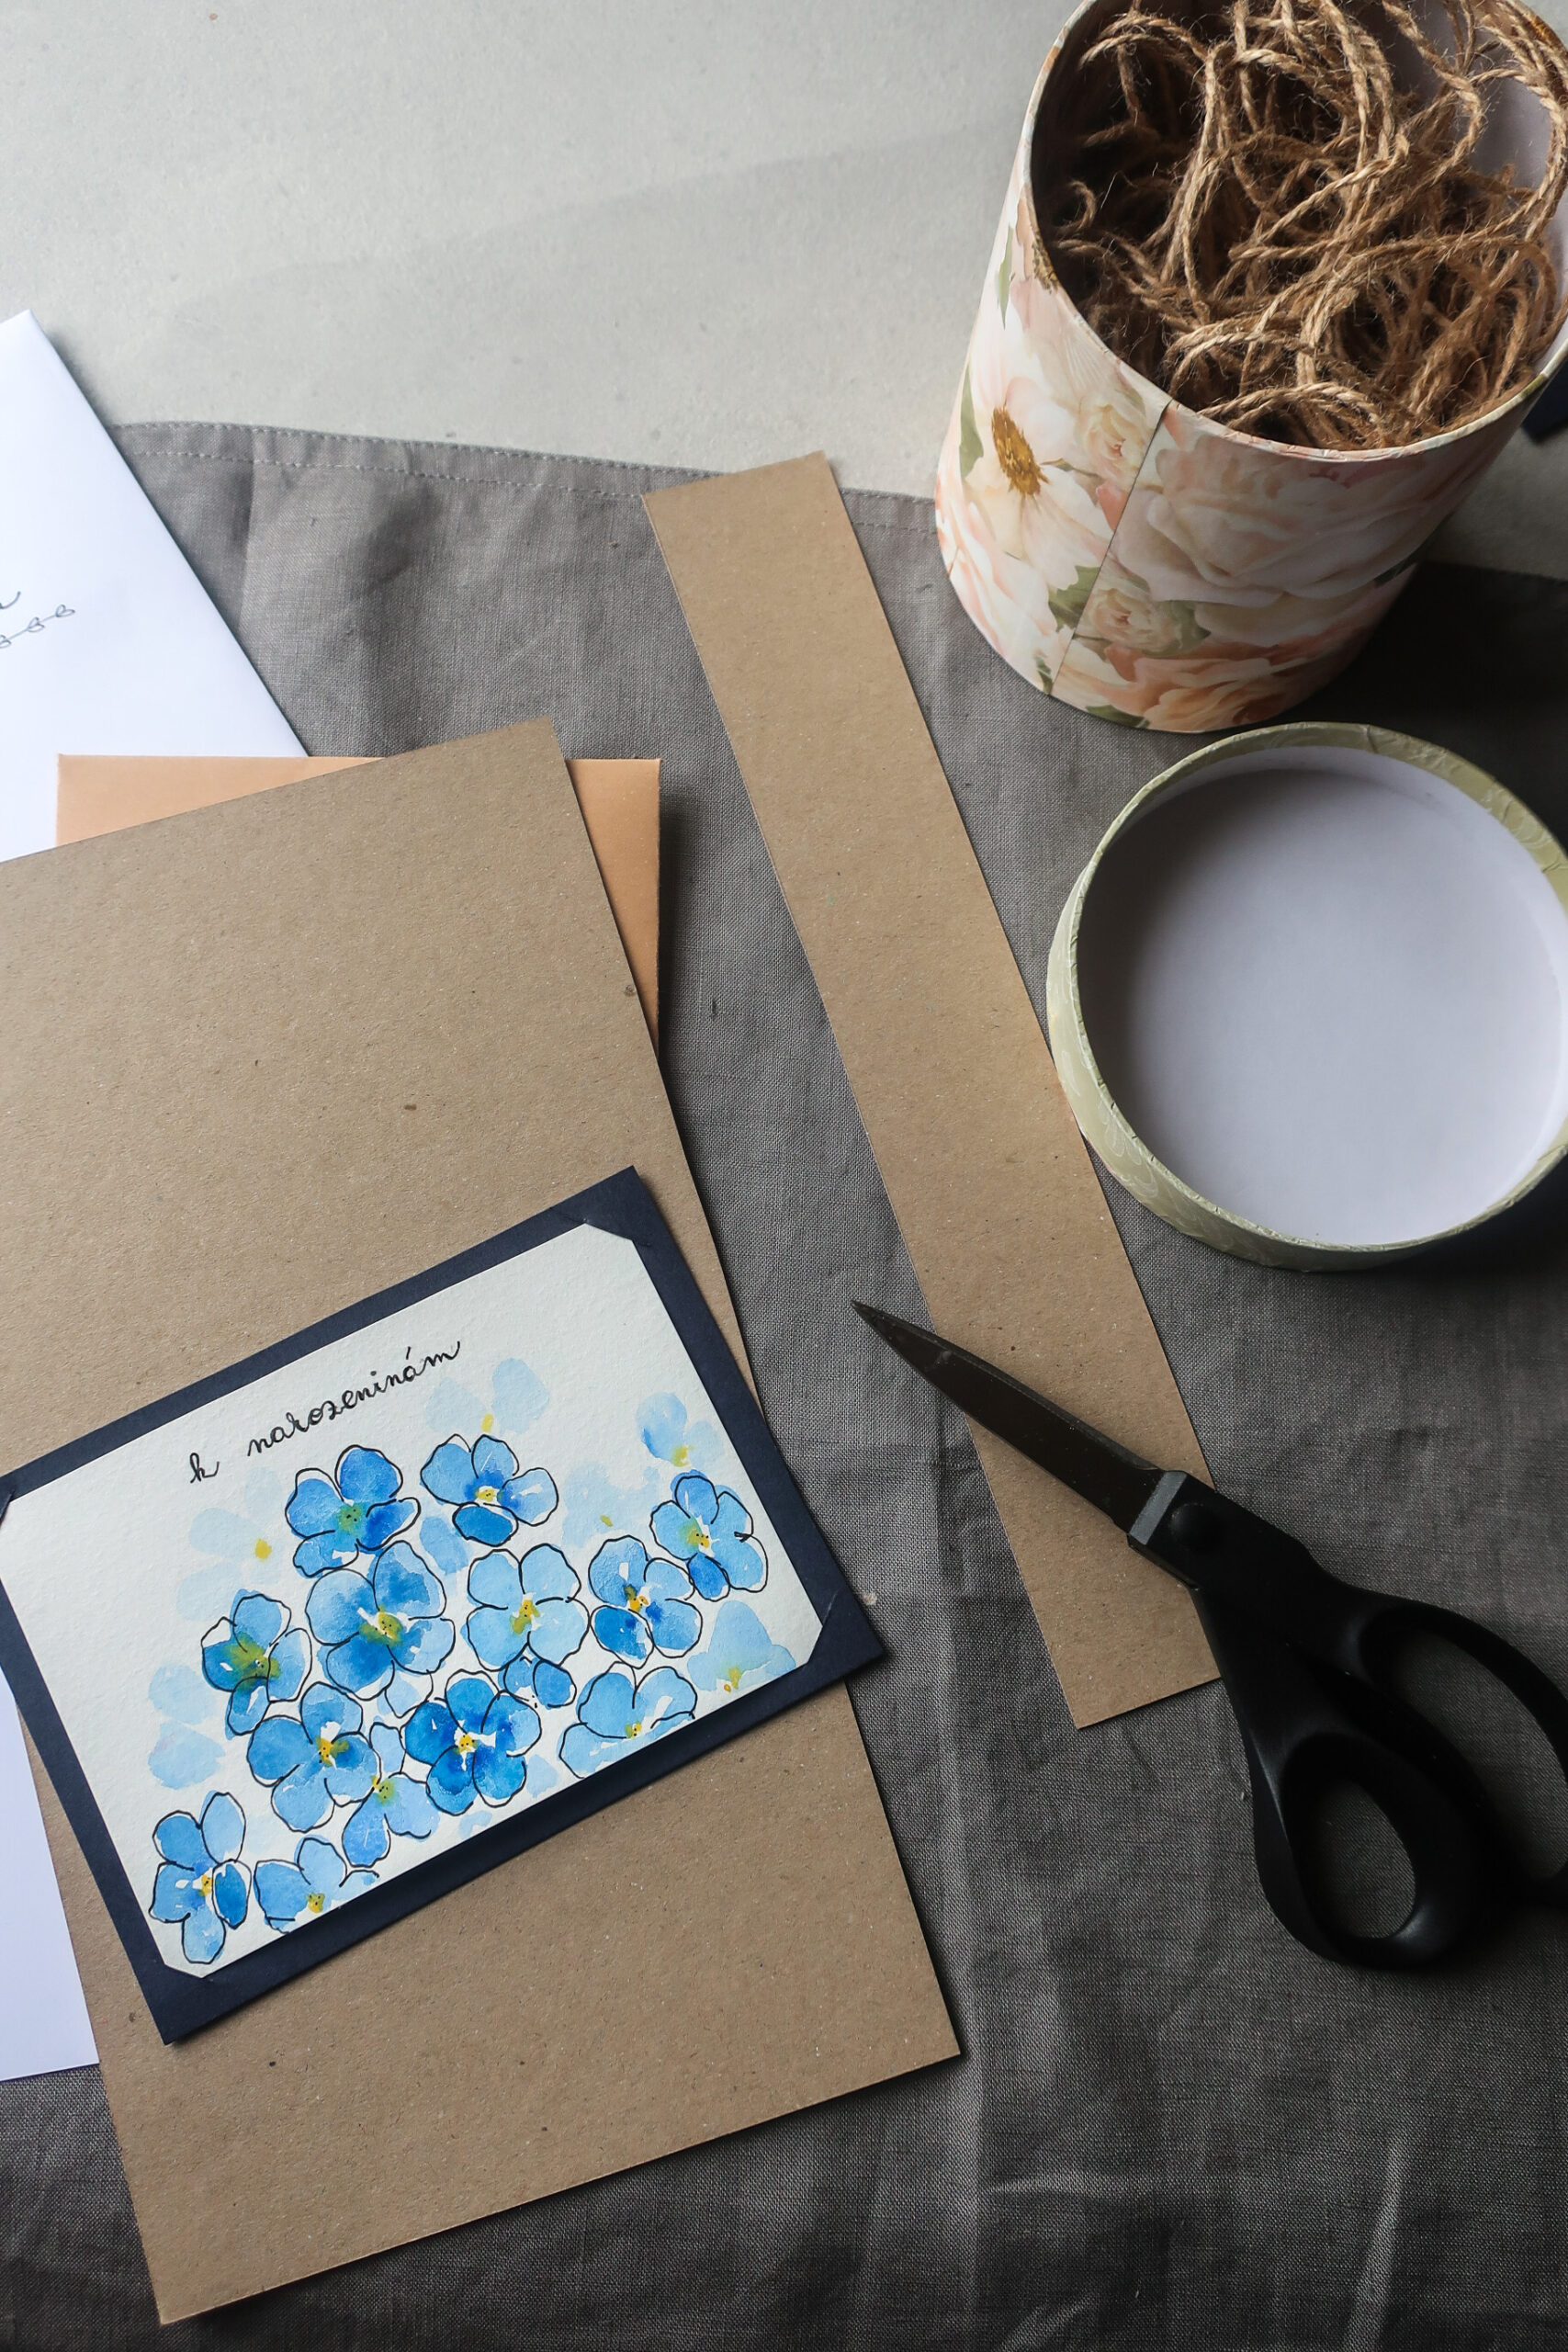
Lay your chosen thick paper upright, i.e. with the shorter side towards you. This time I'm using a card the size of 16x11,5 cm and my paper is A4 size.
Place the card with the left side about in the middle of the height of the paper. Using a pencil and ruler, mark where the edge of the card ends and then cut off the remaining paper.
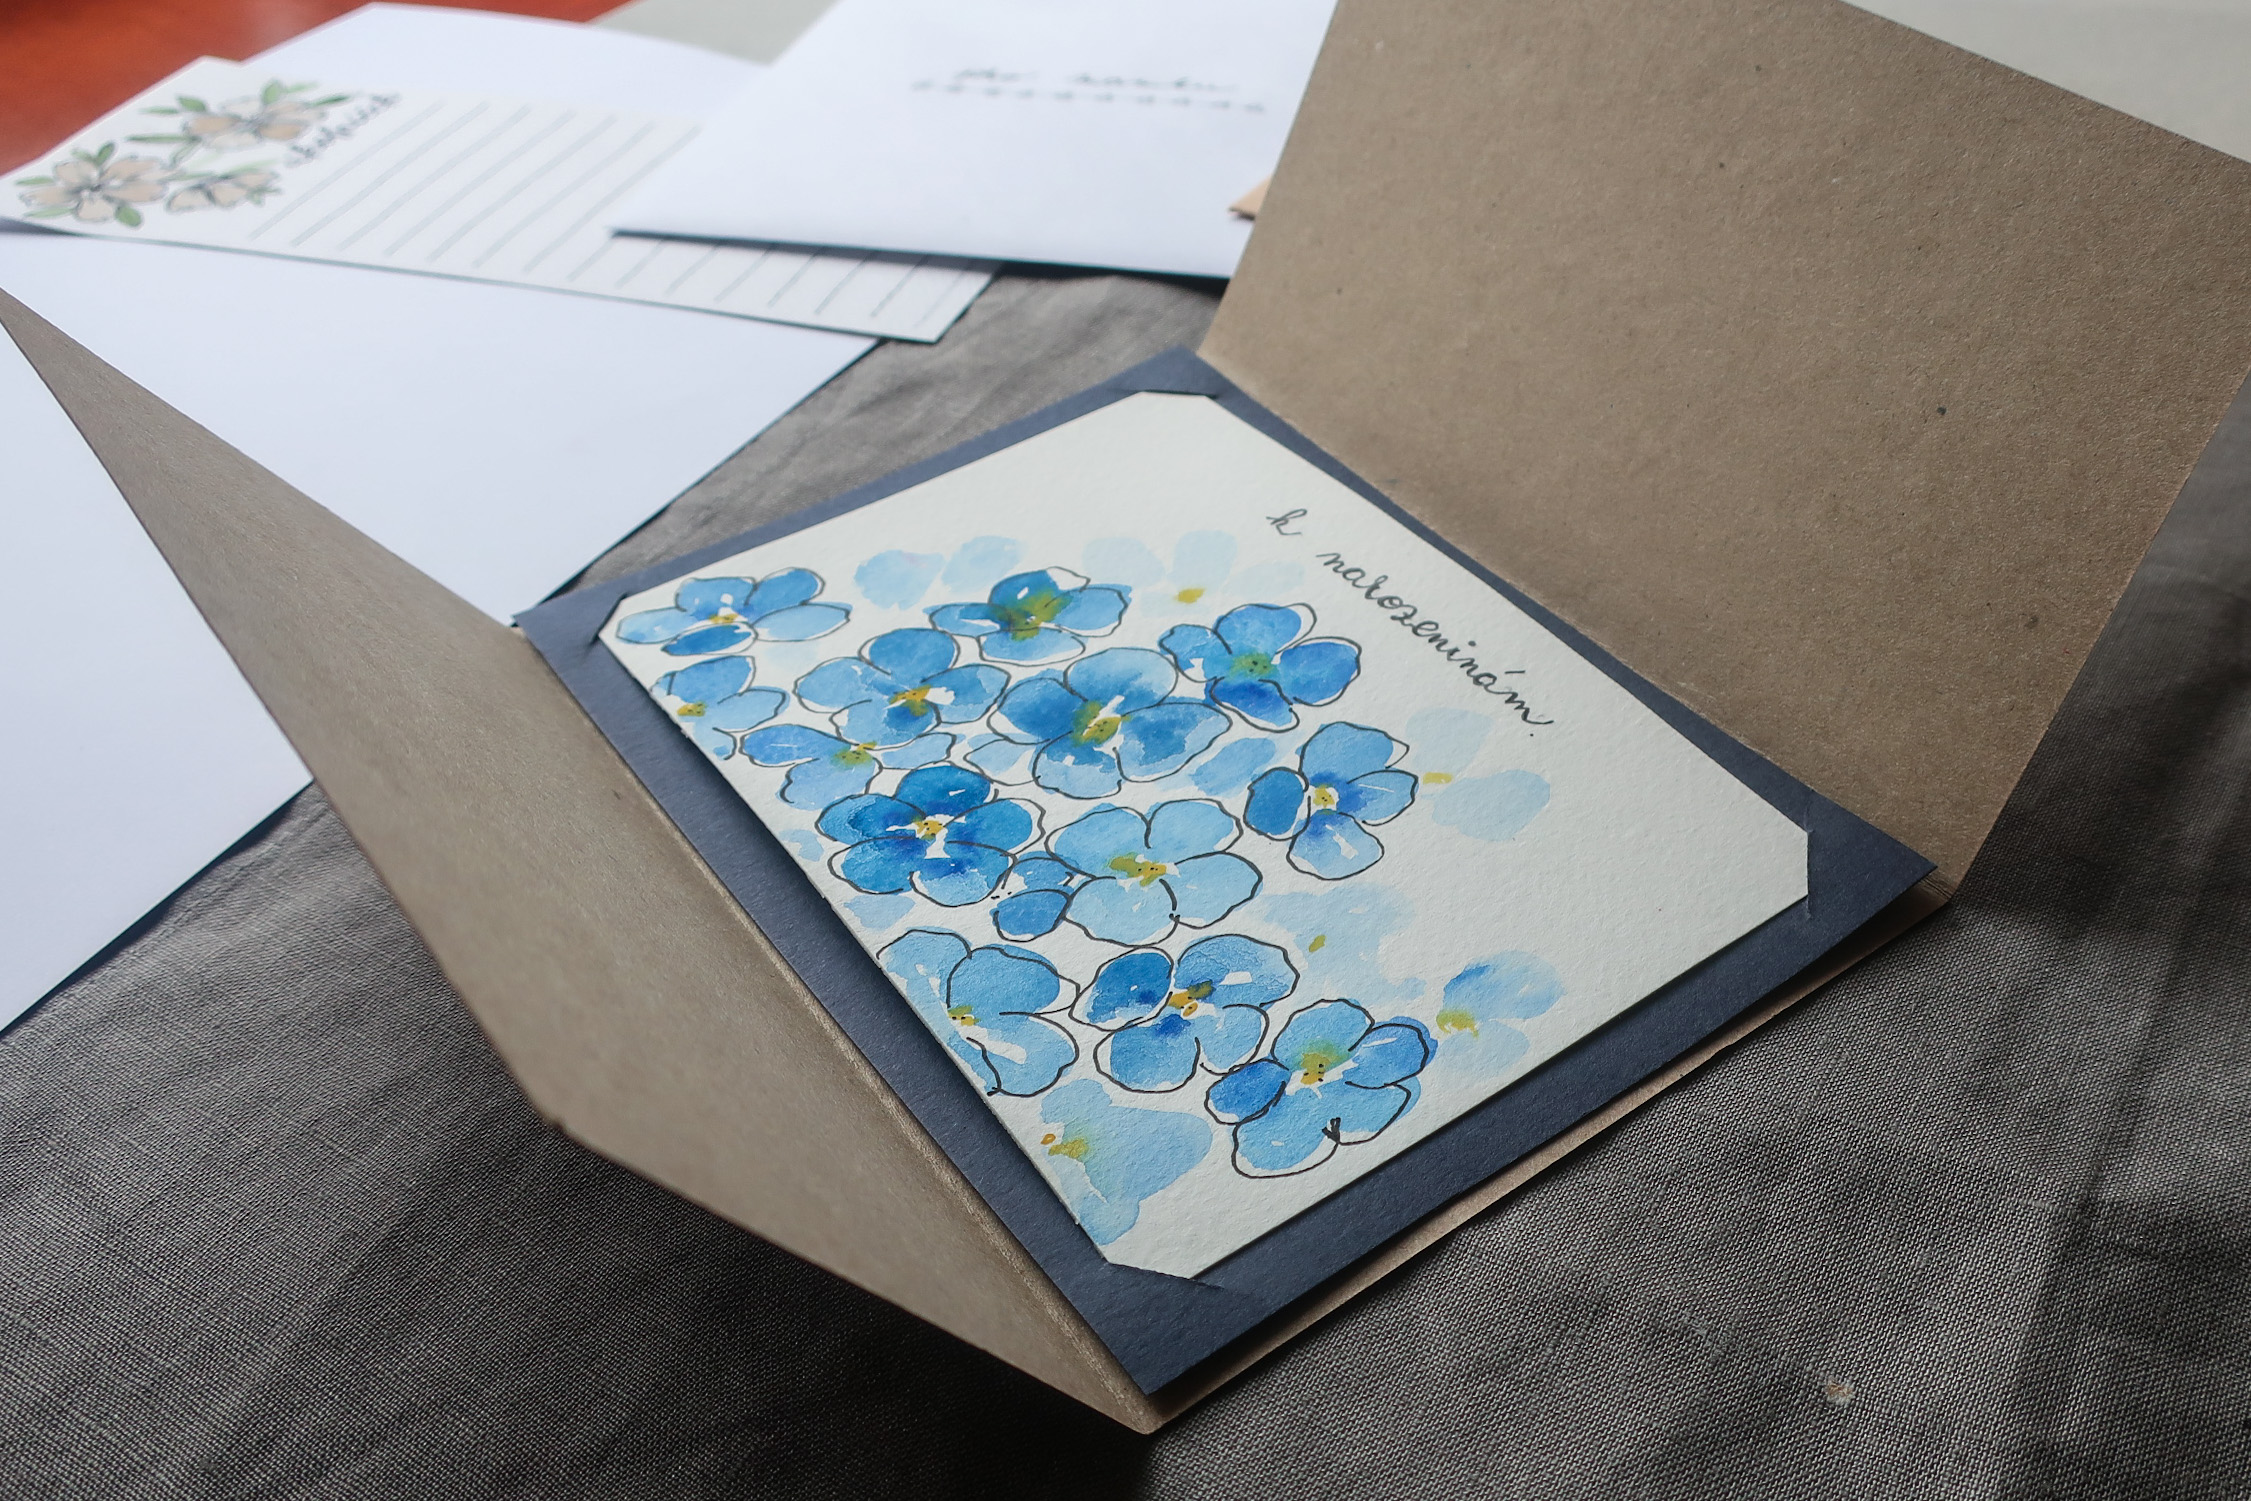
Place your greeting card in the middle of the paper again. The edges should be parallel. Fold the rest of the paper over the card on the remaining two sides. The overlap of the paper should reach approximately ⅔ of the height of the card. If more, cut the paper to the desired size. I didn't need to cut off anything.
Using linen or other decorative string , wrap the envelope around several times, tighten and finally make a bow. Make sure the greeting card does not fall out of the envelope and tighten the string if necessary.
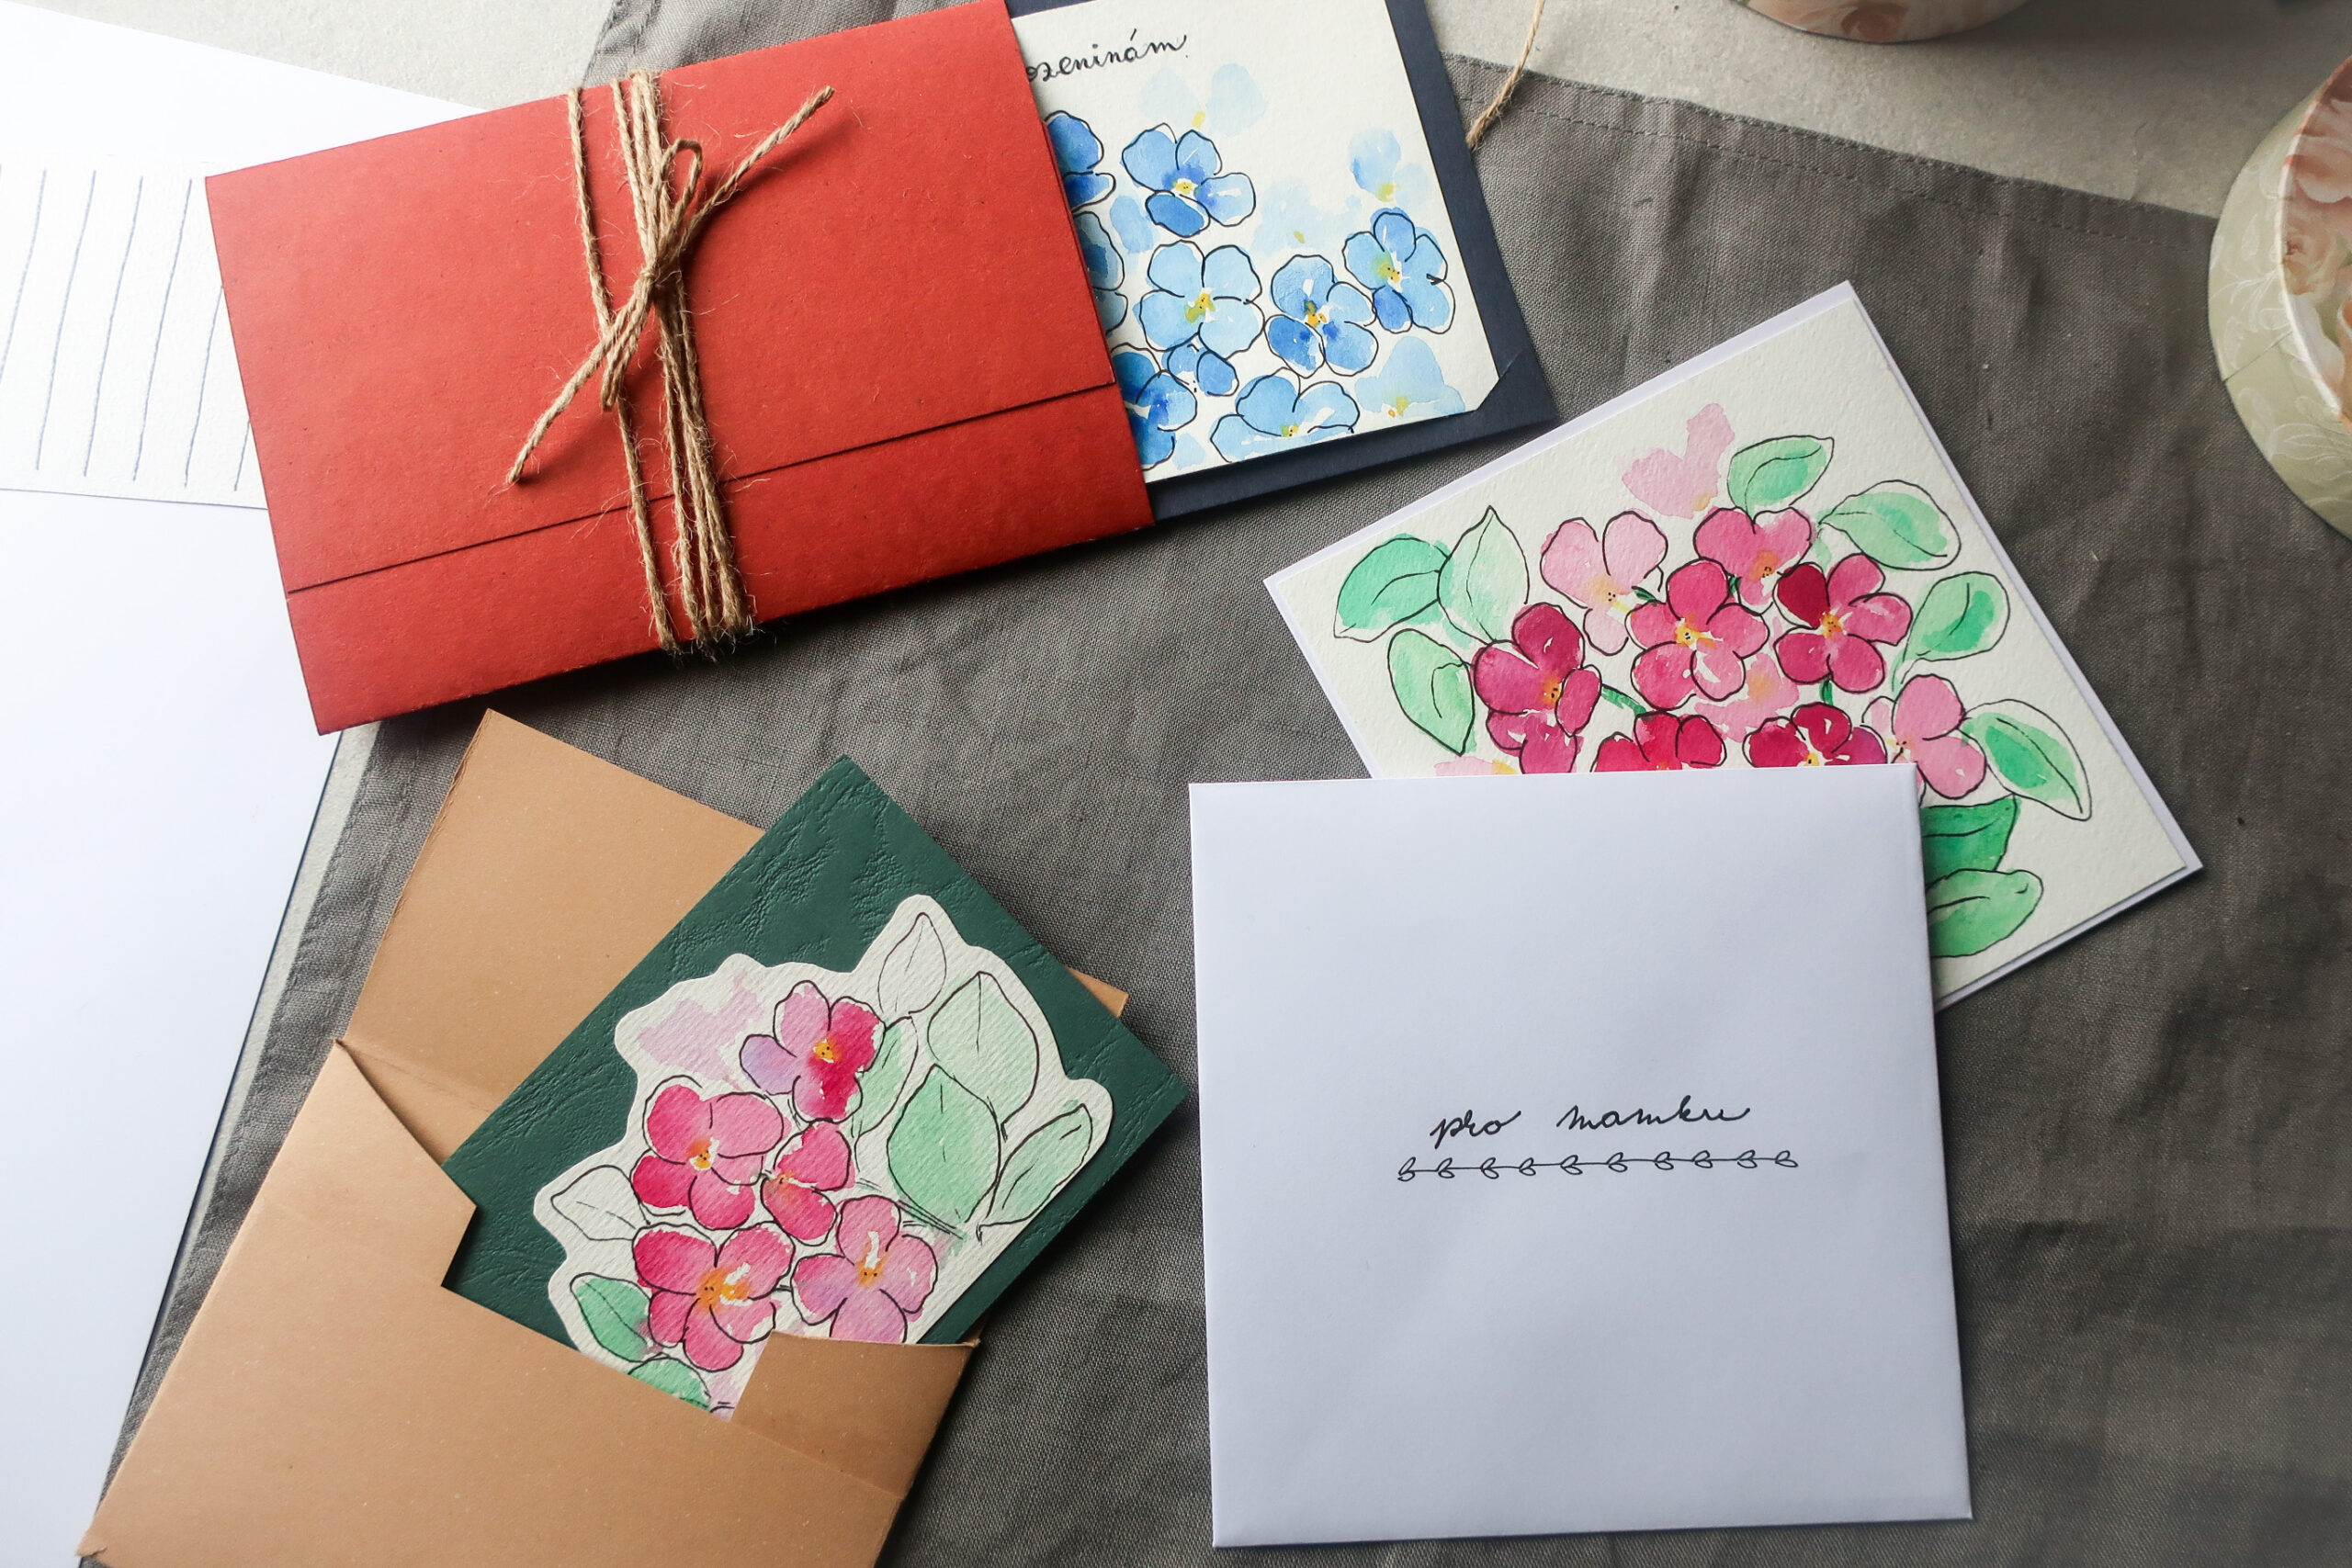
So those were my 3 tips for simple paper envelopes that you can use for your beautiful homemade cards that are sure to make everyone happy!
All the methods are simple, can be measured by eye and the final paper envelopes are both elegant and impressive. So which method of envelope making will win it for you?
