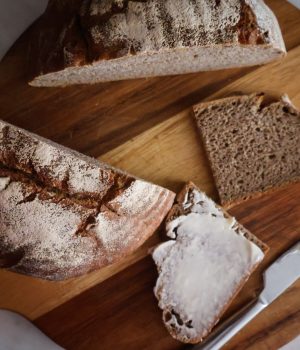
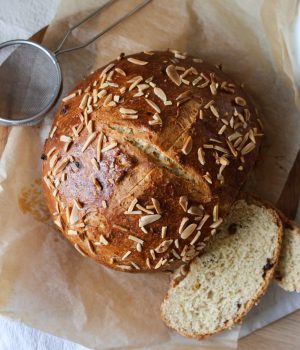
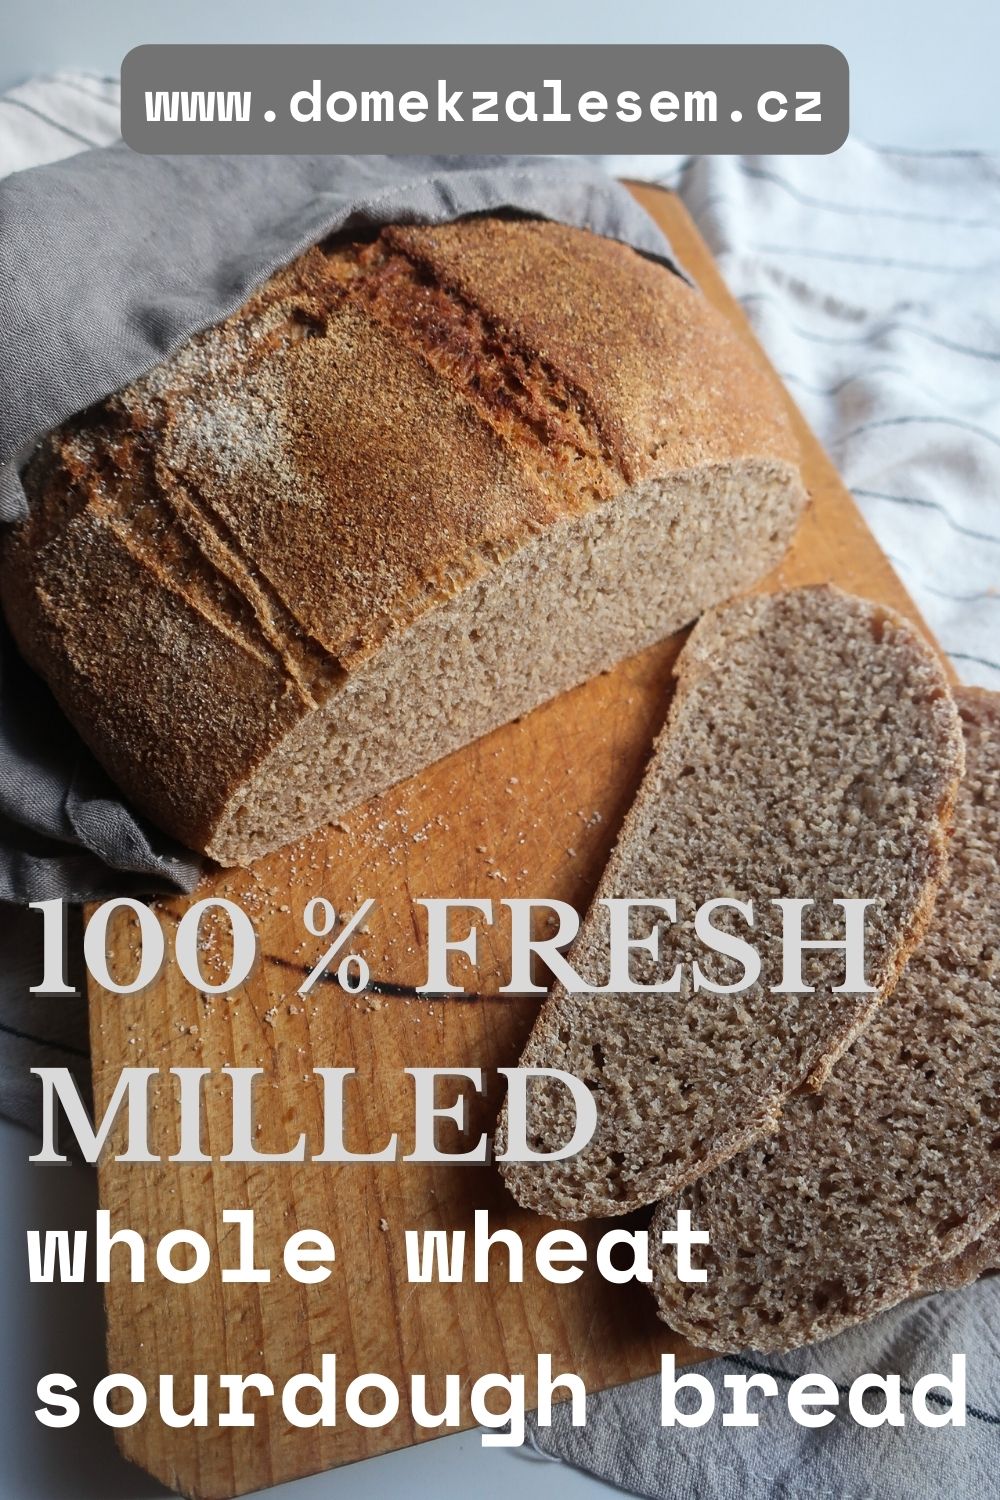
100% Fresh milled whole wheat sourdough bread

A simple healthy bread with a subtle nutty, sweet taste and the most beautiful color!
This bread is one of the healthiest and most delicious breads, that you can bake at home! All you need are a few basic ingredients, a well-fed sourdough starter, but most importantly, passion! Just BECAUSE the final bread is slightly different from what you're used to.
It's been a while since I got a grain mill and I think I'm slowly getting the hang of it! Today I'm going to show you my favorite bread recipe using only freshly ground flour , as well as TIPS on how to work with the dough.
It doesn't seem like it, but flour that is freshly milled is just "different" than store-bought flour, whether white or the whole wheat version. And so it's different to work with. But if you learn to work with it, you'll get the best of it as a reward!
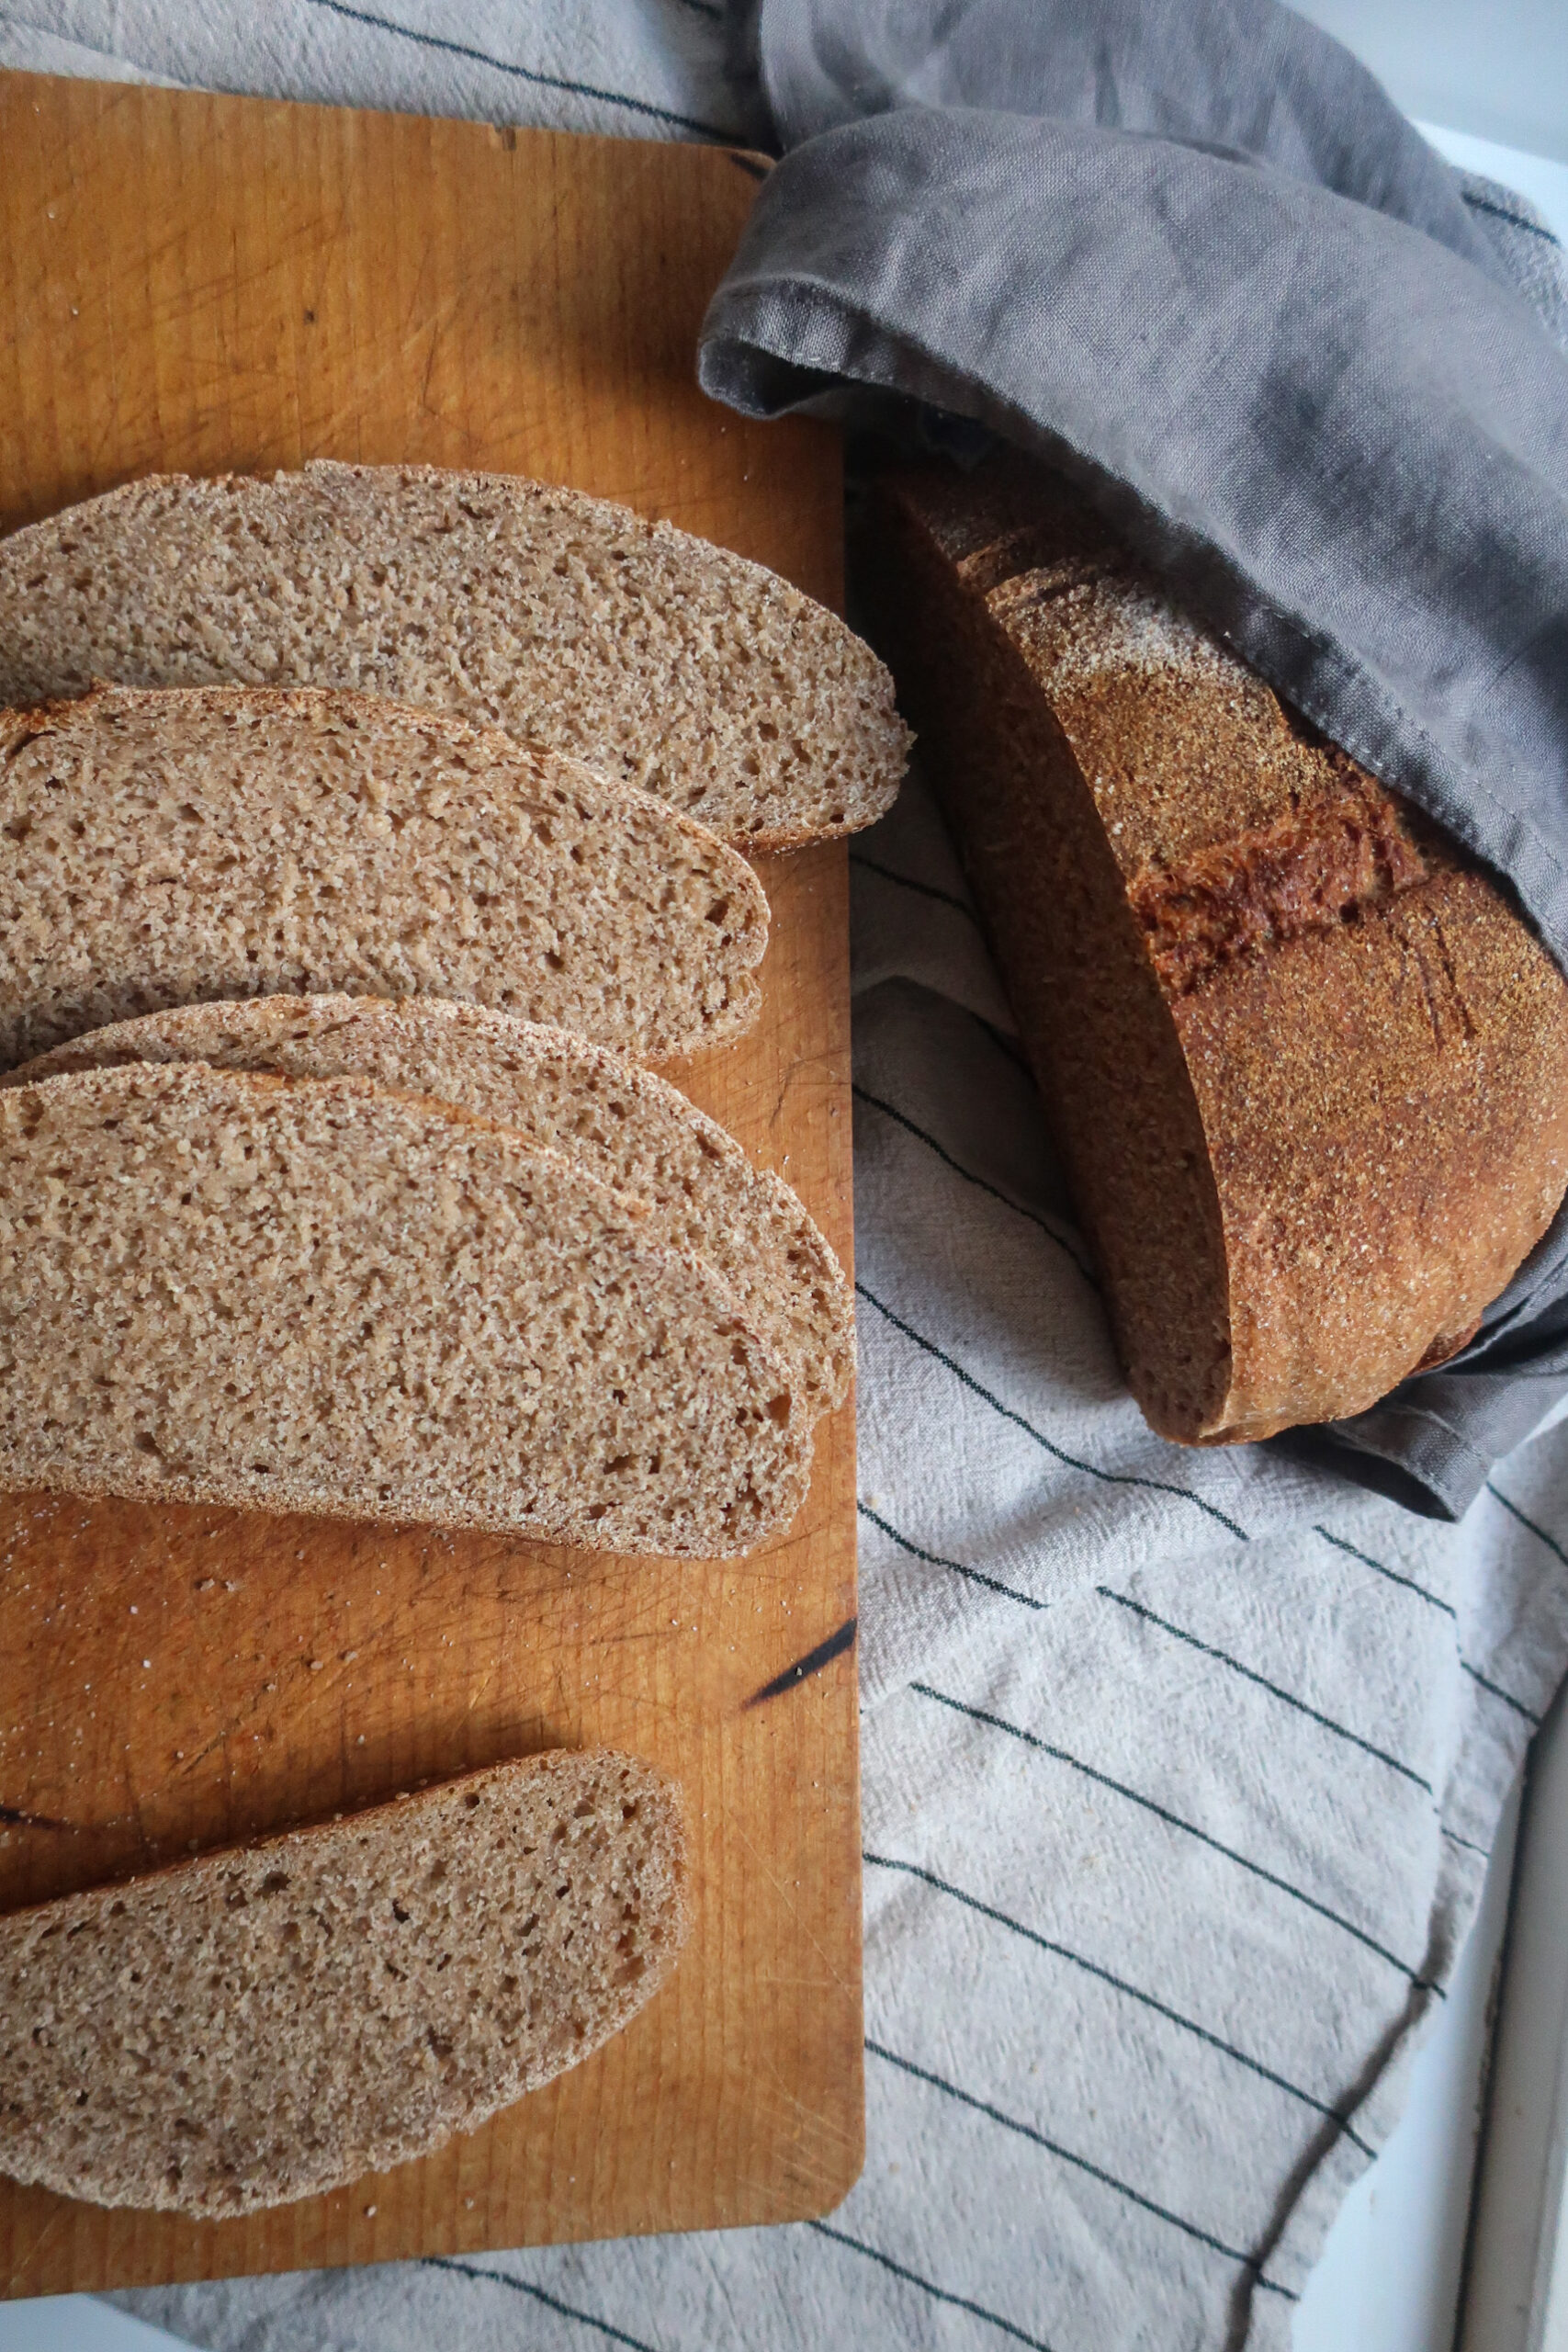
One of the main reasons I invested in the mill was so that I could mill my own flour from native wheat varieties- such as einkorn, emmer, kamut or red wheat. Not all flours from these varieties can be bought in the shops. But sure you can find whole grains almost everywhere!
I like to use flour from these original wheat varieties to enhance my regular bread recipes like Seeded bread or Wheat and rye sourdough bread (no-knead and easy). It enriches them with more fiber and nutrients, and it gives me more opportunity to experiment further. Last but not least, these flours will also affect the texture and color characteristics of the bread. For example, kamut will make the dough more yellow (similar to corn) and red wheat bread has an eye-catching purple color similar to red wine. 🙂
Maybe you've just got a grain mill too and are just slowly discovering what it can bring to your bread baking . Maybe you're also at the stage where you're learning everything and discovering that it's a little different with this flour. Then this recipe is just for you and will convince you that homemade sourdough bread made with freshly milled flour is worth it all!
Is whole wheat flour healthy?
We read a lot of negative things about wheat today and rarely does anyone point out that it is nutritionally very rich. Wheat flour is a nutritious food for a healthy person. However, it depends on the variety and the form of processing. Unfortunately, most of the valuable substances in wheat are lost during processing. Therefore, if we want to get the most out of wheat, it is best to simply and easily grind it at home.
Wheat is not just "starch and gluten" . It contains a significant amount of protein, fat (you know wheat germ oil?), carbohydrates, fiber, and minerals such as calcium, magnesium, phosphorus and some B vitamins. Well, it's not that little. The important thing to know is that most of these healthy substances are in the germ and the husk of the wheat grain, which is lost during processing and only the starchy part (the so-called white flour) remains.
How to get the most out of wheat flour?
The ideal processing of wheat flour is fermentation, i.e. when the flour goes through the fermentation process. Sourdough bread baking is a traditional process in which phytic acid is removed from the grain during fermentation, making the grain more digestible and lowering its glycaemic index. Sourdough bread is therefore more filling and provides more nutrients (compared to unfermented flour).
Phytic acid is an antinutrient that prevents the absorption of nutrients, so after fermentation we get as much nutrients out of the grain as possible..
What are the benefits of grinding flour at home?
o are there any advantages to milling flour at home? It's more work than buying a package of flour, and besides, buying a grain mill is not the cheapest thing to do. You can bake sourdough bread with any flour, but homemade flour just gives it that extra something.
Let's take a BRIEF look at the main benefits of milling flour at home.
- Whole grains retain nutrients and nutrient-rich substances - once the grain is milled, the nutrients and nutrient-rich substances are quickly reduced, so it's ideal to mill your grains just before baking bread
- Longer shelf life - grains last longer than milled flour, so you only need to mill the required amount just before baking
- More variations - you don't have to grind only classic wheat, rye or the nowadays common spelt! You can also grind original varieties of wheat such as einkorn or kamut into flour or gluten-free crops such as our traditional buckwheat or corn! You can easily enrich your diet with other flour variants.
- Great taste - Freshly milled flour tastes different than the packaged flour from the store - it has a slightly nutty taste and is naturally sweet. The grain, especially the germ, also contains oil. This is why store-bought wholemeal flour can sometimes be bitter. This happens if the flour is improperly stored or is already old. You don't have to worry about a bitter taste with freshly milled flour!
- You literally know what you're eating - By grinding your own flour at home, you can perfectly control the quality of the input ingredients when baking bread
- It's all about fun and learning too - Working with a grain mill is just plain fun, and there's something immensely satisfying about watching the grain turn into flour.
How to make 100% fresh ground whole wheat sourdough bread?
Divide the bread making process into two days. The day before, prepare a levain. In the evening , in a bowl mix the ingredients for the levain - flour, water and sourdough starter. Cover the bowl with a plastic bag and let it ferment on the counter overnight. You do not need to sift the flour for the levain. The larger pieces from the milled grain usually don't have time to soften with a short soak, but they have plenty of time to do so while the levain is fermenting.
I do, however, add sifted flour to the dough. After sifting, you will be left with about a handful of wheat bran that you can use in other recipes.
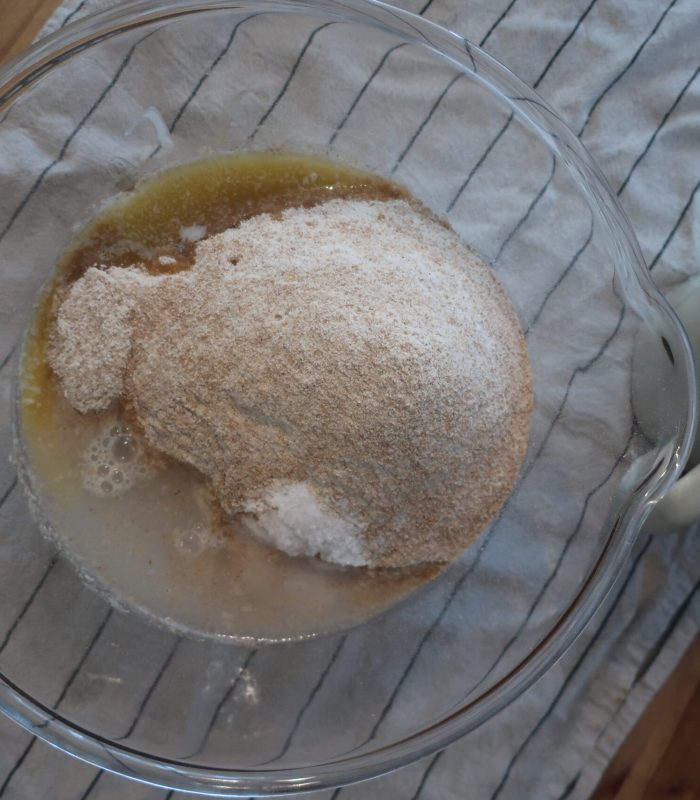
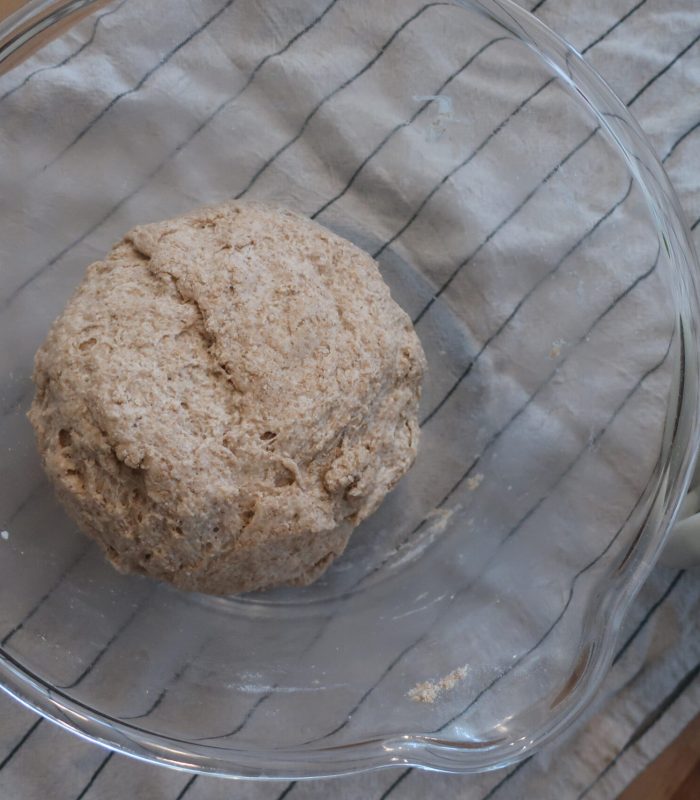
The next morning, we mix the dough . In a large bowl, mix the bubbly levain with the sifted fresh ground whole wheat flour, melted butter with honey, salt and water and knead into a dough. Start with a wooden spoon, then just use your hands to form the dough into a ball. Let the dough ferment on the counter for approximately 3 hours.
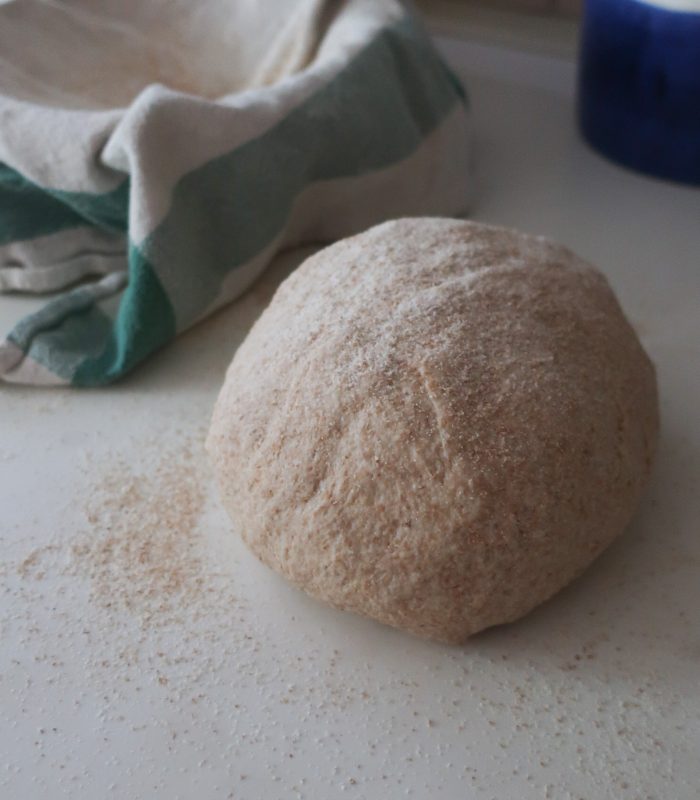
After this time, turn the dough out onto a clean surface and work it into a ball. The dough is great to work with because it is almost non-sticky thanks to the fat content. You can therefore only use a minimal sprinkling flour to prevent the dough from sticking.
Place the shaped dough in a prepared banneton baske or bowl with a floured cloth and leave to rise. This bread will benefit from rising in the fridge, for approximately 24 hours. This gives the fresh milled grain time to soften properly and the bread will be fluffier and softer. If you need the bread sooner, let it rise at room temperature for about 3 hours.
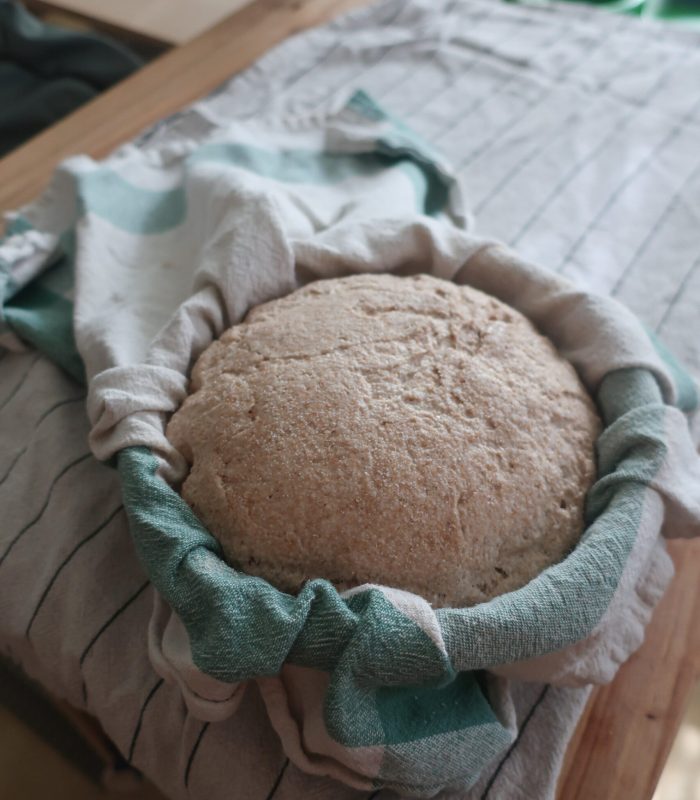
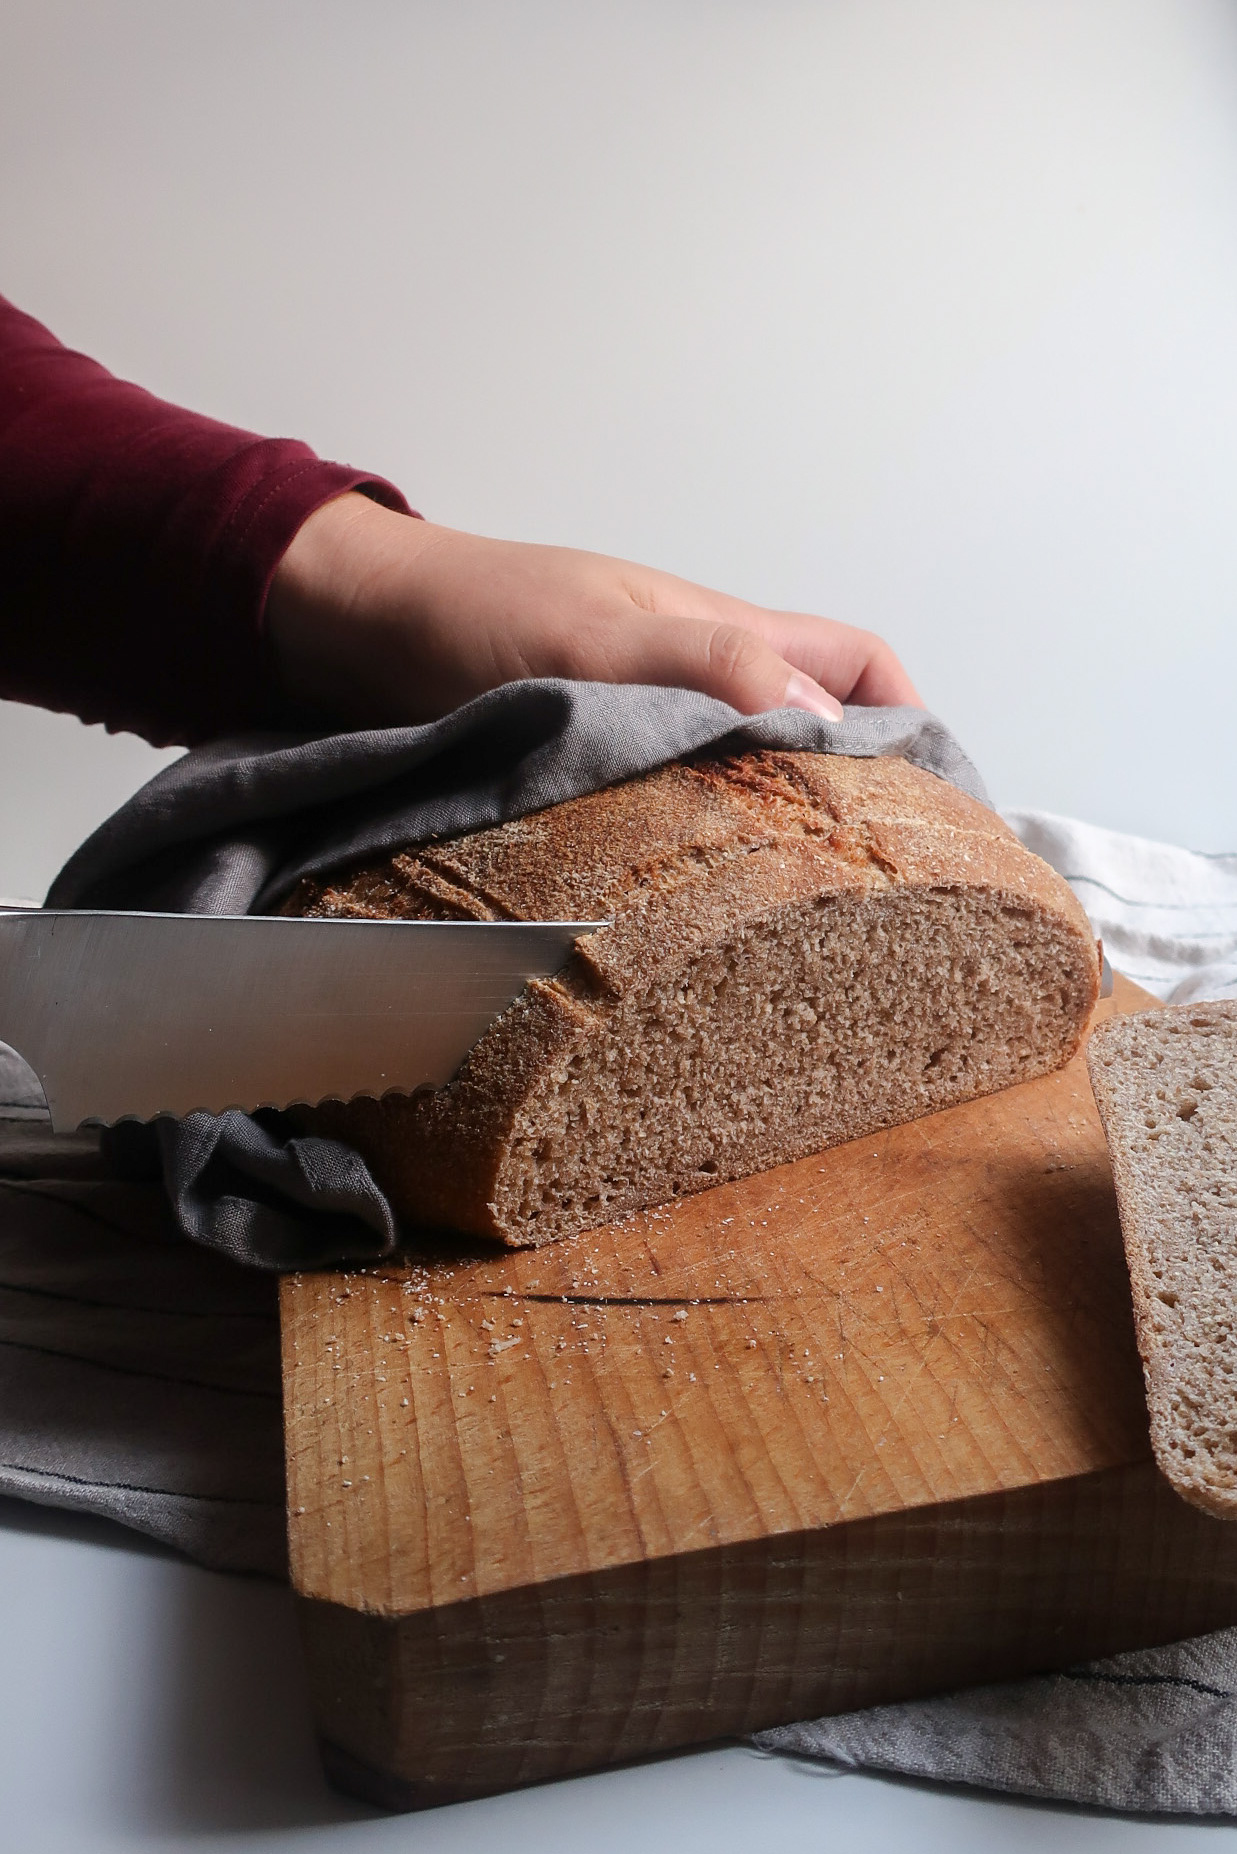
Approximately half an hour before baking, heat a heavy pot in an oven preheated to 210 °C. Place the risen dough in the hot pot and you can also make decorative scoring. Bake the bread for 15 minutes with the lid on and a further 20 minutes with the lid off. Once the bread is baked, remove it to a wire rack and slice when completely cooled.
Learn how to fold, roll the dough into a ball and how to bake bread in a pot in my article on wheat-rye bread baked in a pot, where I cover this technical aspect of bread baking in detail.
Note:
I don't usually put parchment paper in a hot pot, but this bread recipe calls for honey and it changes the characteristics of the bread. Therefore, you may find that the bread sticks without baking paper. All you have to do is lightly pick up the bread with a knife and it should come up right away. Each material behaves differently when baking. Therefore, in this case, I recommend that you try working with baking paper first. Simply turn the bread out onto the parchment paper after it has risen and then transfer it to the hot pot.

How to plan the baking of wheat sourdough bread?
- First day in the evening: 20:00, prepare the sourdough levain. Let it ferment overnight at room temperature.
- The next morning: between 7:00 and 8:00 I mix the ingredients for the dough in a large bowl and let it ferment on the counter
- 11:00: I turn the dough out onto a working surface, shape it into a ball and put it in a floured basket for a second rise in the fridge for about 24 hours
- 3rd day morning around 9:00: I bake the bread
- 12:00: the bread has cooled and I can slice it
Video instructions:
TIPS:
if you are afraid to bake bread with only freshly milled wheat flour, substitute a smaller portion with white wheat flour, this gives the bread a fluffier texture
- the bread tastes perfect as it is, but you can add anything from herbs to nuts, dried fruit to spices
- my favorite combinations include sliced dried apricots with thyme or walnuts with raisins
- you can also stretch and fold the dough during the first rise to help all the ingredients mix even better (I only do this if I didn't mix it properly)
Recipe
Recipe for 1 loaf
100% Fresh milled whole wheat sourdough bread
Ingredients:
for levain:
- 75 g fresh milled whole wheat flour
- 75 g water
- 1 tbsp sourdough starter
for dough:
- 400 g fresh milled whole wheat flour, sifted from larger pieces
- 1 tbsp honey
- 1 tbsp butter or coconut oil
- a levain
- 11 g sea salt
- 230 ml water
Instructions:
We have to divide the bread making process into two days.
- First day we prepare a levainIn the evening, in a large bowl mix flour, water and sourdough starter. Cover the bowl with a plastic bag and let it ferment on the counter overnight. You do not need to sift the flour for the levain.
- The next morning, we mix the dough. In a large bowl, mix the bubbly levain with the sifted fresh ground whole wheat flour, melted butter with honey, salt and water and knead into a dough. Start with a wooden spoon, then just use your hands to form the dough into a ball. Let the dough ferment on the counter for approximately 3 hours.
- After this time, turn the dough out onto a clean surface and work it into a ball. Place the shaped dough in a prepared banneton basket or bowl with a floured cloth and leave to rise. This bread will benefit from rising in the fridge , for approximately 24 hours. You can also let it rise at room temperature for about 3 hours.
- Approximately half an hour before baking, heat a heavy pot in an oven preheated to 210 °C. Place the risen dough in the hot pot and you can also make decorative scoring.
- Bake the bread for 15 minutes with the lid on and a further 20 minutes with the lid off.
- Once the bread is baked, remove it to a wire rack and slice when completely cooled.

