Wheat sourdough bread
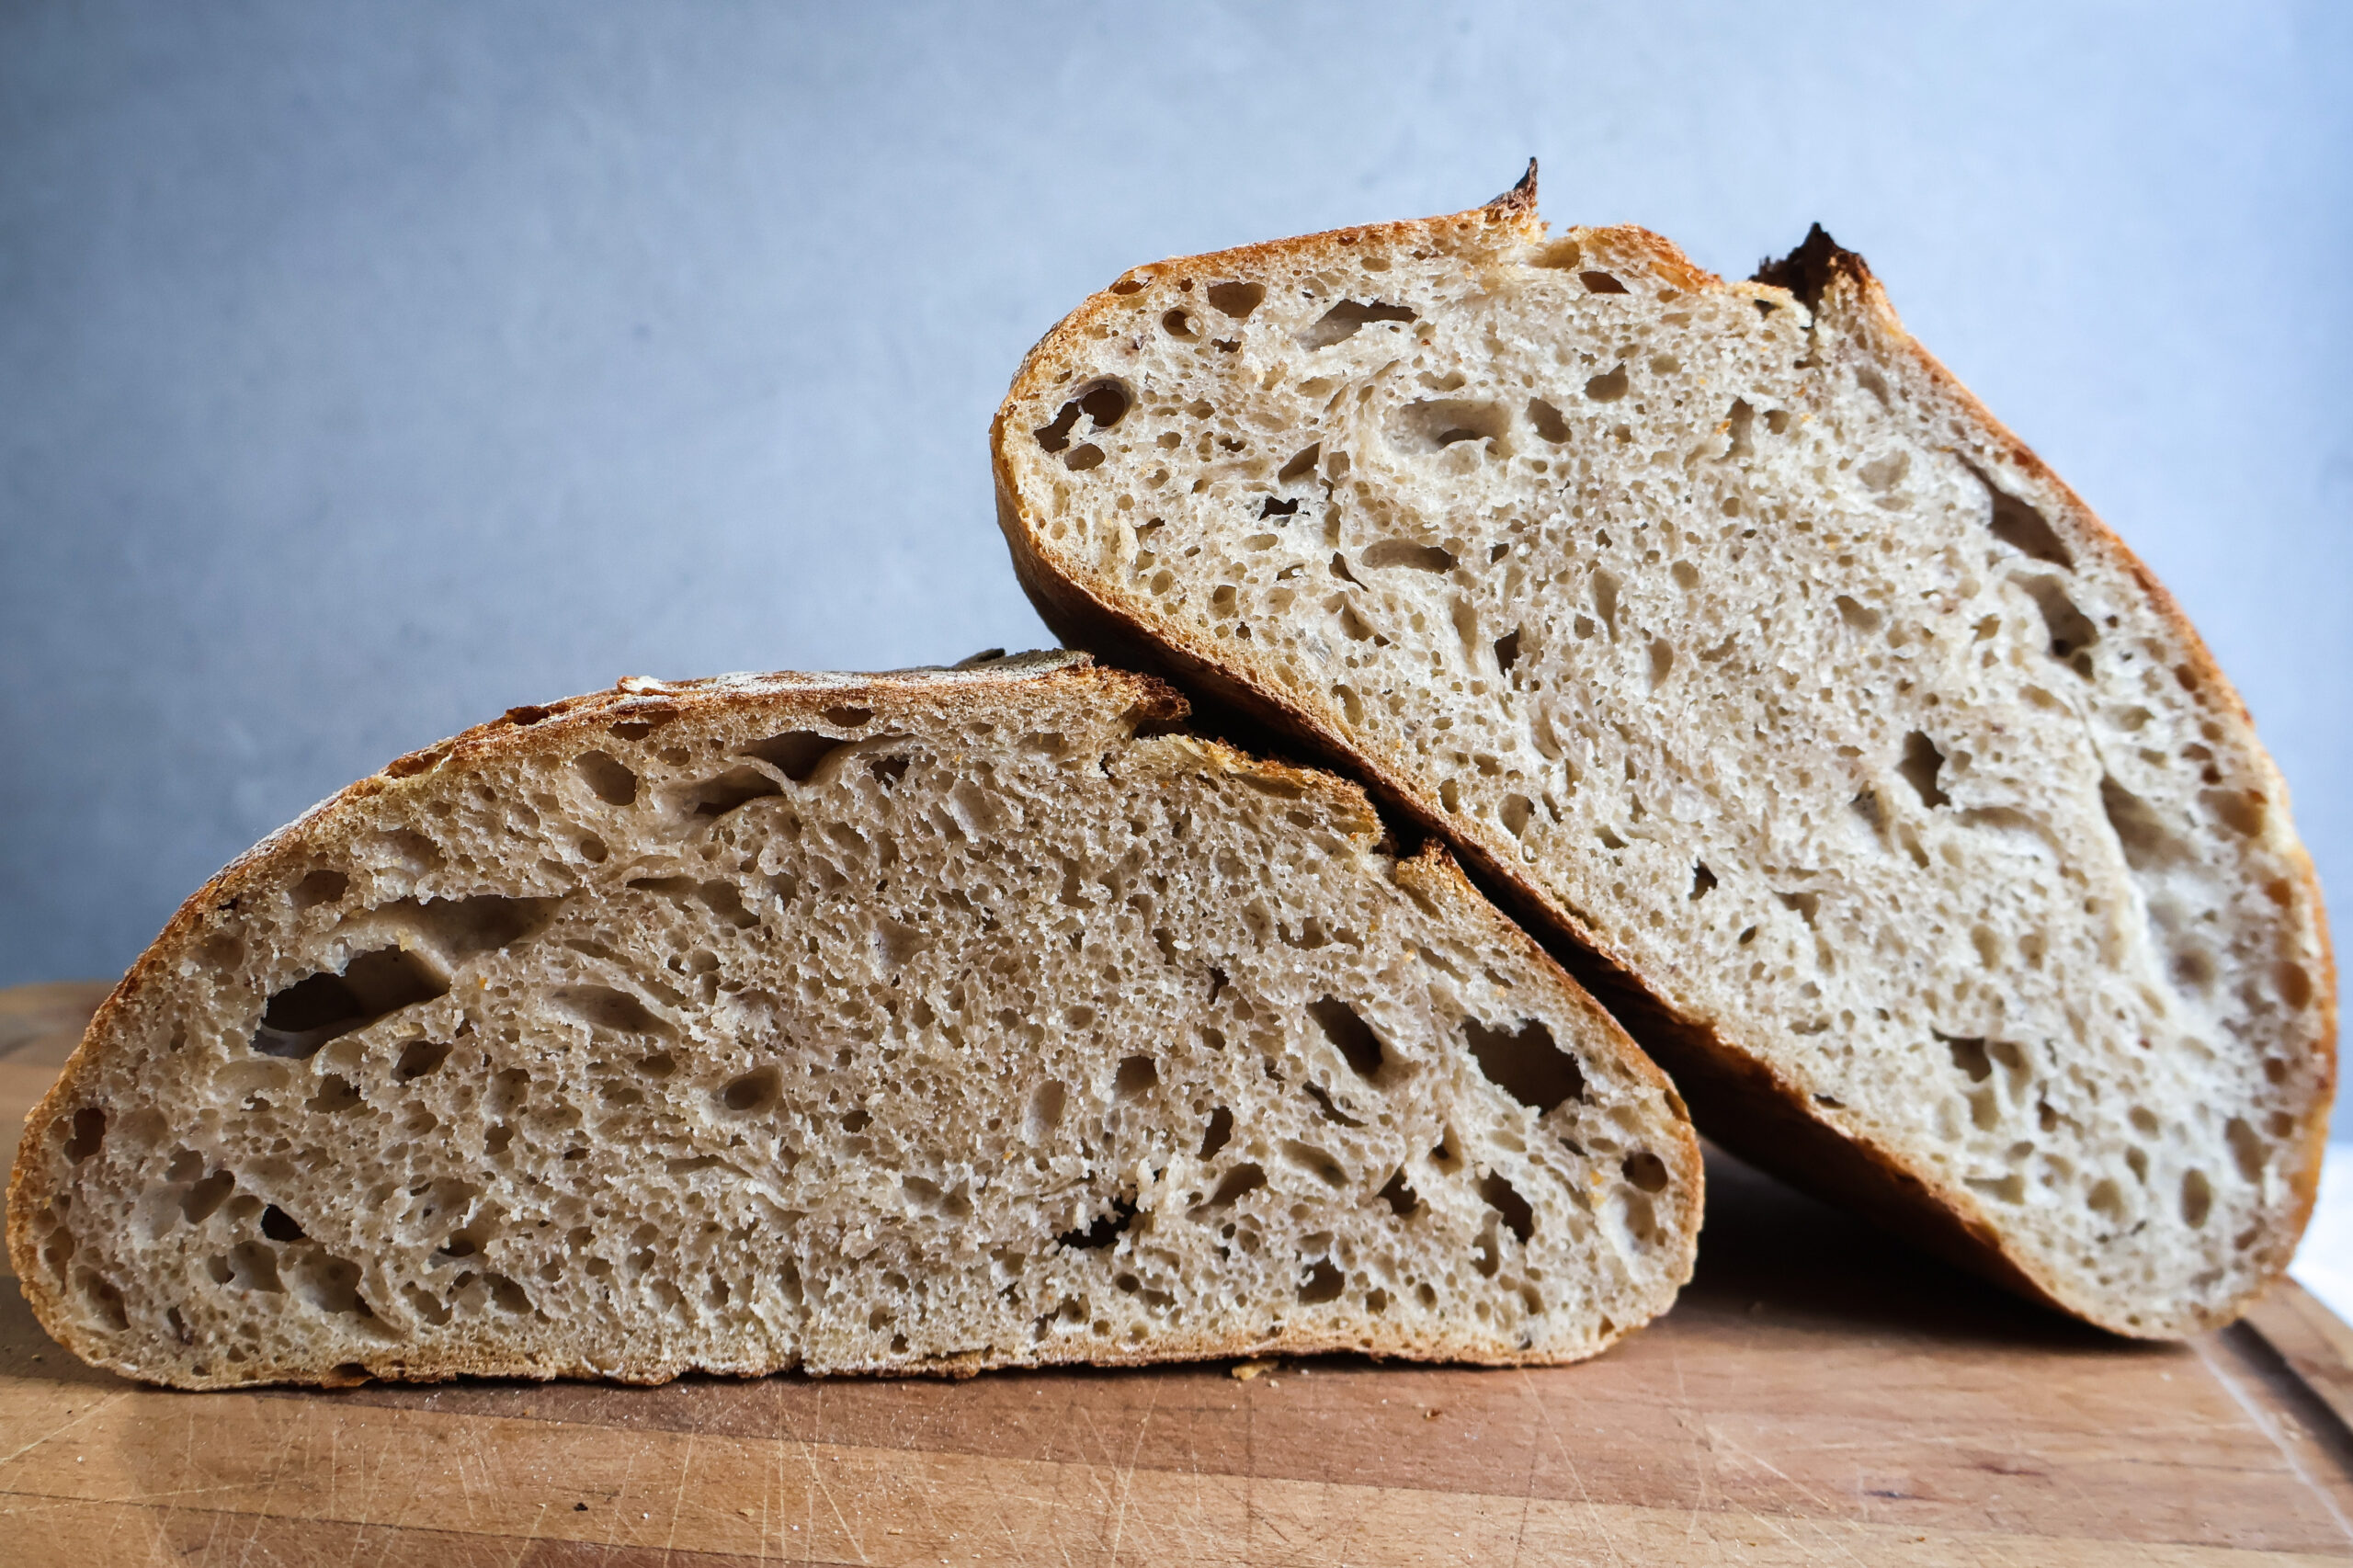
A simple recipe for basic wheat bread that is perfect for sourdough beginners!
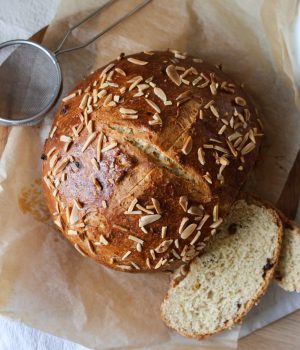
This bread is absolutely delicious - with a baked crust and a wonderfully soft crumb. The fresh bread is really pillowy soft and together with the crispy crust, it creates a wonderful contrast! This sourdough wheat bread is the perfect accompaniment to any soup or stew.
When you think about everyday bread , most of us would definitely say that the best is wheat and rye bread (often referred to as Šumava bread), but this wheat bread is almost better! I personally love wheat breads, whether they are made from white flour like this one or wholemeal made from freshly milled flour!!
Wheat bread is wonderful in its versatility:
- it can serve as a side dish to your favorite roast with vegetables,
- it's a great accompaniment to soups and stews,
- tastes great freshly sliced,
- and toasted or in the form of sandwiches.
And what's more! Unlike wheat and rye bread, which just has that typical bread taste, wheat bread can be used in a variety of sweet dishes - French toast, bread pudding and other goodies! I love it and you will too.
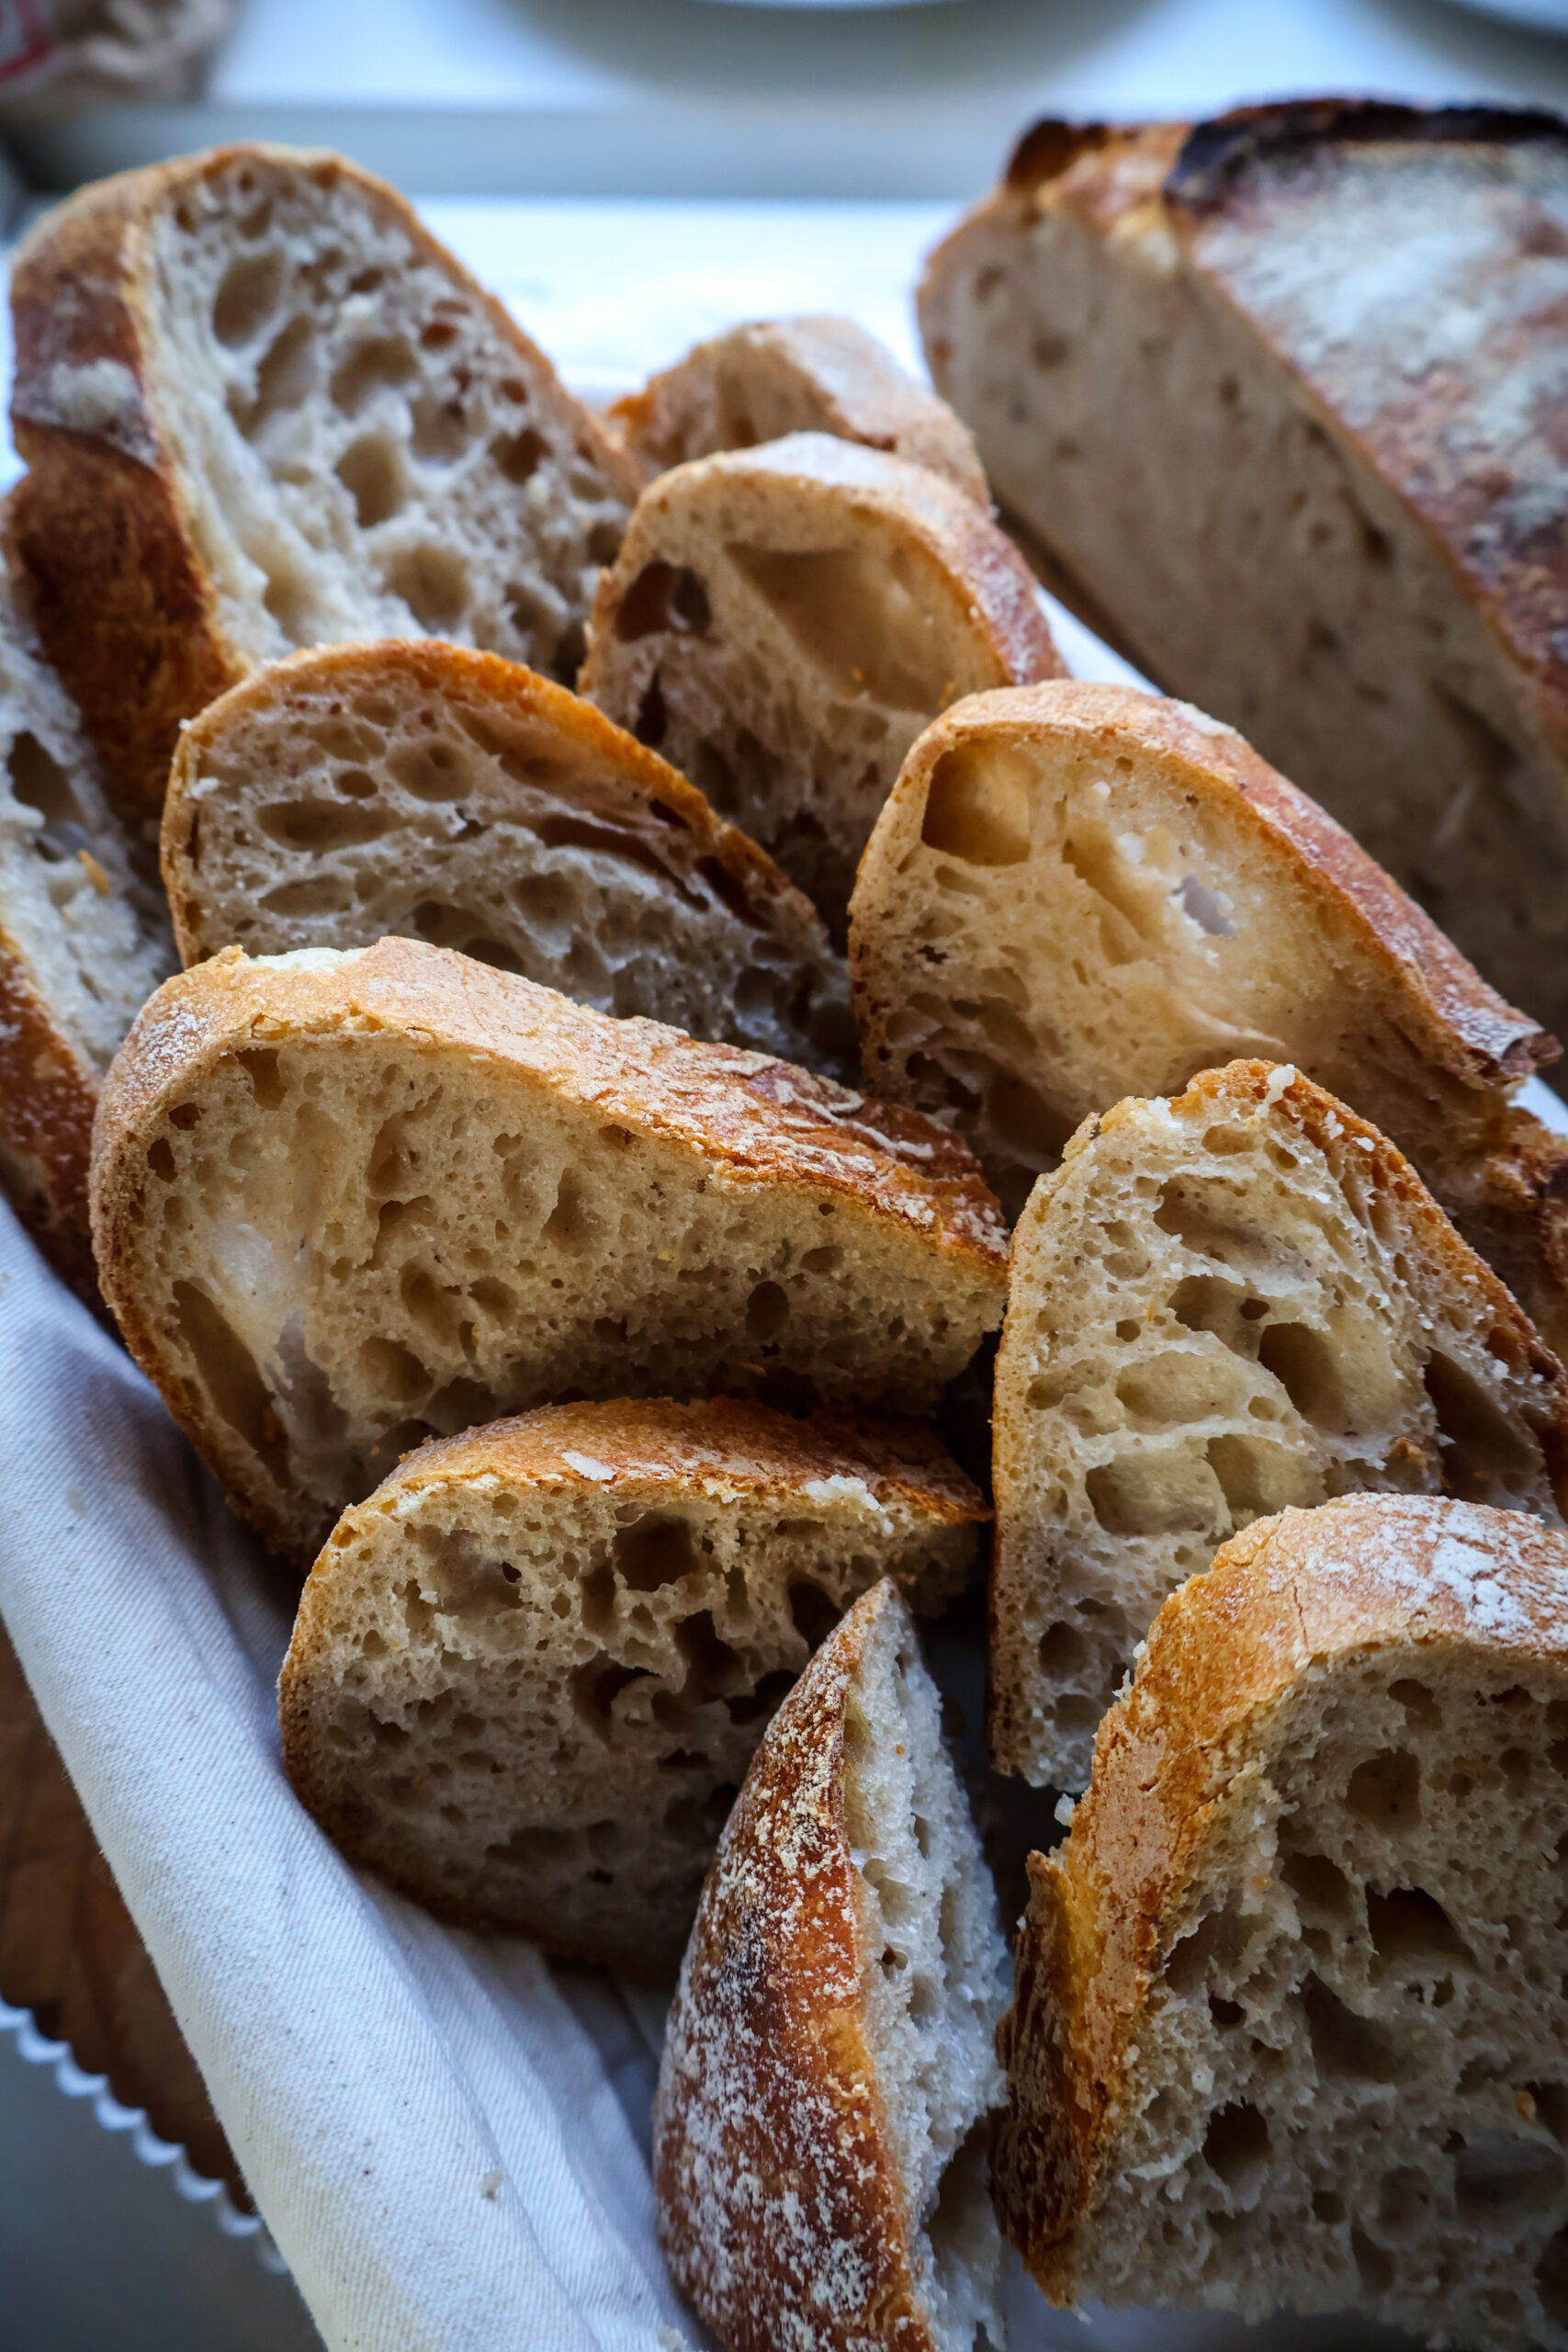
Is wheat sourdough bread recommended for beginners?
Wheat sourdough bread is an absolutely great bread for beginners and I'll tell you why! A while ago I shared with you a recipe for Seeded bread, which is really the TRUE beginner friendly bread for those who are just getting familiar with sourdough and wondering what it can actually do. It's delicious in taste and of course, for everyday bread, it's perfectly good. However, if you want to take it a step further, but you are not confident yet to try wheat and rye bread , this wheat bread is the right bread for you!
With this bread, you will learn how to work with the dough and get to know the feel of it. How is this possible?
- wheat dough does not stick, or sticks only slightly
- wheat flour can absorb a lot of water, which means that if you accidentaly add a little more water into the dough, it still will be quite manageable (and that happens a lot, and not just to me!)
- the taste of wheat flour is quite neutral and less acidic than wheat-rye bread
- thanks to the gluten content, the dough is stretchy, so it's really good for practicing folding the bread
- you only need a minimum added flour while shaping the dough into a boule, as the dough is beautifully elastic
I think you can see now why I recommend this bread for beginners!
A note on flours!
When I first started learning how to bake sourdough bread, I discovered the big difference in flours. Each one contains a slightly different ratio of nutrients, and even with white wheat flour, it's the case that every flour is different. Wheat sourdough dough can absorb a lot of water and still be easy to work with, so even if you use a different flour than I use, chances are you'll probably end up with similar if not better bread!
My recommendation for beginners:
For your first baking (before you learn to bake), use only one brand of flour. And once you learn to bake bread with one brand, only then try another! Then you'll be able to see the differences better and eventually choose the brand that suits your preferences best.
How to bake wheat sourdough bread?
As with all sourdough baking, we divide the preparation into two days.
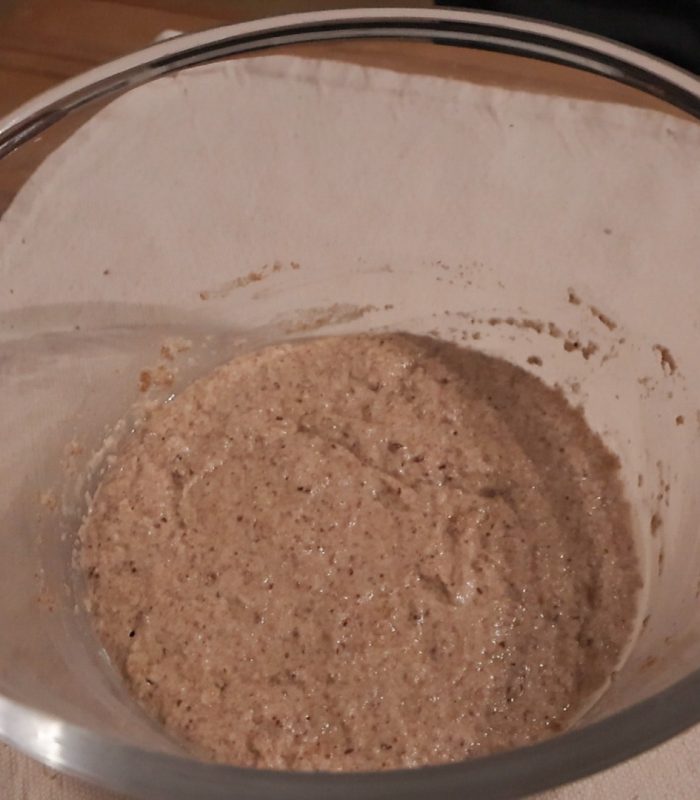
First day in the evening , prepare the sourdough levain by mixing 75 g of wheat flour (ideally wholemeal), 75 g of water and 1 tbsp (25 g) of sourdough starter. Mix well with a spoon and cover with a plastic bag, wrap or a cling film. Let it ferment overnight at room temperature for about 10-12 hours.
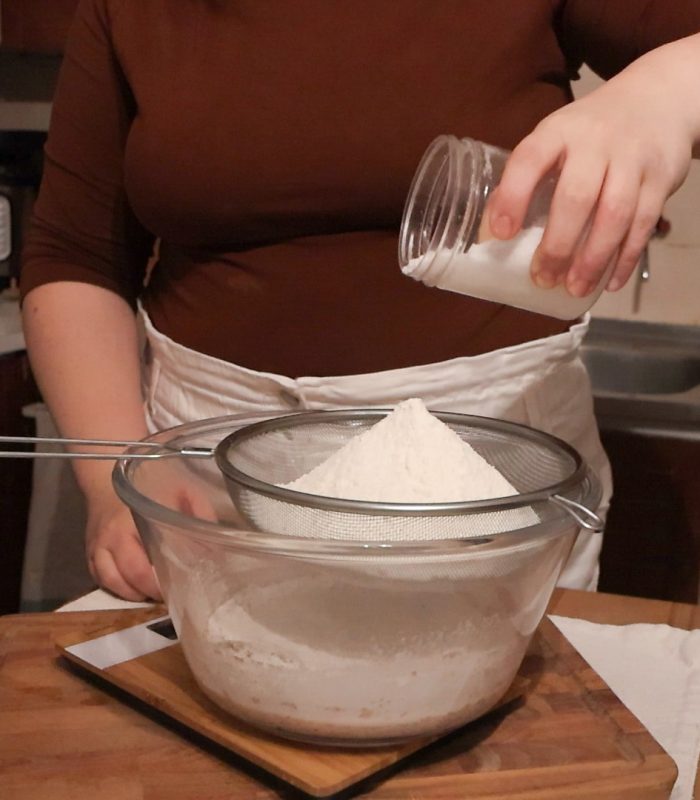
The next morning will be the levain bubbly. Wheat levain is a little different from rye levain, it spreads out more and is more liquid. This doesn't affect its strength, so don't be afraid of that. To the levain add 400 g of sifted wheat flour, 11 g of salt and water. Add the water in stages, as each flour absorbs a different amount of water.
Knead the dough with a wooden spoon and you should get a fairly soft and elastic dough. Cover the bowl with a plastic bag or cling film and let the dough rise.
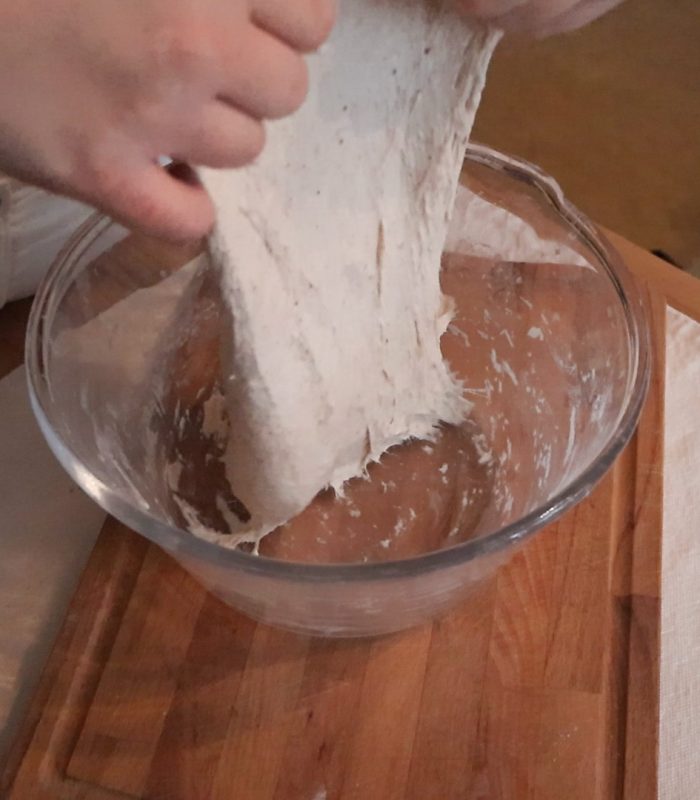
During the rising process, make 4 sets of STRETCH & FOLDS. With wet hands, grab and pull some of the dough up and then place/wrap it over the dough. Then turn the bowl and pull out another part of dough and fold over the dough again. Do this about 4 to 5 times. Each set of folding should ideally be done after half an hour.
You can learn how to fold, roll the dough into a loaf and how to bake bread in a pot in my article on wheat-rye bread baked in a pot, where I cover this technical aspect of bread baking in detail.
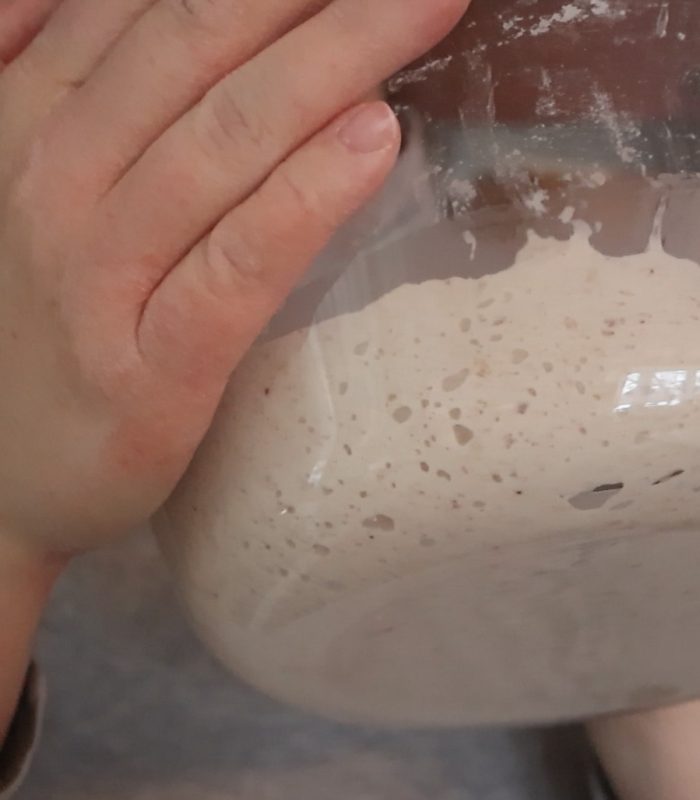
Then let the dough rise. You can tell when the dough has risen enough by the fact that it is shiny and elastic and you can clearly see large bubbles. The dough will take about 5 hours to rise, including stretching and folding. However, it depends on how warm the environment in which it rises.
Prepare a flour banneton or bowl lined with a clean flour towel. I use a 19 cm bowl and a clean flour towel with wholemeal wheat flour. It's better to put more flour on banneton or towel so that the dough doesn't really stick.
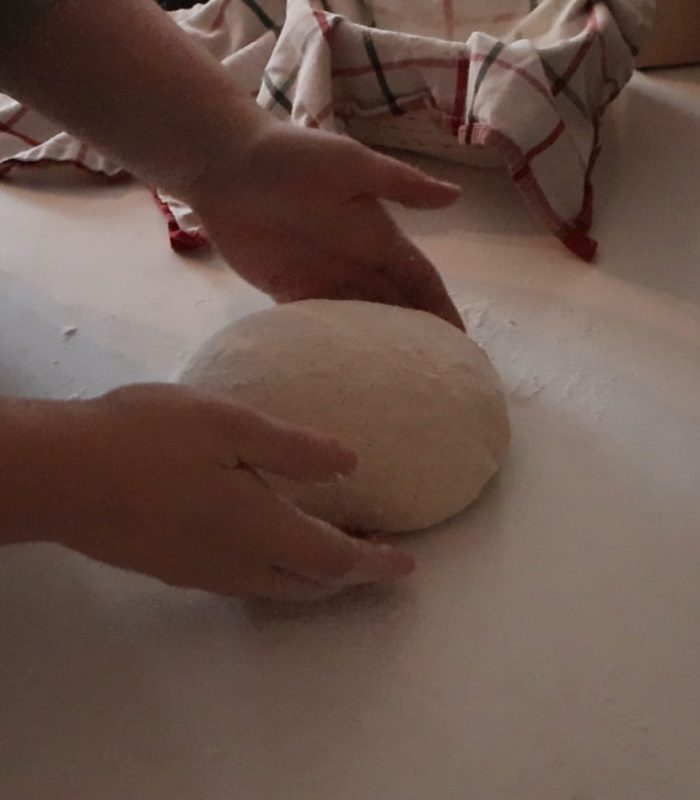
Then turn the risen dough out onto a lightly floured surface and flatten it gently. Fold the dough into the center to form a ball. Turn the ball of dough with the seam facing down and begin to tighten the dough. This will ensure that the shape of the bread remains round while baking. Place the shaped dough in a prepared banneton or bowl with a towel with the seam facing up and let it rise for about 2-3 hours or in the fridge for about 18 hours. Proofing in the fridge is absolutely perfect in this case. The wheat dough tends to be more runny and the slow rise in the fridge just creates a thicker layer at the edges of the dough, which can then be turned out more easily. The dough also has more time to rest while rising in the fridge, creating larger bubbles in the crumb.
Before the dough is risen, heat the oven and a pot with a lid to 230°C. I use a 21 cm enamel pot, but a Dutch oven is also excellent for this.
Into the heated pot turn out the risen dough from the bowl. If pieces of dough stick to the towel, gently scrape them off with a knife.
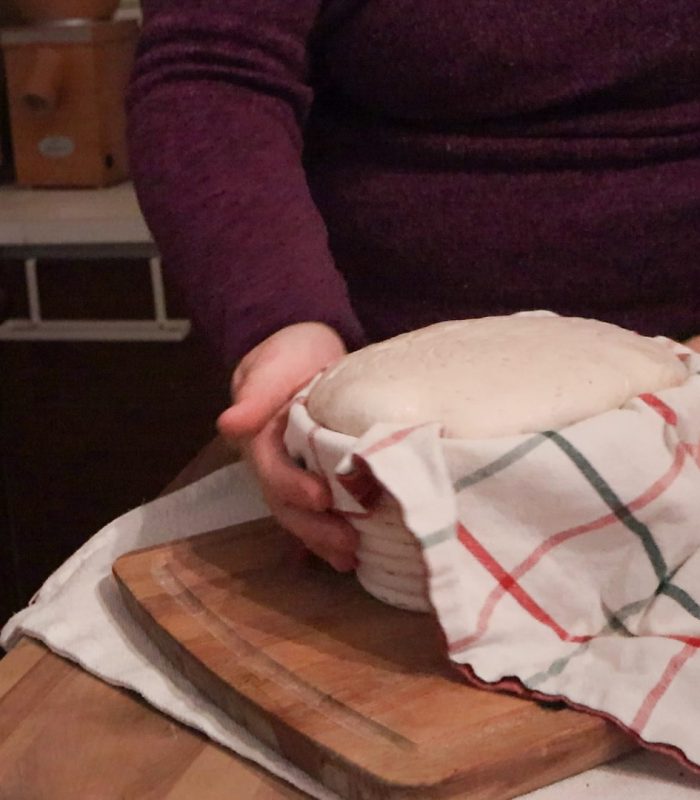
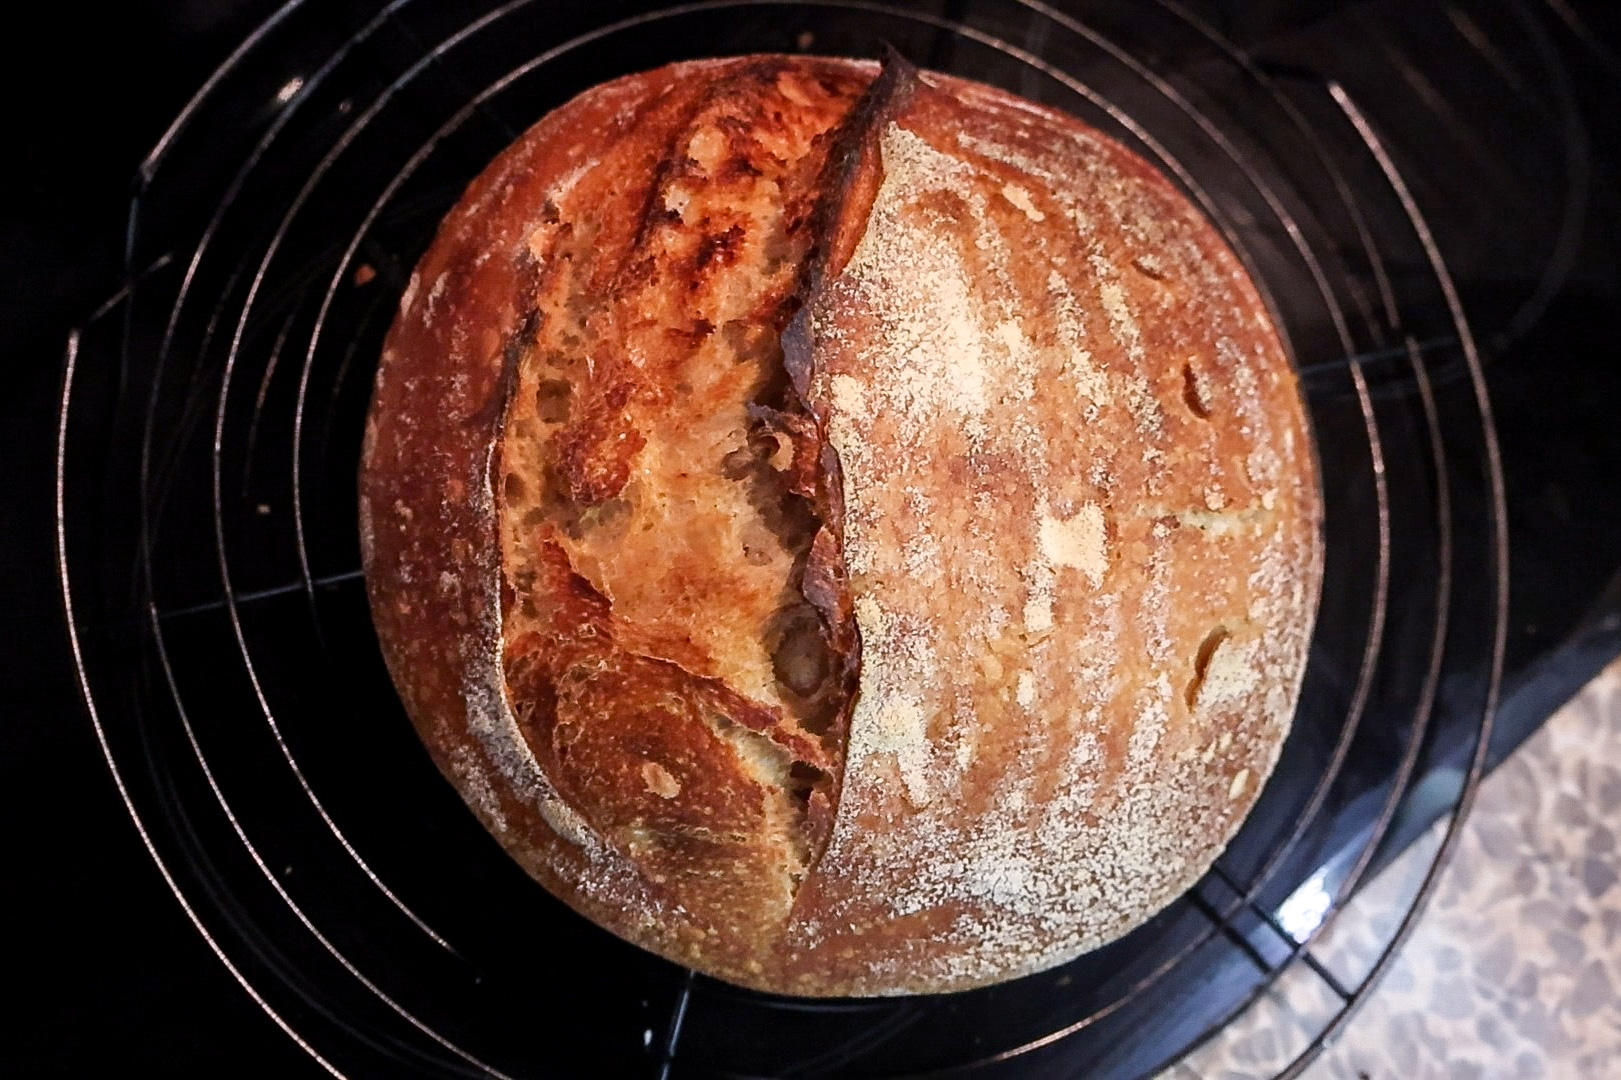
We can score the surface of the dough with either a serrated knife or a razor blade. Cover with a lid and bake in the oven at 230 °C for about 15 minutes. Then remove the lid, turn the temperature down to 210°C and bake for another 15-20 minutes. I like this wheat sourdough bread best with a nice dark, well-baked crust, so I usually bake the bread a little longer.
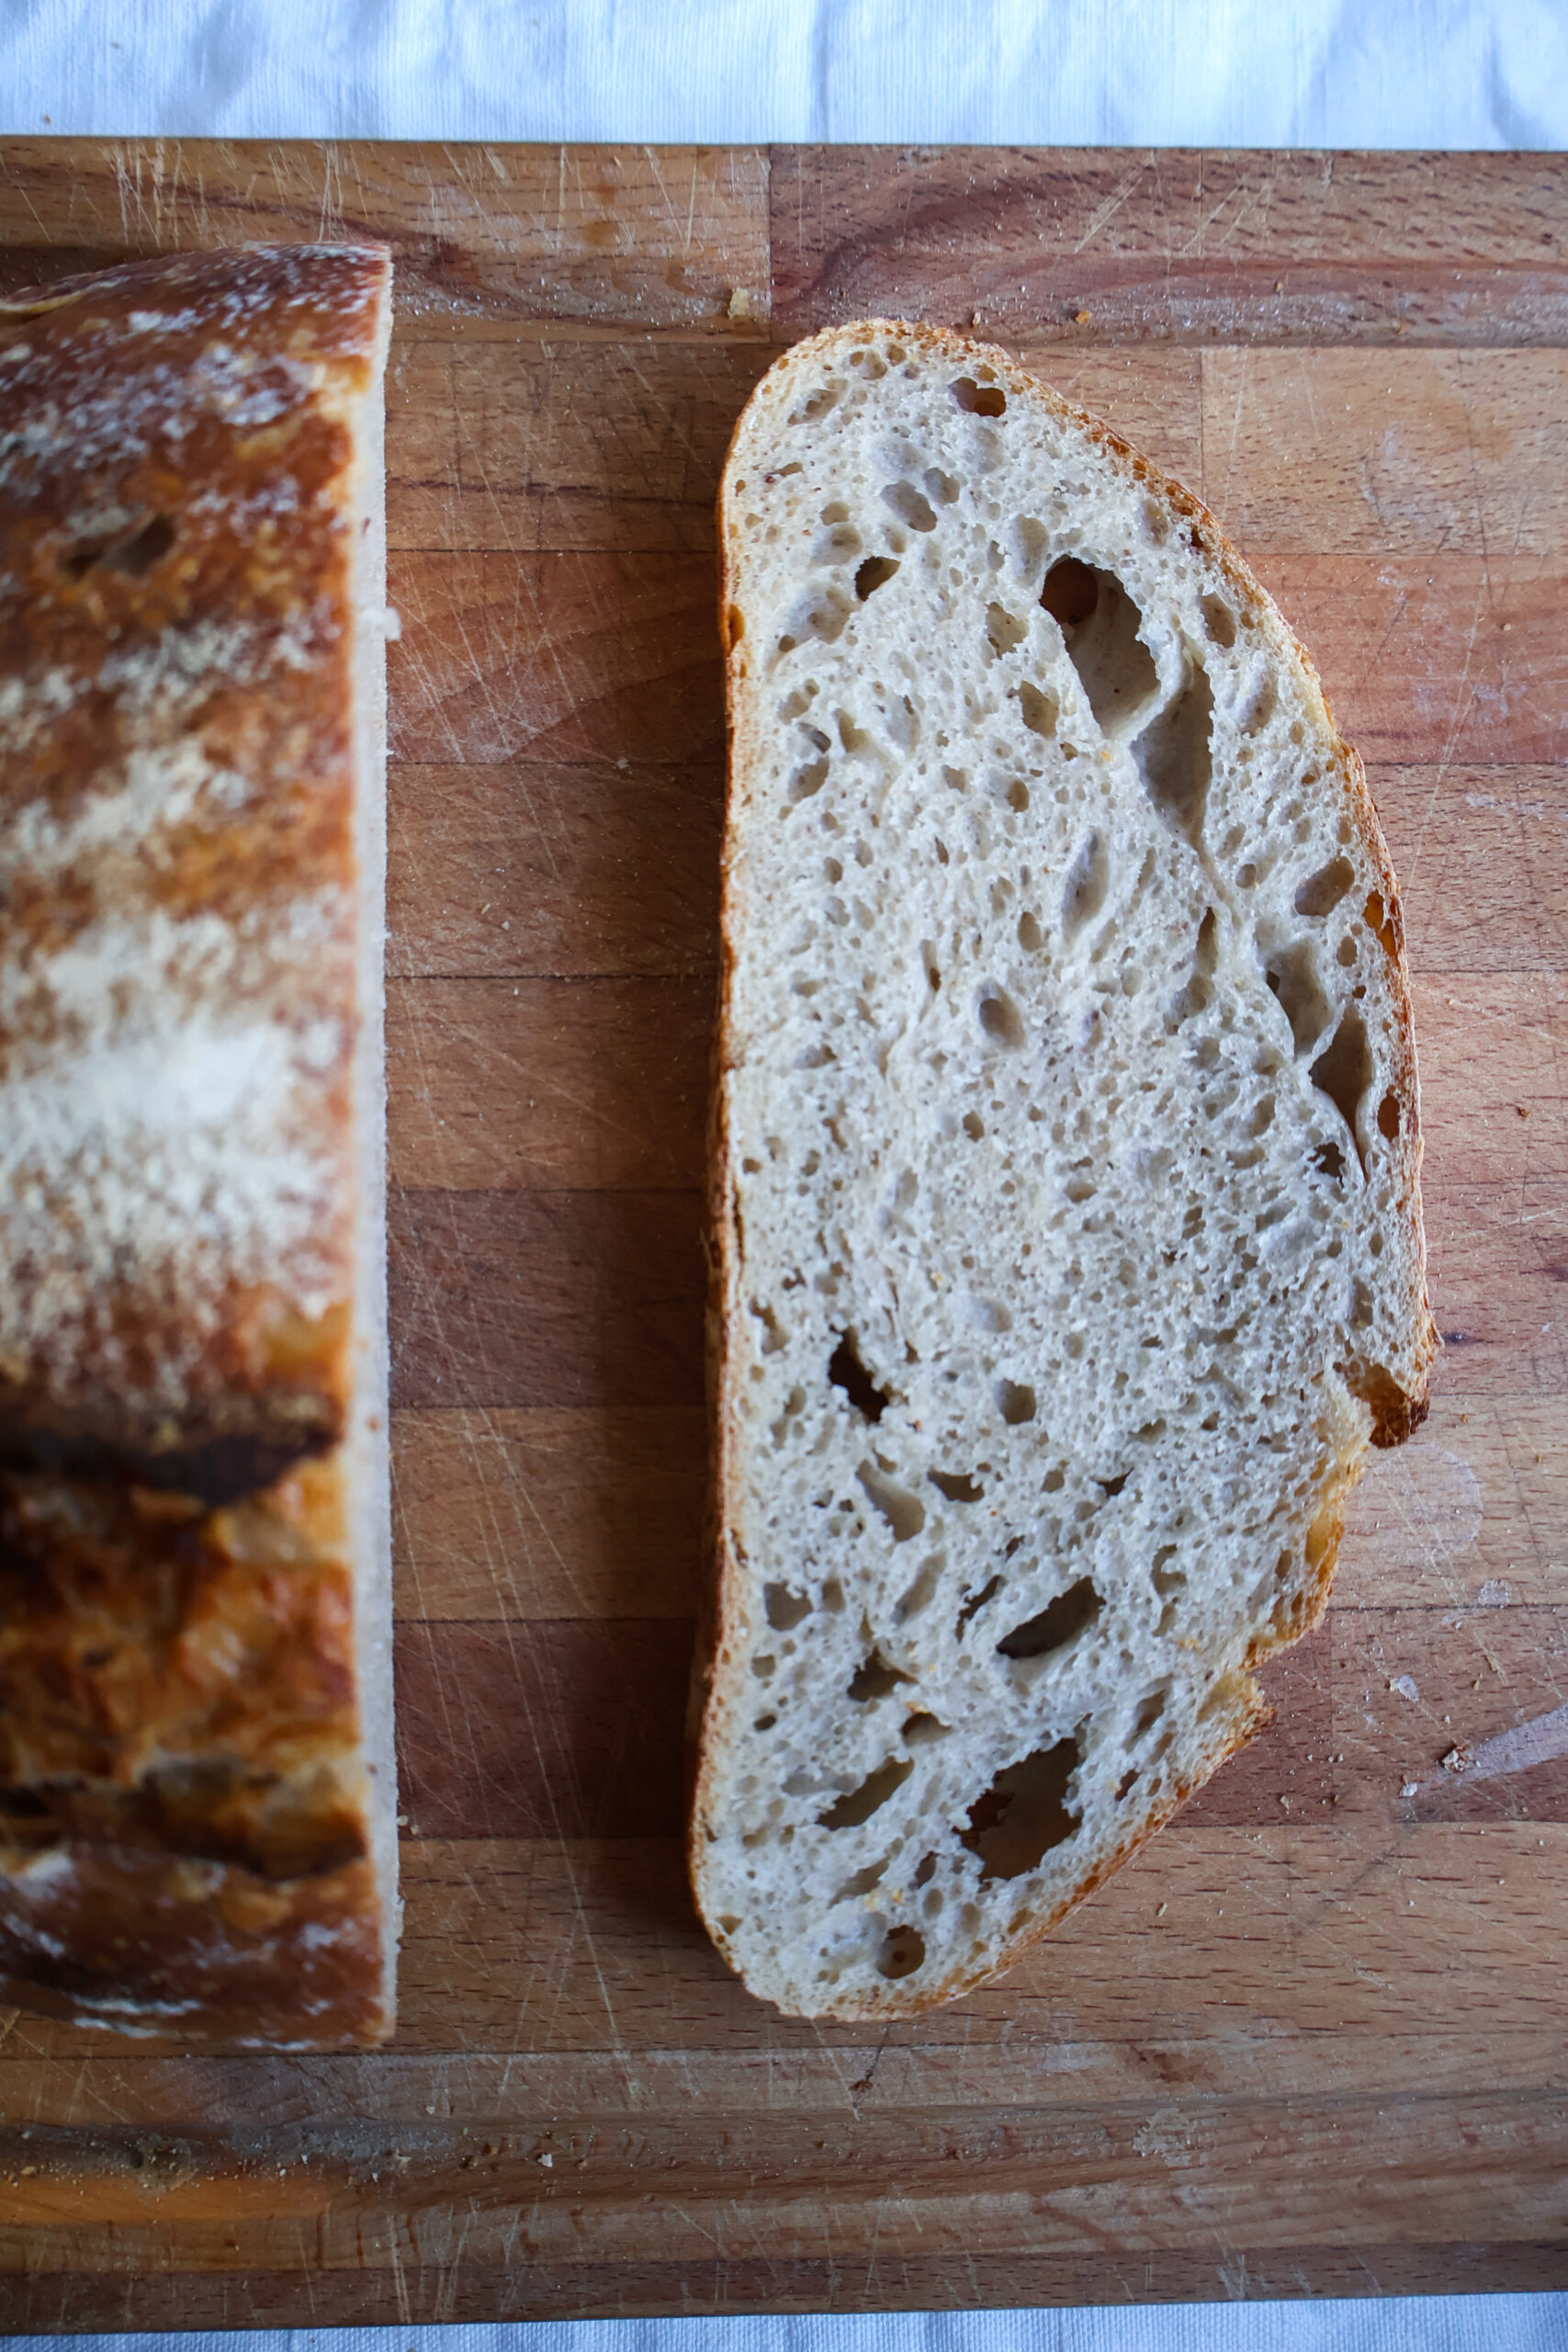
Once the bread is baked, turn out from the pot and cool on a wire rack for at least 1 hour before slicing.
How to plan the baking of wheat sourdough bread?
- First day in the evening: 20:00, prepare the sourdough levain. Let it ferment overnight at room temperature.
- The next morning: 7:00, add the rest of ingredients in a bowl and mix the dough.
- Stretch & folds: 7:30-11:00 - make 4 sets of stretch and folds. Each set should ideally be done after half an hour. Then just let it rise.
- second proofing: 11:00 - shape the dough, add it to banneton basket and let it rise in a fridge
- The next day morning around 7:00 - heat the oven
- around 7:30 - I put the bread in the oven and bake, after 15 minutes I remove the lid and let the bread finish baking
- around 8:00 the bread is baked so remove it from the pot and put it on a cooling rack
TIPS:
- This wheat sourdough bread is a basic bread, that will work great with the addition of a variety of seeds, nuts or dried fruit!
- For a more distinct flavor, it's a very good to lightly toast the seeds before adding them to the dough - this releases the oils in the seeds
- more hydrated dough like this one can ferment faster in a warm environment , so whenever you need to slow down the fermentation, put it in the fridge, where it can wait
Recipe
Recipe for 1 loaf
Wheat sourdough bread
Ingredients:
-
for levain:
- 75 g wheat flour, ideally wholemeal
- 75 g water at room temperature
- 1 tbsp (25 g) sourdough starter (rye or wheat)
for the dough:
- whole levain (or you can add 1 tbsp of levain into a jar for the next baking)
- 400 g wheat flour
- 11 g salt
- 260 g water at room temperature
others:
- 19 cm banneton or bowl lined with a flour clean towel
- flour for dusting
- 21 cm pot with a lid, made of oven-safe material (enamel, cast iron) or thicker baking sheet
- serrated knife or razor for scoring
- wire rack
Instructions:
We have to divide the bread making process into two days.
- First day in the evening , prepare the sourdough levain by mixing 75 g of wheat flour (ideally wholemeal), 75 g of water and 1 tbsp (25 g) of sourdough starter. Mix well with a spoon and cover with a plastic bag, wrap or a cling film. Let it ferment overnight at room temperature for about 10-12 hours.
- The next morning . To the levain add 400 g of sifted wheat flour, 11 g of salt and water. Add the water in stages, as each flour absorbs a different amount of water.
- Knead the dough with a wooden spoon and you should get a fairly soft and elastic dough. Cover the bowl with a plastic bag or cling film and let the dough rise.
- During the rising process, make 4 sets of STRETCH & FOLDS. With wet hands, grab and pull some of the dough up and then place/wrap it over the dough. Then turn the bowl and pull out another part of dough and fold over the dough again. Do this about 4 to 5 times. Each set of folding should ideally be done after half an hour.
- Then let the dough rise. You can tell when the dough has risen enough by the fact that it is shiny and elastic and you can clearly see large bubbles. The dough will take about 5 hours to rise, including stretching and folding. However, it depends on how warm the environment in which it rises.
- Prepare a flour banneton or bowl lined with a clean flour towel. I use a 19 cm bowl and a clean flour towel with wholemeal wheat flour. It's better to put more flour on banneton or towel so that the dough doesn't really stick.
- Then turn the risen dough out onto a lightly floured surface and flatten it gently. Fold the dough slowly into the center to form a ball. Turn the ball of dough with the seam facing down and begin to tighten the dough. This will ensure that the shape of the bread remains round while baking. Place the shaped dough in a prepared banneton or bowl with a towel with the seam facing up and let it rise for about 2-3 hours or in the fridge for about 18 hours.
- Before the dough is risen, heat the oven and a pot with a lid to 230°C. I use a 21 cm enamel pot, but a Dutch oven is also excellent for this.
- Into the heated pot turn out the risen dough from the bowl. If pieces of dough stick to the towel, gently scrape them off with a knife.
- We can score the surface of the dough with either a serrated knife or a razor blade. Cover with a lid and bake in the oven at 230 °C for about 15 minutes. Then remove the lid, turn the temperature down to 210°C and bake for another 15-20 minutes.
- Once the bread is baked, turn out from the pot and cool on a wire rack for at least 1 hour before slicing.


Dobry den, dekuji za krasne videa. Prave jsem zacala hledat recept na domaci kvaskovy chleba. Budeme ho pect s 5letou dcerou. Tak mame krasne podrobne informace. Jen jeste prosim detaili:))) Pri zakladani noveho kvasu pouzijeme celozrnou spaldovou moukou hladkou. To bude urco v pohode. Jen pujdu do obchodu a budu vybirat celozrnou psenicnou. Ted urco bude nejake specializace- hladka, nebo chlebova. Tak moc prosim jestli nam muzete poradit? Doma mame celozrnou spaldovou hladkou od firmy Pergnerka. Predem dekuji :o) nashledanou Jozefina a Monicka Buresovi
Dobrý den, v pojmech názvů jednotlivých muk se dá lehce splést. Celozrnná mouka (ať už klasická pšeničná, špaldová nebo žitná) obsahuje klíček i obal zrna a je nevýživnější a na kvas je nejvhodnější – v běžných obchodech ji lze nejčastěji nalézt hladce namletou. Bílá mouka hladká je přesátá přes jemné sítko, aby se zbavila klíčku a obalu a zůstala pouze škrobnatá část. Chlebová mouka je tak nějak něco mezi těmito dvěma. Každý výrobce má ale jinou tu „celozrnnost“, takže s některými chlebovými moukami vám může vyjít pečivo nadýchanější než s jinými, to je potřeba zkoušet a najít si své oblíbence. Kvas ale můžete přikrmovat jakoukoliv výše zmíněnou mokou a povede se mu zajisté dobře 🙂 Přeji vám ať se pečení jen daří
Dobrý den chtěla bych se zeptat, můžu použít, pšeničnou mouku, červenou perku,?
Ano určitě můžete 🙂
Dobry den, dekuji moc! Pekny den JaM Buresove
Dobrý den, moc děkuji za recept na kvásek i chléb. Upečený už druhý chleba a oba se povedly a jsou výborné. Ještě jsem se chtěla zeptat jak chléb uskladňujete. Já jen nechávám v litinovém hrnci, ve kterém jsem jej upekla, ale třeba máte nějaký lepší způsob. Předem velmi děkuji za odpověď a těším se na další recepty :-),
Dobrý den, jsem moc ráda, že se vám chleby daří! 🙂 Momentálně používáme na uskladnění klasické igelitové sáčky, i když to není moc EKO varianta, tak teď je pro nás ideální. Dříve jsme používali látkové pytlíky na chleba. Mají takovou vnitřní vrstvu jakoby gumovou a chléb neokorá, ale musí se to velmi šikovně zavázat. Kdybyste někde objevila nějakou jednoduchou eko variantu na uskladnění, budu ráda, pokud mi dáte vědět. Ten litinový hrnec ale určitě vyzkouším!
Dobrý den paní Radko
Dneska jsem pekla chleba podle videa a nevím kde jsem udělala chybu. Večer jsem si udělala rozkvas ten se povede a dneska zadelala na chleba ráno. Ale těsto se lepidlo a teklo, přidala jsem mouku ale bylo to stejné jsem z toho docela špatná 😟
Dobrý den, těžo říct, kde se stala chyba. Vodu doporučuji vždy přilévat postupně, protože každá mouka saje vodu jinak. Hodně záleží na druhu a kvalitě mouky, zvlášt když se používá jen jeden druh mouky, jako v případě tohoto receptu, tak ty rozdíly jdou vidět víc.
Dobrý den,
než začnu psát svůj dotaz, chtěla bych vám říct, že ráda sleduji vaše videa v televizi na YouTube, obdivuji vaše těsta, která se vám vždy tak krásně povedou. Já kváskuji od prosince a mám často takový problém, těsto vypadá stejně jak na videu, krásně mi vyběhne i v ošatce, ale když ho dám do trouby, tak už prostě neroste. Zůstane takový, jak ho dám do hrnce, někdy i trochu klesne.
Kdyby byl líný kvásek, tak by asi nevyběhl ani v té ošatce, nebo se mýlím? Prostě nevím kde dělám chybu.
Děkuji za radu a mějte se moc hezky Jarmila Sovová
Dobrý den, moc děkuji za krásnou zprávu! 🙂 Co se týče chleba, tuším, že by mohlo být těsto lehce překynuté. To poznáte tak, že těsto už nepruží, když do něj píchnete prstem. Doporučila bych vám zkrátit dobu prvního i druhého kynutí. Doufám, že vám to pomůže a chleby se budou jen dařit. 🙂
Dobrý den, musím vám poděkovat za radu. Zkrátila jsem dobu prvního i druhého kynuti a povedl se mi tak krásný chlebik, jaký jsem doposud neměla. Tak mě to zase nakoplo do dalšího pečení, už jsem měla i dny,kdy jsem toho chtěla nechat. Ale nějak jsem si zvykla na kvaskovy chleba a ten obyčejný z obchodu mi už nechutná. Mějte se hezky a díky Jarmila
Chleba peču přes 20 let,ale až dnes jsem upekla první kváskový a to podle vašeho receptu. Je krásný a určitě bude skvěle chutnat. Už jsem dělala i kváskové palačinky a kváskovou pomazánku. Děkuji za vaše rady a inspirace. Alena
<3
Dobrý den Radko, chci vám poděkovat za výborné recepty a návod na založení kvásku. Pšeničný kvásek pracuje na 100% tedy zatím 🙂 a poprvé v životě se mi podařil výborný chlebík , včera jsem pekla už druhý a vyvedl se skvěle. Kvásková bábovka nemá chybu a provoněla celý dům, zítra se chystám na palačinky. Kolik cca je z této dávky palačinek? Těch 8 jak máte na fotce? A jěště se chci zeptat, nezkoušela jste z pšeničného kvásku kyselo? Má být z žitného kvásku ale ten zatím nemám, myslíte že ten rozdíl v chuti bude velký když použiji pšeničný? Děkuji za odpovědi a budu se těšit na další recepty, mějte se moc krásně 🙂
Krásný den, mám velkou radost, že se vám kváskové pečení daří a kvásek je hezky aktivní! 🙂 Velikost palačinek odpovídá většinou velikosti pánvi 😀 já jich mám tak nějak 12 středních nebo 8 velkých palačinek a je to tak porce pro 4 dospěláky. Pšeničným kváskem občas zahušťuji polévky, bramboračku a tak, ale používám malé množství (cca 1 PL), přijde mi kyselejší než žitný. 🙂
Dobry vecer Radko, muzu se prosim zeptat, zda ten chleba po kynuti v lednici jde primo do rozpalene trouby nebo musi nejakou dobu pobyt v pokojove teplote? A je lepsi je v osatce pod uterkou do te lednice jeste zabalit i do sacku anebo to nemusi byt? Dekuji za vase zkusenosti. Prvni dva bochniky se podarily naramne. Tentokrat chci zkusit kynuti v lednici. Moc diky!
Hezký den, chléb dávejte péct rovnou studený z lednice. Já nechávám kynout pod sáčkem aby neutíkala hydratace z těsta.
Dobrý den, ráda bych se zeptala, jak by se mohla změnit doba pečení, když budu péct na plechu? Hrnec nemám. Děkuji za radu. Jinak jsem od Vás pekla úžasný toustový chleba a báječné teda!
Děkuji 😍
Hezký den, na plechu bych nechala dobu pečení stejnou. Doporučuji přidat při pečení bez přiklopení nějakou hydrataci, např. malý plech s vodou a nebo pár kostek ledu – vložit na plech ve stejnou chvíli jako chleba do trouby.
Dobrý večer, Radko. Mám dotaz ohledně zdvojenî dávky dle původního receptu. Dělala jsem podle Vás základní pšeničný chléb, mám pšeničný kvásek, chléb se krásně povedl. Jenže se hned vlastně druhý den snědl a už večer jsem si ten den říkala, že ho tedy udělám z dvojité dávky. Vše jsem dělala z dvojnásobku i časově vše vycházelo stejně. Akorát při posledních dvou překladech těsto začalo být lepivé. Při utahování na vále se mi stále rozplácával a nešel utáhnout. Přidala jsem tedy mouku, abych ho aspoň přendala do ošatky. Pak jsem ho nechala ještě kynout 2 hodiny. Než se mi rozehřála trouba, tak byl asi 10 minut v ledničce. V troubě jsem pekla na plechu, sotva šel vyklopit, tak jsem se modlila, aby z něj nebyla placka. Očividně vyskočil při pečení, úplná placka z něj nebyla. Není to tedy chyba, všechny ingredience zdvojnásobit? Měla bych třeba ubrat vodu? Děkuji za odpověď.
Hezký den, ano ja to takhle dělám stejně. 🙂 pravděpodobně vám trochu překynul v té první fázi při překládání, možná jste měli doma zrovna trochu větší teplo 🙂
Už jsem zkusila toustový chleba, bála jsem se a vyšel výborně i tak chutnal. Chleby podle vašeho postupu se také povedly, vždy jsem s chleby trochu bojovala, ale teď se mi daří. Budu zkoušet další vaše recepty. Jste prostě skvělá, vždy vše perfektně popsané . Děkuji moc
Moc děkuji za zprávu, to je úžasné. Jsem moc ráda, že se vám daří 🙂